Pressed Italian Sandwich – A Savory, Make-Ahead Crowd-Pleaser
· Samantha Jones
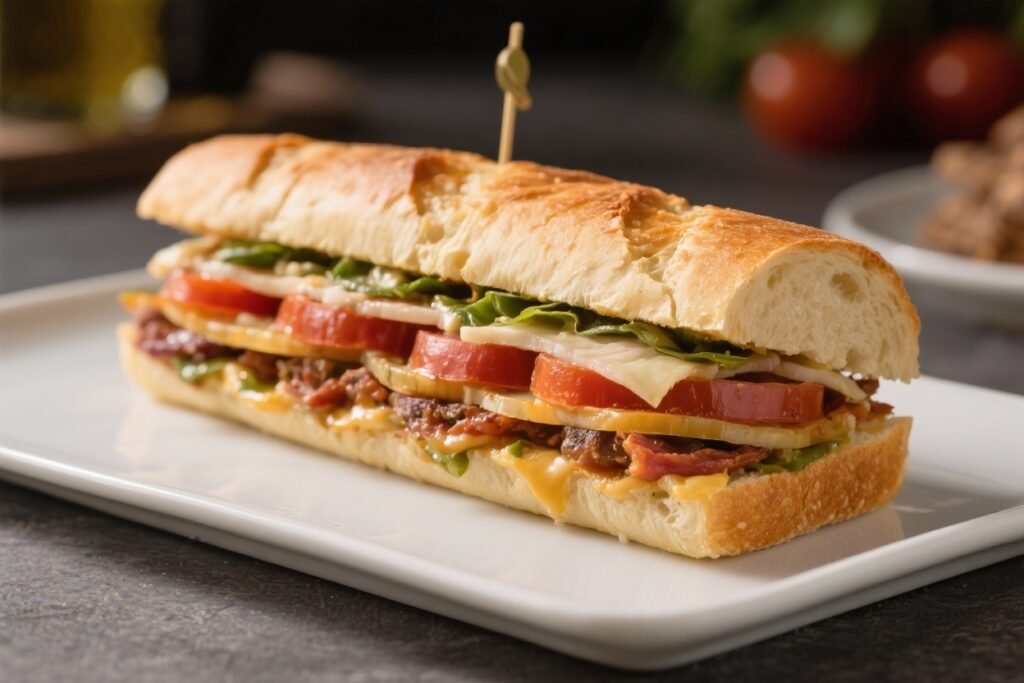
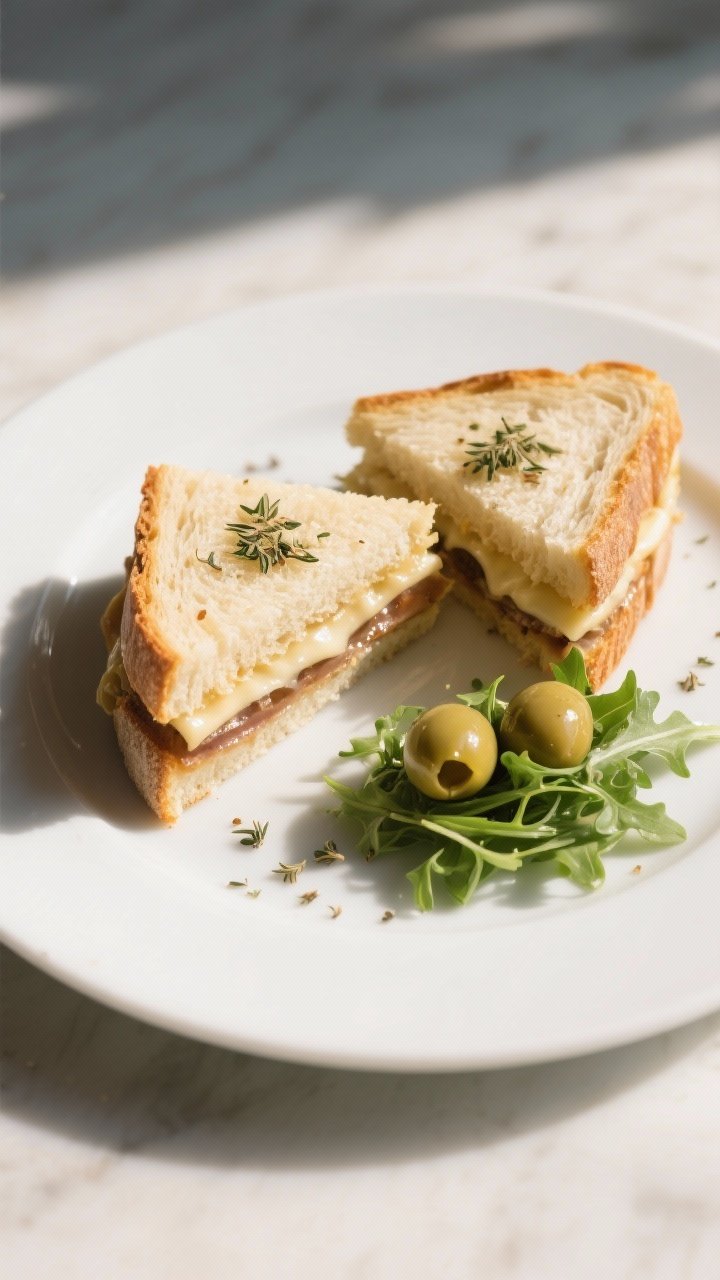
If you love bold flavors, satisfying textures, and a sandwich that only gets better with time, this Pressed Italian Sandwich is for you. It layers classic Italian meats, cheese, and tangy veggies inside crusty bread, then gets pressed so everything melds together beautifully. It’s easy to assemble, simple to customize, and perfect for picnics, game days, or easy lunches.
The best part: you make it ahead, and the flavor deepens as it rests.
What Makes This Special

Pressed Italian Sandwich - A Savory, Make-Ahead Crowd-Pleaser
Ingredients
- 1 large rustic Italian loaf (or ciabatta, focaccia, or a round boule)
- 1/3 cup olive oil
- 2 tablespoons red wine vinegar
- 1 teaspoon dried oregano (or Italian seasoning)
- 1/2 teaspoon kosher salt and 1/2 teaspoon black pepper
- 2 cloves garlic, finely minced (optional)
- 1/3 cup olive tapenade or pesto (optional but recommended)
- 6–8 slices provolone (or mozzarella, sliced)
- 6–8 slices Genoa salami
- 6–8 slices capicola or hot soppressata
- 6–8 slices mortadella (or ham)
- 1–2 roasted red peppers, patted dry and sliced
- 1/2 cup marinated artichoke hearts, chopped and patted dry
- 1/3 cup pepperoncini, sliced and drained
- 1 small red onion, very thinly sliced
- 1 cup arugula or shredded romaine
- Fresh basil leaves (optional, for extra freshness)
- Foil or parchment paper, and a heavy skillet, bricks, or cans for pressing
Instructions
- Prep the bread: Slice the loaf horizontally. If the bread is very thick, scooping a little from the center helps make room for fillings. Don’t remove too much—you still want structure.
- Make the dressing: In a small bowl, whisk olive oil, red wine vinegar, oregano, salt, pepper, and garlic (if using). Taste and adjust seasoning.
- Season the bread: Brush the cut sides of the bread generously with the dressing. Go all the way to the edges so every bite has flavor.
- Spread a base layer: Add a thin layer of olive tapenade or pesto to the bottom half of the bread. This adds richness and helps keep the bread from getting soggy.
- Layer the cheese first: Lay down half the provolone. Cheese forms a moisture barrier and keeps the bread crisp.
- Add the meats: Layer salami, capicola, and mortadella evenly. Overlap slices slightly so you cover the surface without bulking one area.
- Pile on the veggies: Add roasted red peppers, artichokes, and pepperoncini. Pat them dry first so the sandwich doesn’t get watery.
- Add onion and greens: Scatter thin red onion slices and a handful of arugula. Add basil leaves if using. Drizzle a little more dressing over the veggies.
- Top with remaining cheese: Finish with the remaining provolone. Again, this helps seal in moisture and keeps the sandwich tidy after pressing.
- Close and wrap: Set the top half of the bread on, press gently, then wrap the entire sandwich tightly in parchment and then foil. The snug wrap is key for good pressing.
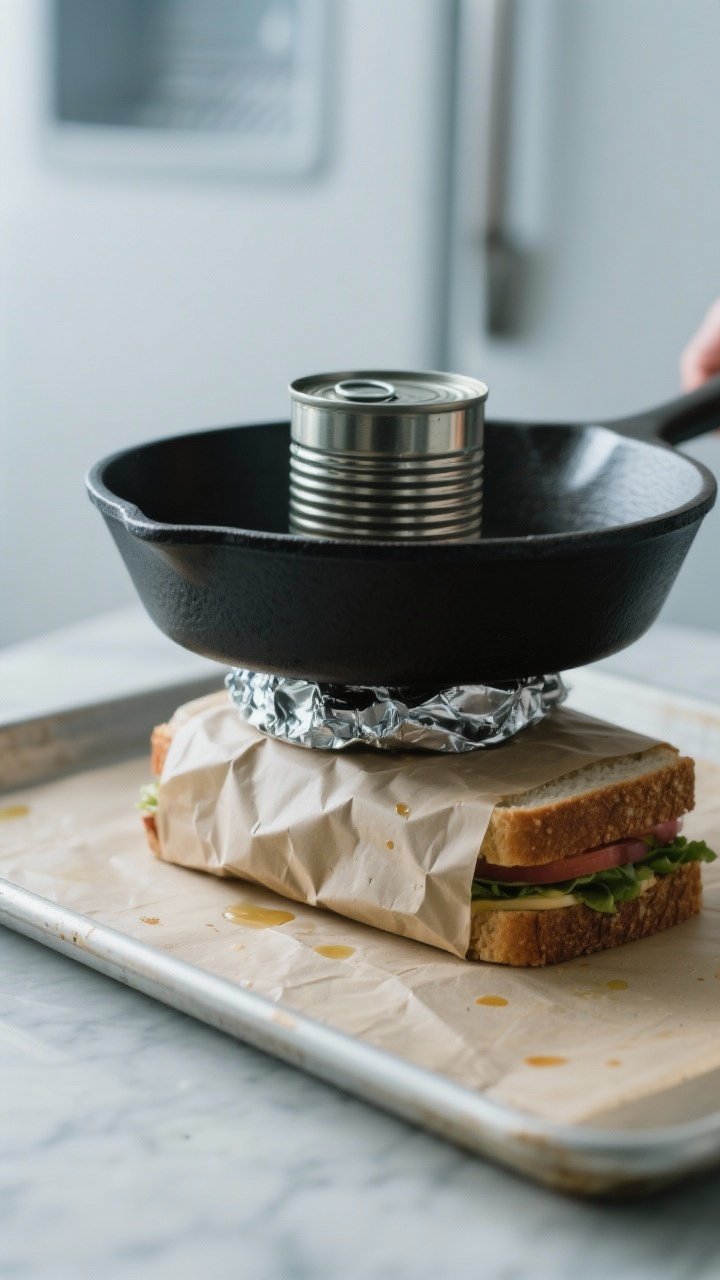
- Press the sandwich: Place on a baking sheet. Top with a heavy skillet or a cutting board weighed down with cans or bricks. Refrigerate and press for at least 2–3 hours, ideally 6–12 hours.
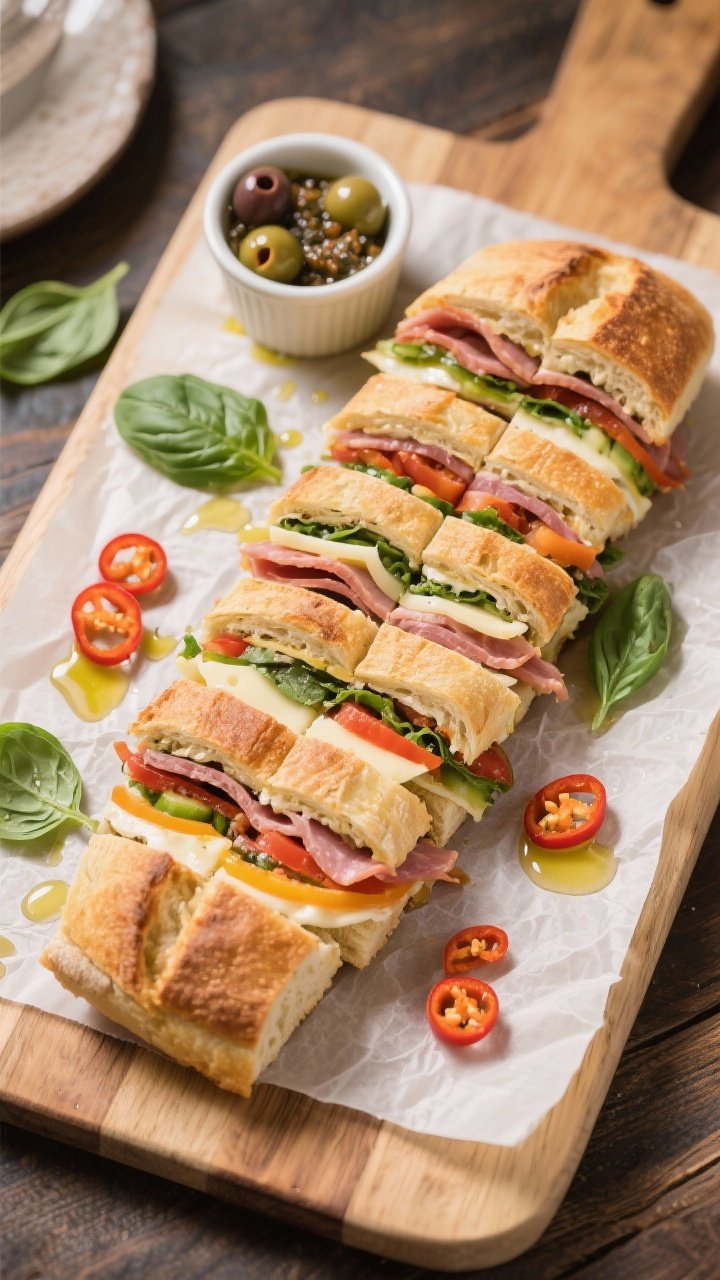
- Slice and serve: Unwrap, then slice into wedges or rectangles using a sharp serrated knife. Serve at room temperature or slightly chilled.
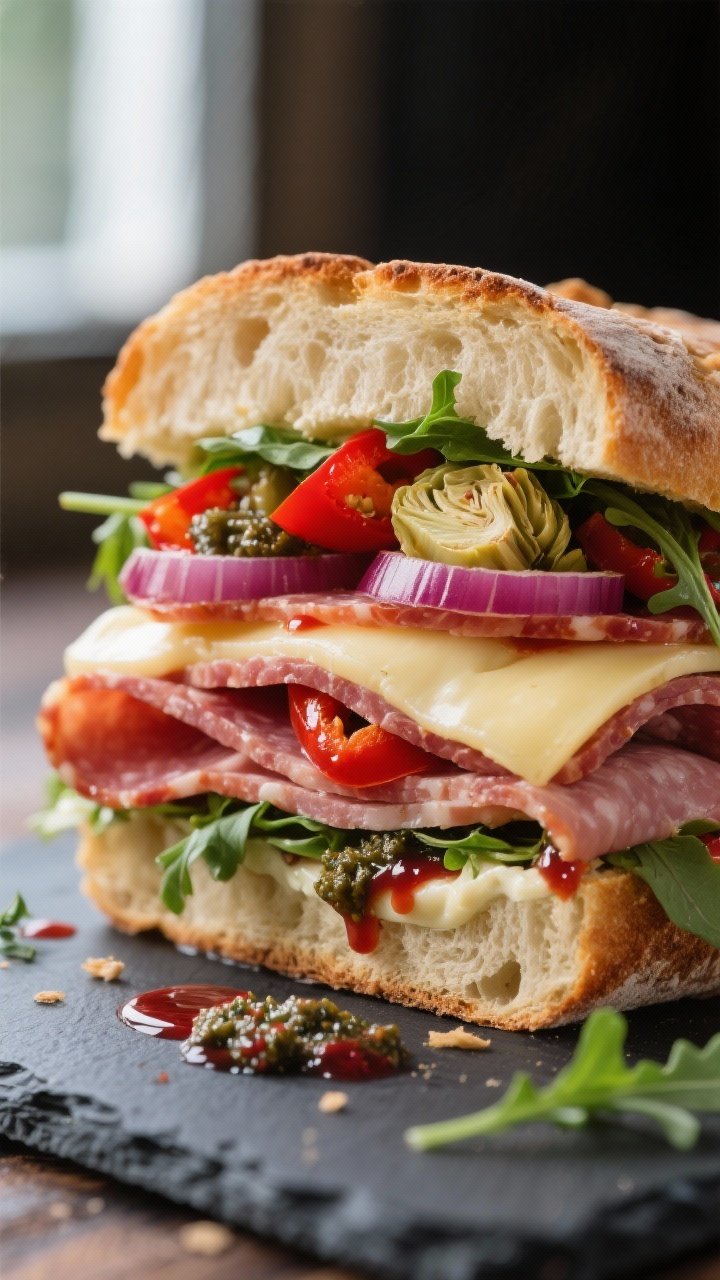
This sandwich balances savory, salty, tangy, and fresh all in one bite. Pressing it helps the ingredients settle, keeping every slice neat and flavorful. It’s also a great make-ahead option—you can prep it the night before and simply slice when you’re ready to serve.
Whether you’re feeding a crowd or stocking your fridge, this one earns a spot in your rotation.
What You’ll Need
- 1 large rustic Italian loaf (or ciabatta, focaccia, or a round boule)
- 1/3 cup olive oil
- 2 tablespoons red wine vinegar
- 1 teaspoon dried oregano (or Italian seasoning)
- 1/2 teaspoon kosher salt and 1/2 teaspoon black pepper
- 2 cloves garlic, finely minced (optional)
- 1/3 cup olive tapenade or pesto (optional but recommended)
- 6–8 slices provolone (or mozzarella, sliced)
- 6–8 slices Genoa salami
- 6–8 slices capicola or hot soppressata
- 6–8 slices mortadella (or ham)
- 1–2 roasted red peppers, patted dry and sliced
- 1/2 cup marinated artichoke hearts, chopped and patted dry
- 1/3 cup pepperoncini, sliced and drained
- 1 small red onion, very thinly sliced
- 1 cup arugula or shredded romaine
- Fresh basil leaves (optional, for extra freshness)
- Foil or parchment paper, and a heavy skillet, bricks, or cans for pressing
Instructions
- Prep the bread: Slice the loaf horizontally. If the bread is very thick, scooping a little from the center helps make room for fillings. Don’t remove too much—you still want structure.
- Make the dressing: In a small bowl, whisk olive oil, red wine vinegar, oregano, salt, pepper, and garlic (if using).
Taste and adjust seasoning.
- Season the bread: Brush the cut sides of the bread generously with the dressing. Go all the way to the edges so every bite has flavor.
- Spread a base layer: Add a thin layer of olive tapenade or pesto to the bottom half of the bread. This adds richness and helps keep the bread from getting soggy.
- Layer the cheese first: Lay down half the provolone.
Cheese forms a moisture barrier and keeps the bread crisp.
- Add the meats: Layer salami, capicola, and mortadella evenly. Overlap slices slightly so you cover the surface without bulking one area.
- Pile on the veggies: Add roasted red peppers, artichokes, and pepperoncini. Pat them dry first so the sandwich doesn’t get watery.
- Add onion and greens: Scatter thin red onion slices and a handful of arugula.
Add basil leaves if using. Drizzle a little more dressing over the veggies.
- Top with remaining cheese: Finish with the remaining provolone. Again, this helps seal in moisture and keeps the sandwich tidy after pressing.
- Close and wrap: Set the top half of the bread on, press gently, then wrap the entire sandwich tightly in parchment and then foil.
The snug wrap is key for good pressing.
- Press the sandwich: Place on a baking sheet. Top with a heavy skillet or a cutting board weighed down with cans or bricks. Refrigerate and press for at least 2–3 hours, ideally 6–12 hours.
- Slice and serve: Unwrap, then slice into wedges or rectangles using a sharp serrated knife.
Serve at room temperature or slightly chilled.
Storage Instructions
Keep the wrapped, pressed sandwich in the refrigerator for up to 2 days. For best texture, slice just before serving. If storing leftovers, rewrap tightly to prevent drying out.
Avoid freezing—raw greens and marinated veggies don’t thaw well and can turn mushy.
Benefits of This Recipe
- Make-ahead friendly: The flavor improves as it rests, so prep it the night before and forget about last-minute cooking.
- Great for sharing: One large loaf can feed a crowd, and clean slices make serving easy.
- Balanced flavor: Savory meats, creamy cheese, and tangy veggies create a satisfying mix without extra sauces.
- Flexible and customizable: Swap meats, cheeses, or spreads based on what you have or what you love.
- Travel ready: Wrapped and pressed, it holds up well for picnics, potlucks, and road trips.
What Not to Do
- Don’t skip drying the veggies: Excess moisture leads to soggy bread. Pat peppers, artichokes, and pepperoncini dry.
- Don’t overload with dressing: A light, even coating is enough. Too much will soak the bread.
- Don’t skimp on pressing time: Pressing melds flavors and compacts layers for clean slices.
Rushing this step compromises texture.
- Don’t use soft sandwich bread: You need sturdy, crusty bread that can handle moisture and weight.
- Don’t slice with a dull knife: Use a sharp serrated knife to avoid squashing the layers.
Alternatives
- Bread swaps: Try ciabatta for an airy interior, focaccia for extra olive oil richness, or a round boule for wedge-shaped slices.
- Meat variations: Use turkey, prosciutto, or pepperoni. For a little heat, choose hot soppressata or spicy capicola.
- Cheese options: Fontina, fresh mozzarella (well-drained), or smoked provolone add different flavors.
- Veg-forward version: Roast zucchini and eggplant slices, add marinated mushrooms, and use extra tapenade for a satisfying vegetarian press.
- Sauce tweaks: Substitute balsamic glaze for the vinegar in the dressing, or use sun-dried tomato pesto for a sweeter, richer note.
- Gluten-free: Use a sturdy gluten-free loaf meant for sandwiches and be gentle when pressing.
FAQ
Do I have to press it overnight?
No, but longer is better. A minimum of 2–3 hours helps, while 6–12 hours gives the best texture and flavor.
If you’re short on time, press for at least an hour and serve, but expect looser layers.
How do I keep the sandwich from getting soggy?
Use sturdy bread, spread cheese on both sides of the filling, and pat wet ingredients dry. Apply dressing lightly and evenly, and wrap tightly before pressing.
Can I make it vegetarian?
Yes. Skip the meats and use layers of roasted vegetables, marinated mushrooms, extra cheese, and a flavorful spread like tapenade, pesto, or whipped ricotta.
What’s the best way to press without special equipment?
Wrap the sandwich, place it on a baking sheet, top it with a second baking sheet, and weigh it down with a heavy skillet, cast-iron pan, or a few cans.
Refrigerate while it presses.
Can I add fresh tomatoes?
You can, but they add moisture. If you use them, slice thin, remove seeds, and place them between cheese layers to limit sogginess.
What should I serve with it?
Simple sides like a crisp green salad, chips, marinated olives, or a chilled pasta salad pair nicely. Sparkling water or a light red wine also complements the flavors.
Is this good for meal prep?
Yes.
Make a full sandwich, keep it wrapped, and slice off portions as needed over the next day or two. It travels well and stays flavorful.
Final Thoughts
A Pressed Italian Sandwich is the kind of recipe that works hard for you: minimal effort, maximum payoff, and built-in make-ahead convenience. It’s as practical as it is delicious, and it’s easy to tailor to your taste.
Keep a loaf, some deli meats, and a few jarred veggies on hand, and you’re always a few steps away from a crowd-pleasing meal. Press it, chill it, slice it, and enjoy every balanced, savory bite.
Printable Recipe Card
Want just the essential recipe details without scrolling through the article? Get our printable recipe card with just the ingredients and instructions.
Leave a Reply