The “Pouch” Fold: How to Keep Your Silverware Clean in the Park Fast
· Samantha Jones
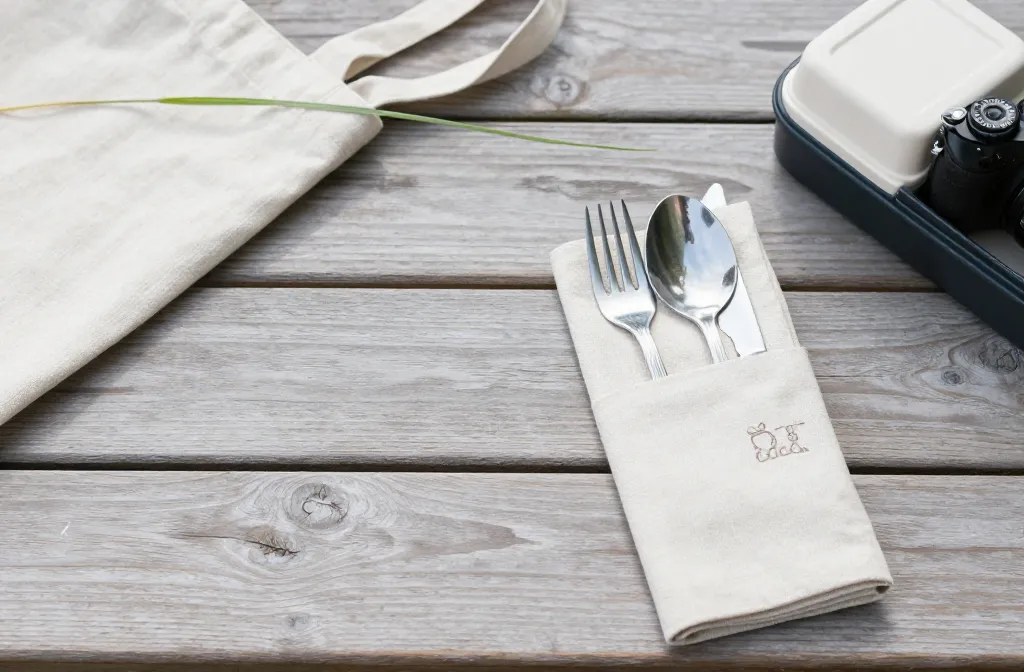
I learned the hard way that a picnic can be spotless until you reach for a fork that’s been rolling around with grass and grit. After too many park lunches with dusty spoons, I refined a napkin fold that protects utensils from the moment you pack to the moment you eat. In this guide I’ll show you the exact “pouch” fold, what size napkin works, and how to keep everything sanitary without plastic. You’ll leave with a reliable system you can do in under a minute with supplies you already own.
What The Pouch Fold Actually Does
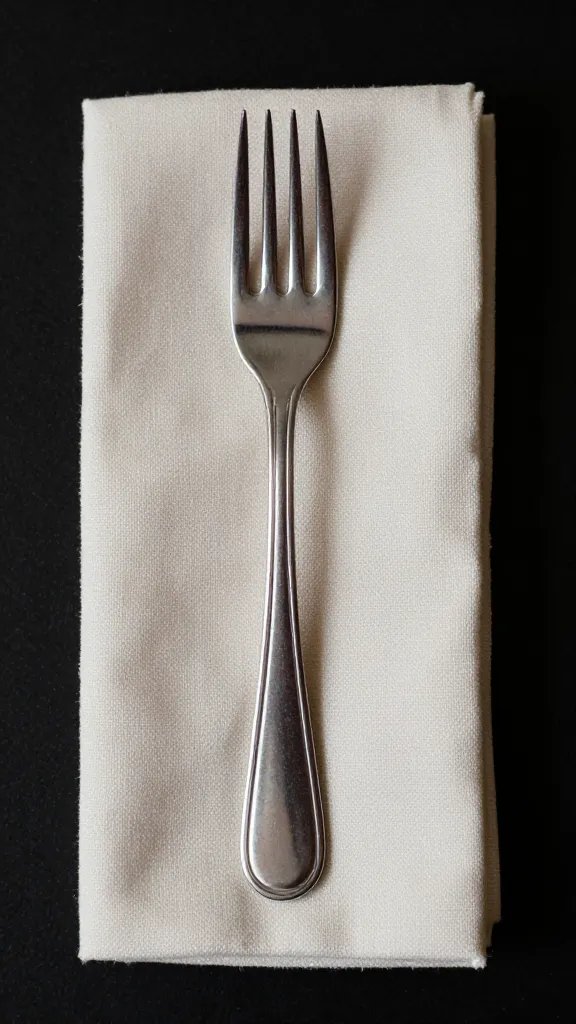
The pouch fold turns a flat napkin into a three-sided sleeve with a covered lip. It shields silverware tips — the part that touches food — from fingers, crumbs, and the inside of your bag.
Because the utensil heads sit behind a fabric barrier, they stay clean even if the outside gets dusty. The fold also keeps a knife from nicking other items and stops forks from snagging your tote.
Action today: Grab a square cloth napkin and one fork — you’ll learn this faster by doing one practice fold while you read.
Materials That Work (And What To Avoid)
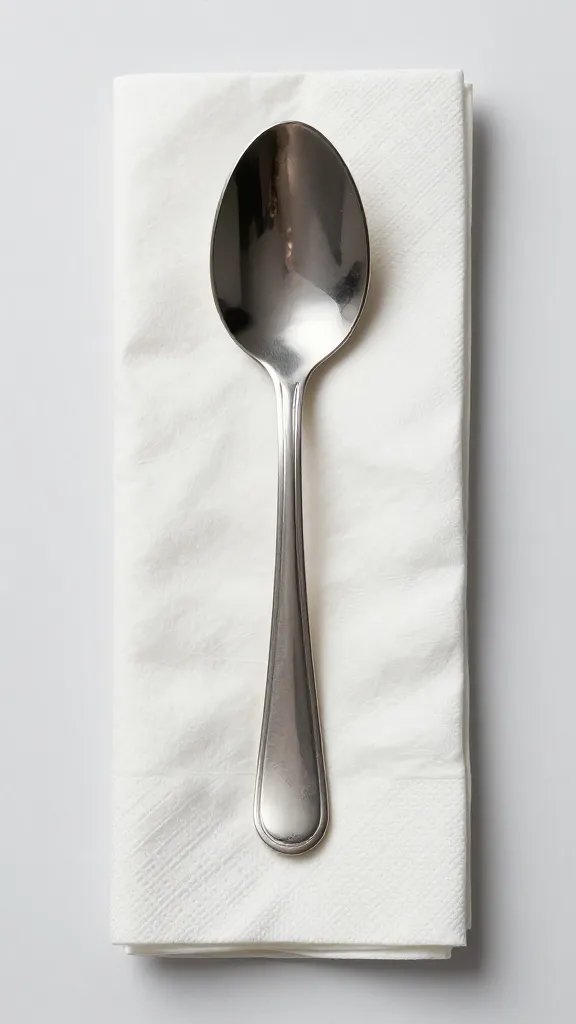
Use a square napkin between 16–20 inches. A cotton or cotton-linen blend holds creases and washes well. Paper lunch napkins work for disposables, but choose the thicker kind labeled “dinner” for a firm pouch.
Avoid slick polyester that won’t stay folded. Skip tiny cocktail napkins — the pouch won’t cover the utensil tips. If you pack metal knives, choose a slightly heavier cloth so the blade doesn’t imprint through.
Recommended Simple Kit
- Napkins: 2–4 square cotton napkins (16–20 inches)
- Utensils: Everyday fork, spoon, table knife; or a compact camping spork from a garden/outdoor aisle
- Closure (optional): Small rubber band, short length of cotton twine, or a hair tie
Action today: Set aside two napkins you’ll always use for picnics so the size and feel stay consistent — that consistency makes the fold second nature.
The Step-By-Step Pouch Fold (60 Seconds, No Fuss)
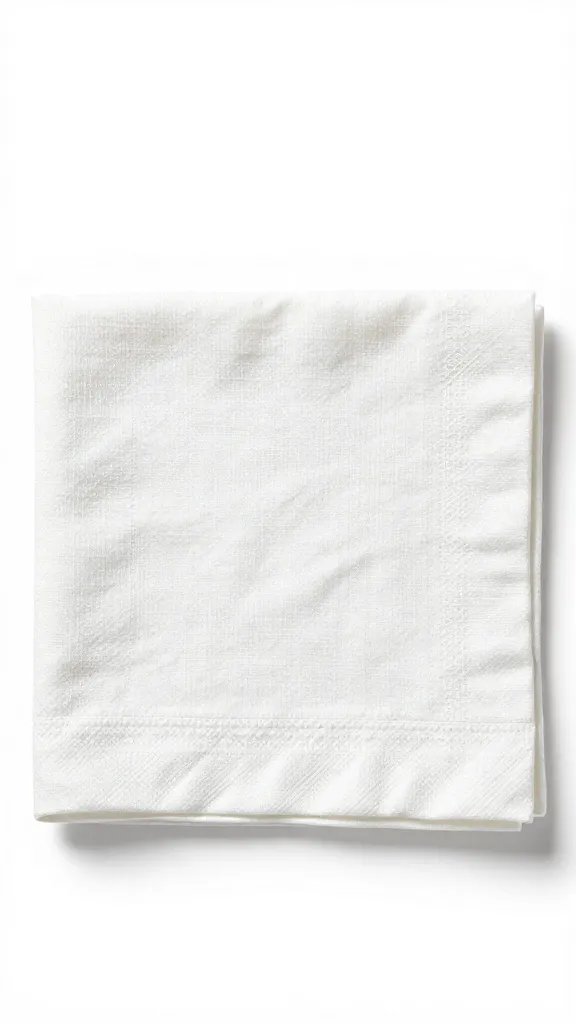
- Lay the napkin flat in a diamond (one corner pointing toward you). Smooth it so it’s wrinkle-free.
- Fold the bottom corner up to meet the top corner, making a triangle with the point away from you.
- Take the top layer of the right tip and fold it across to the left base edge, creating a small pocket on the front. Crease firmly.
- Repeat with the top layer of the left tip, folding it across to the right base edge. You’ll see a layered pocket — that’s your utensil sleeve.
- Flip the entire napkin over, keeping the point at the top.
- Fold the right point straight over to the center. Crease. Then fold the left point over to overlap the right. You now have a clean rectangle.
- Flip it back to the front. You’ll see a tidy pouch opening at the top. Slide in your fork, spoon, and knife with the heads down inside the pouch and handles up.
- Optional: Tuck a paper napkin or moist towelette behind the handles, then slip a rubber band around the lower third to keep it sealed in transit.
Warning Signs And Fixes
- Pouch too shallow: Your napkin is too small. Use at least 16 inches or fold a deeper pocket in steps 3–4 by bringing tips further across.
- Utensils slide out: Add the optional band around the lower third, or crease each fold with your thumbnail for a sharper hold.
- Knife prints through: Switch to a heavier cloth or place the knife between fork and spoon with the blade facing the spoon.
Action today: Time yourself making one pouch — aim for under one minute. Speed comes from crisp creases and a napkin that’s the right size.
Cleanliness: How To Keep Utensils Truly Food-Safe Outdoors
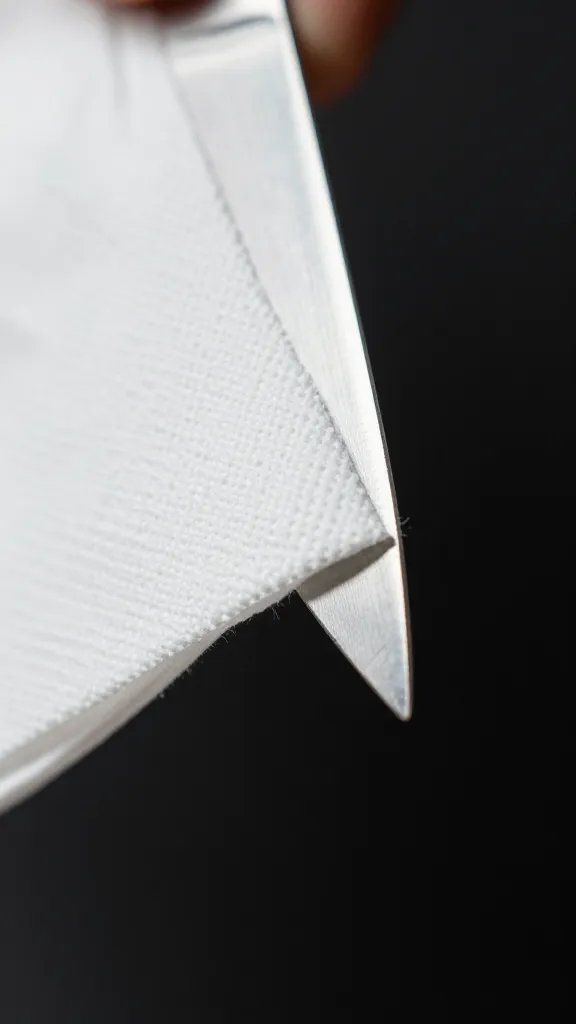
Start clean at home. Wash utensils and the napkin. Dry everything completely so no dampness breeds odors in your bag. Handle utensils by the handles only when loading.
Pack pouches inside the top of your tote, not at the bottom under produce or potting supplies. If you garden in the same bag, line with a reusable shopping bag or zip pouch to isolate dirt.
Simple Sanitation Add-Ons
- Barrier wipe: Slip a single alcohol wipe or a small travel hand sanitizer bottle behind the utensil handles.
- Clean surface: Bring one extra napkin as a placemat under each pouch so you don’t set it on park tables.
- Emergency cover: If wind kicks up dust, pull the pouch top flap over the handles between bites.
Action today: Place a small sanitizer or wipe inside your next pouch so clean hands meet clean utensils at the park bench.
Packing Strategy For Real-World Park Bags
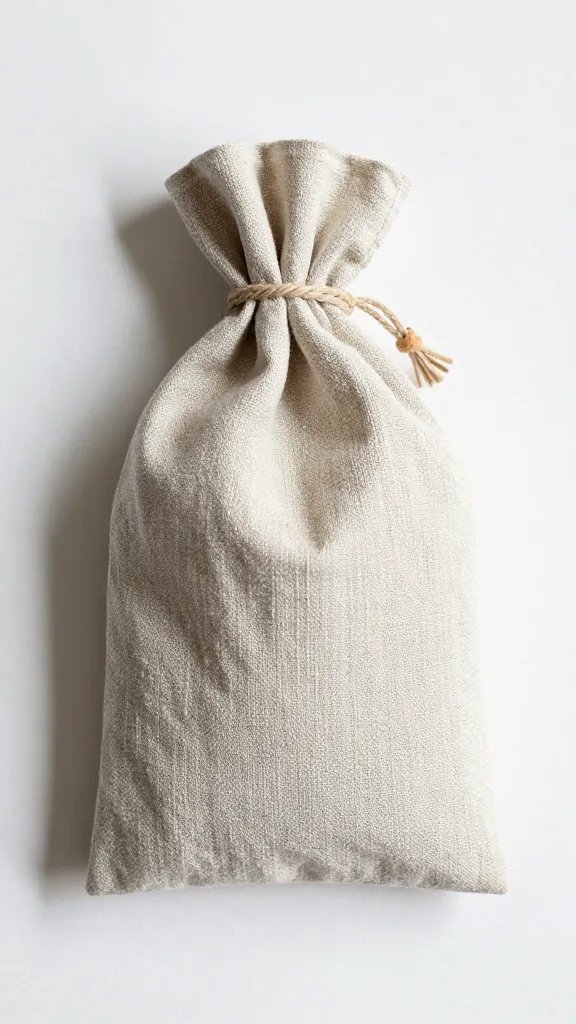
Vertical beats horizontal. Stand the pouches upright against a water bottle or thermos so the utensil heads stay seated at the bottom of the pouch.
Use a light elastic to keep each pouch from opening as you rummage. If you carry a cutting board or book, slide pouches alongside them to create a firm wall that prevents shifting.
Weather And Terrain Adjustments
- Breezy day: Add a binder clip at the top of the pouch to pinch it shut on the go.
- Wet grass: Lay a plastic grocery bag or small trash liner under your cloth to keep moisture off your setup.
- Dusty paths: Keep pouches inside a zip-top gallon bag until you sit down, then open the bag and pull each pouch as needed.
Action today: Place finished pouches inside a zip-top bag if your park route is dusty — open only when you’re seated.
Reusables, Washing, And Repacking After The Picnic
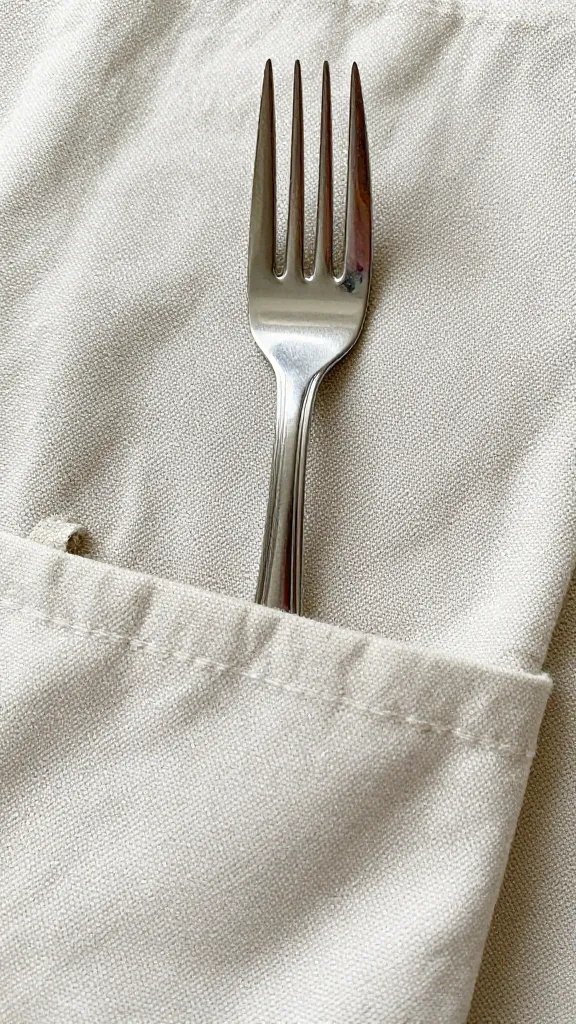
When you finish eating, slide utensils back into the pouch with the dirty ends down. That keeps residue off your bag on the walk home. If the napkin touched food, treat it as dirty too.
At home, remove utensils, rinse them under hot water, then wash. Shake crumbs from the napkin outside, pre-treat any stains with a dab of dish soap, and launder with regular towels. Refold two fresh pouches right after washing so your next outing is grab-and-go.
Stain And Odor Control
- Grease spots: Rub dish soap into the area and rinse with warm water before laundering.
- Lingering smells: Soak napkins in warm water with a spoonful of baking soda for 30 minutes before the wash.
- Fray prevention: Choose hemmed napkins. If edges start to fray, trim threads and run a lighter pass on synthetic edges only — or retire that napkin to kitchen duty.
Action today: After your next wash cycle, pre-fold two clean pouches and store them with your picnic blanket so they’re always ready.
Variations For Different Utensil Sets
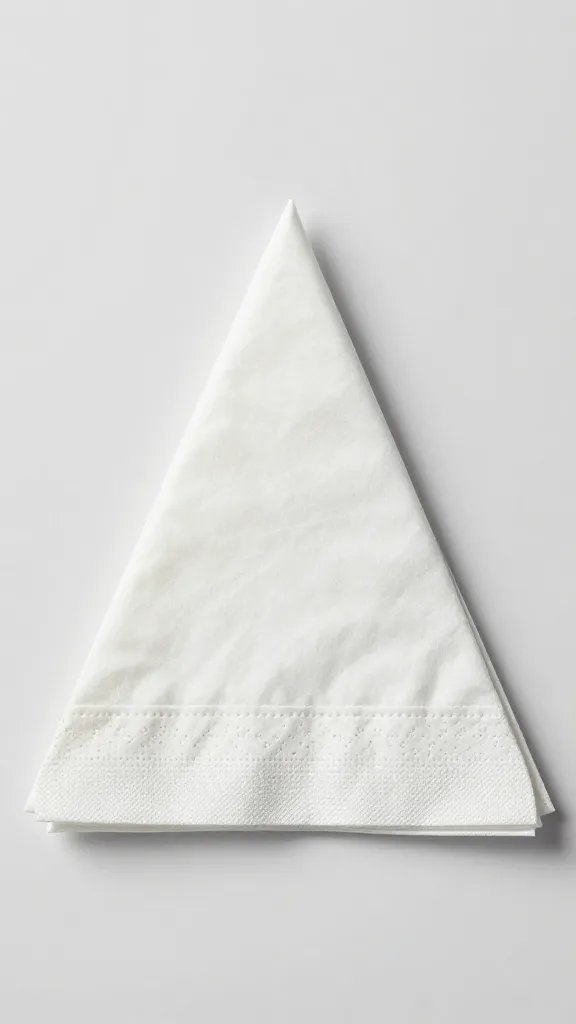
For kids’ cutlery or short camping sporks, fold a deeper pocket in steps 3–4 so the opening sits lower, then shorten the side folds slightly to keep the rectangle compact.
For chopsticks, insert them handle-up beside a spoon. For bulky steak knives, wrap the blade once in a paper napkin before sliding into the pouch to add an extra barrier.
Action today: Test your actual utensils in the fold you just made and adjust the pocket depth so the tips sit at least one inch below the opening.
Frequently Asked Questions
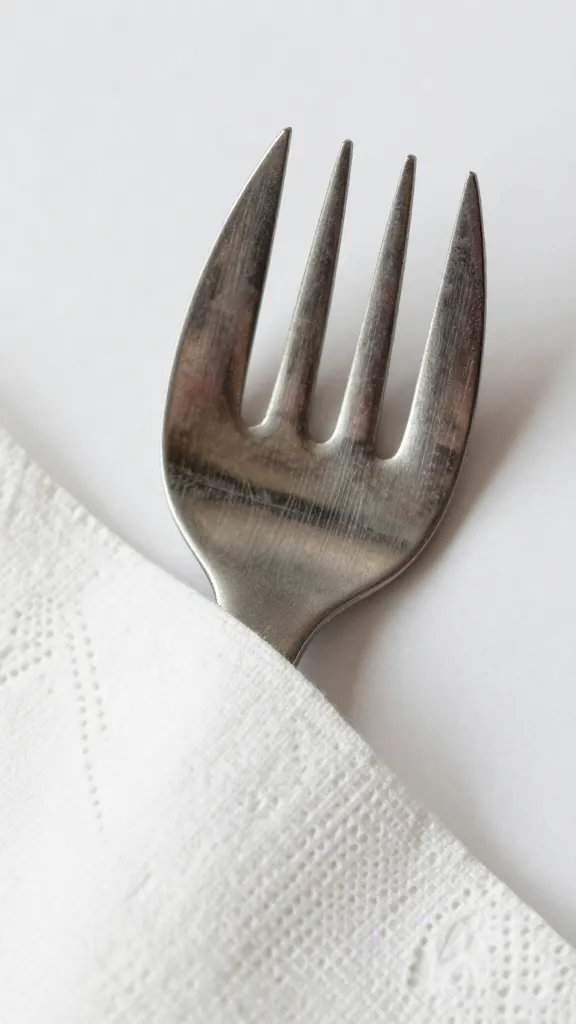
Will the pouch fold keep utensils clean if my bag tips over?
Yes, if you seat the utensil heads at the bottom of the pouch and stand the pouches upright. Use a small elastic or binder clip around the middle to hold the opening closed. For gravel paths or sandy parks, add a zip-top bag as an outer layer during transport. Open the bag only when you sit down to eat.
Can I use paper napkins for a one-time picnic?
Use a full-size dinner paper napkin, not a thin lunch napkin. Follow the same fold, but press each crease firmly with your thumbnail to help it hold. Add a small piece of tape or a sticker to keep the final overlap closed during transport. Pack the paper pouch near the top of your tote to avoid crushing.
How do I keep knives from cutting through the napkin?
Place the knife between the fork and spoon with the blade facing the spoon, not the cloth. Choose a thicker cotton napkin or add a single paper napkin layer around the blade before inserting. If you carry very sharp knives, use a simple plastic blade guard from the kitchen aisle. Keep the pouch vertical so the blade stays seated and doesn’t press outward.
What if my napkins are rectangular, not square?
Fold the long side toward the short side first to create a square, then proceed with the steps. If the rectangle is too skinny, make a deeper initial fold so the final pouch covers the utensil heads by at least an inch. Test with your longest utensil before packing. Adjust the side folds to keep the finished pouch snug.
How many utensils fit comfortably in one pouch?
Three standard pieces — fork, spoon, and table knife — fit well in a 16–20 inch napkin. If you add chopsticks or a straw, place them on the outside edge of the group before sliding everything in. When the bundle feels bulky or the opening gapes, split into two pouches. A snug fit keeps the heads protected and the fold intact.
Do I still need a utensil case if I use the pouch fold?
No. The pouch serves as a washable, flexible case that protects the eating ends. If you want extra assurance in dusty areas, slip the finished pouch into a simple zip-top bag or a small fabric zipper pouch. That two-layer setup stays clean without adding hard plastic cases to your pack.
Conclusion
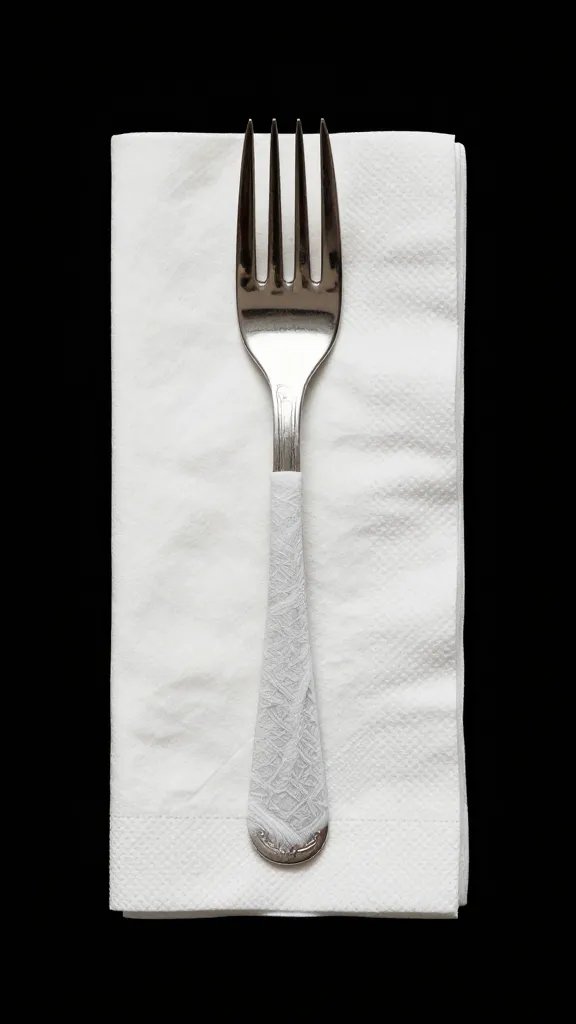
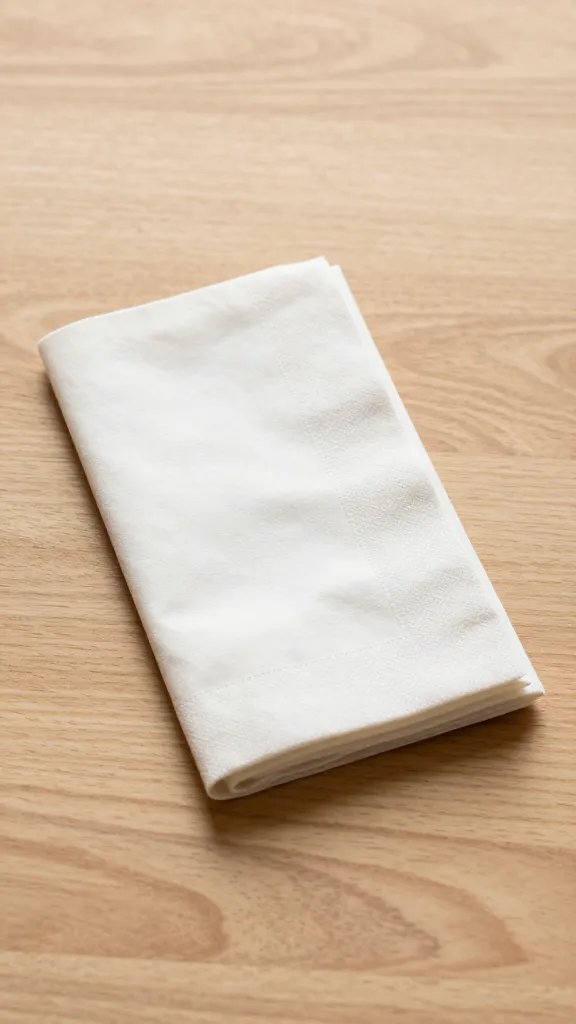
You don’t need gadgets to keep silverware clean at the park — just a square napkin and a reliable fold you can do by feel. Practice the pouch once today, stash two ready-made pouches with your picnic gear, and add a small wipe inside each one. Next time you spread a blanket, you’ll reach for spotless utensils without thinking about it. Your next step: set up a small “go bag” with two pre-folded pouches, a zip-top outer bag, and a spare napkin as a placemat so you’re always ready for a clean, easy meal outdoors.
Leave a Reply