Viral Guide 11 Picnic Backdrop Mistakes (Too Tall, Too Light) and How to Fix
Your picnic looks adorable… until the backdrop faceplants or washes out every photo. Let’s fix that. These mistakes sneak in fast, especially outside where light and wind do their worst. I’ll show you simple tweaks so your backdrop stands tall, flatters everyone, and looks like a pro set it up—without pro prices.
We’ll cover height issues, color fails, wobbly stands, and more. Grab a snack, because we’re about to save your picnic pics—and your sanity.
1. Stop Building Skyscrapers: Backdrops That Are Too Tall
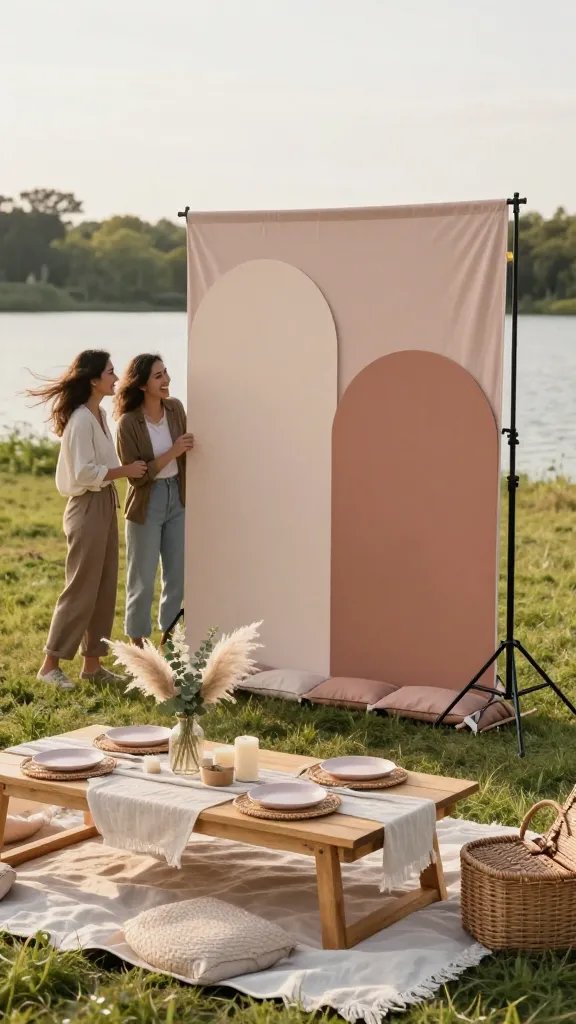
Oversized backdrops catch wind like sails and dwarf people in photos. If guests look like action figures next to your arch, you’ve gone too tall.
How To Fix
- Keep height around 6.5–7.5 feet for seated picnics and 7.5–8.5 feet for standing groups.
- Lower stands one notch and widen the base by a foot on each side.
- Use modular panels you can shorten on the fly.
Smaller height looks intentional, photographs better, and stays upright when a breeze says “let’s test physics.”
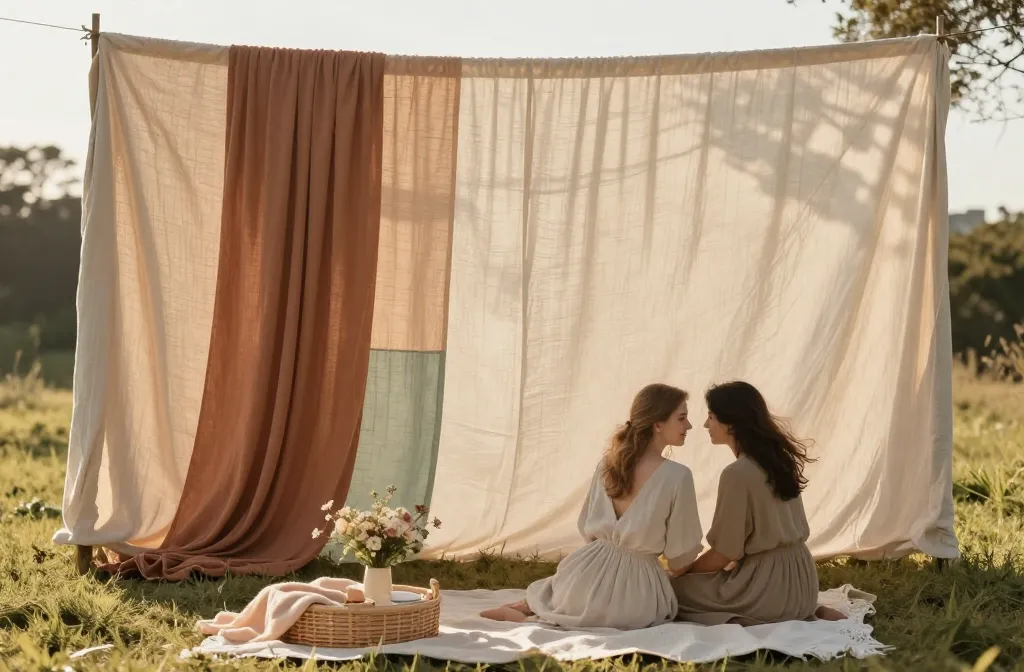
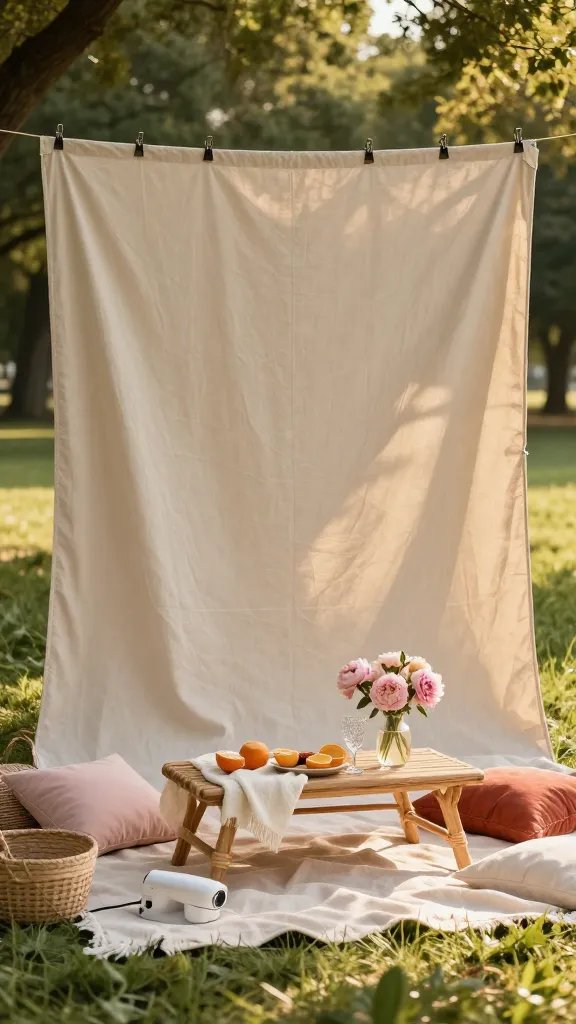
2. The Washout Problem: Backdrops That Are Too Light
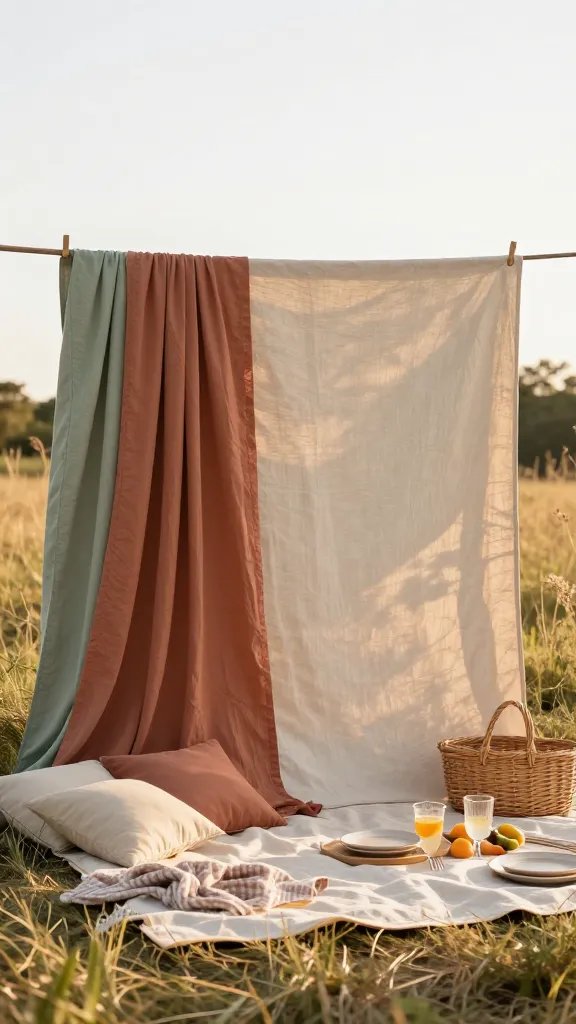
Light backdrops can blow out in direct sun and make faces look ghostly. White-on-white setups also vanish against bright skies.
Color Tweaks
- Shift to warm neutrals: sand, oat, candle-cream, or pale blush.
- Add depth with a mid-tone layer: terracotta drape or sage panel.
- Use textured fabrics (linen, seersucker) to catch shadows.
You’ll keep that airy vibe while getting definition that flatters skin tones in harsh light—seriously, it’s night and day.
3. Wobbly Stands and Wind Tantrums
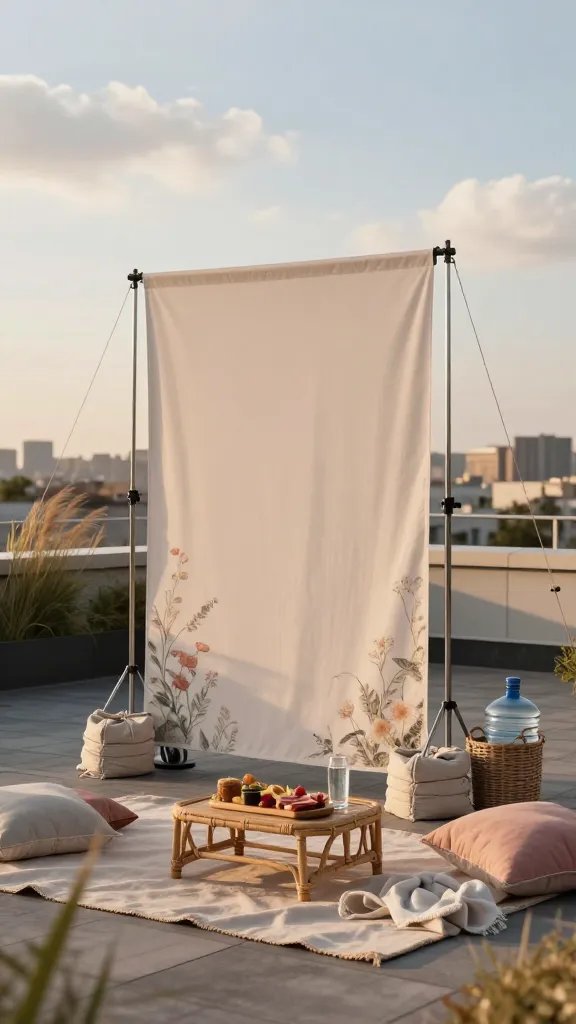
If your backdrop sways like a palm tree, the wind will win. Wobbly stands stress you out and photobomb with crooked lines.
Stability Hacks
- Stake legs with 10–12 inch tent stakes and paracord guy lines at 45° angles.
- Add 10–25 lb weights per leg: sandbags, water jugs in cute baskets, or gym plates wrapped in fabric.
- Angle the backdrop 5–10° off perpendicular to catch less wind.
Solid structure means more mingling, less babysitting—useful for parks, beaches, and rooftop spots.
4. Wrinkles, Waves, and Saggy Fabric
Creased fabric screams “last-minute.” Sunlight amplifies every wrinkle, and your photos pay the price.
Quick Smooth Methods
- Hang the fabric early and mist with water; let gravity relax it for 20–30 minutes.
- Use a handheld steamer or a hair dryer on low, moving constantly.
- Clamp the top every 12 inches and pull tension downward with hidden ties.
A taut, smooth surface looks expensive and makes your picnic feel styled, not slapped together.
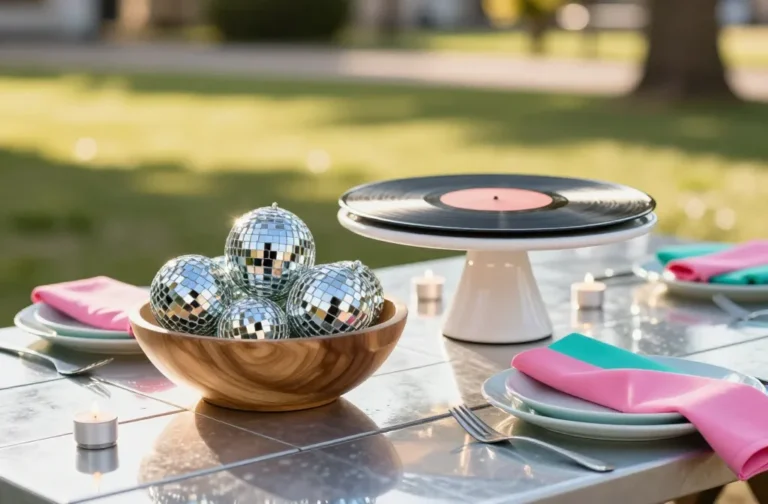
5. Colors That Clash With Nature
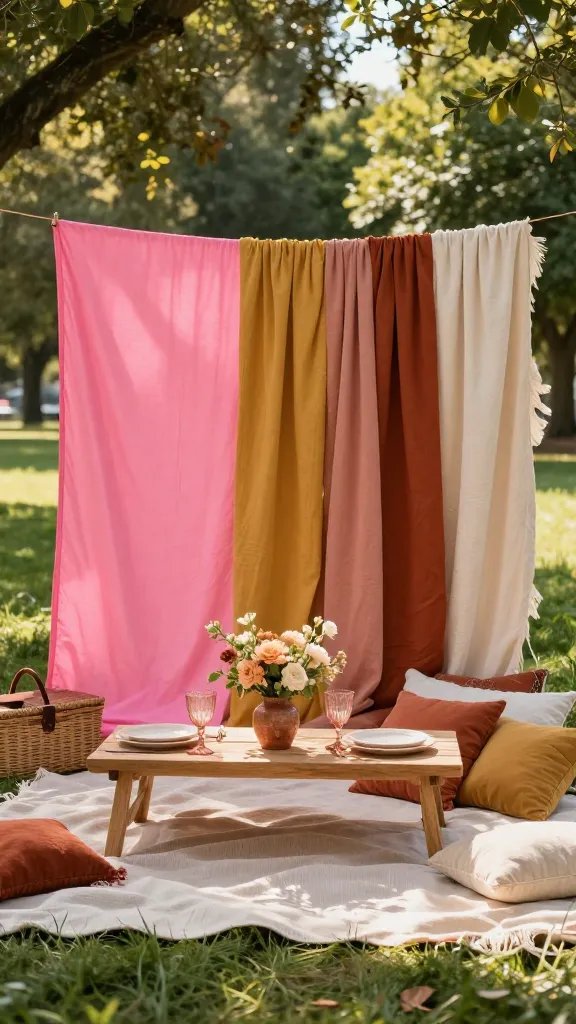
Neon pink against lush grass? Painful. The outdoors already has a loud palette; your backdrop needs to complement, not compete.
Palette Rules That Never Fail
- For green-heavy parks: warm terracotta, mustard, rust, blush, cream.
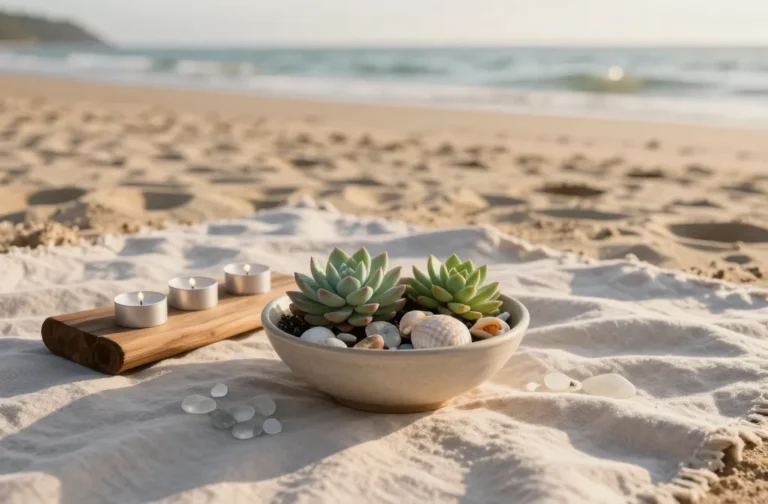
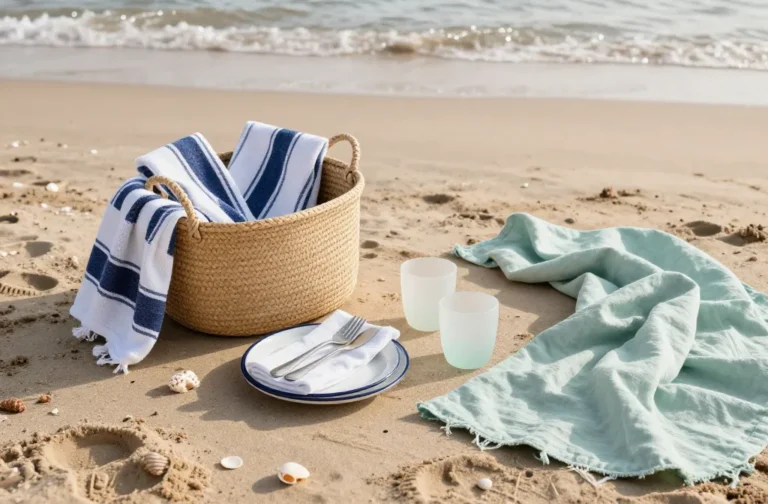
- For beaches: driftwood gray, sand, sea-glass, soft coral.
- For deserts: sage, clay, charcoal, dusty rose.
Match the setting and everyone looks radiant—IMO, it’s the easiest “pro” cheat out there.
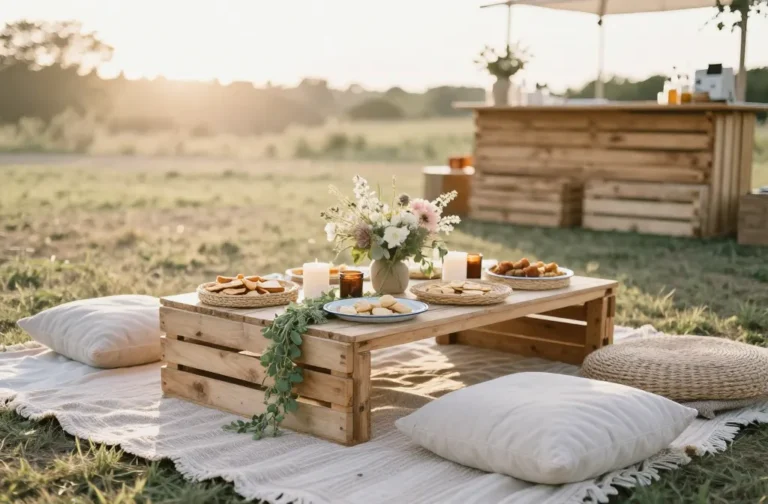
6. Forgetting Foreground: Flat and Boring Setups
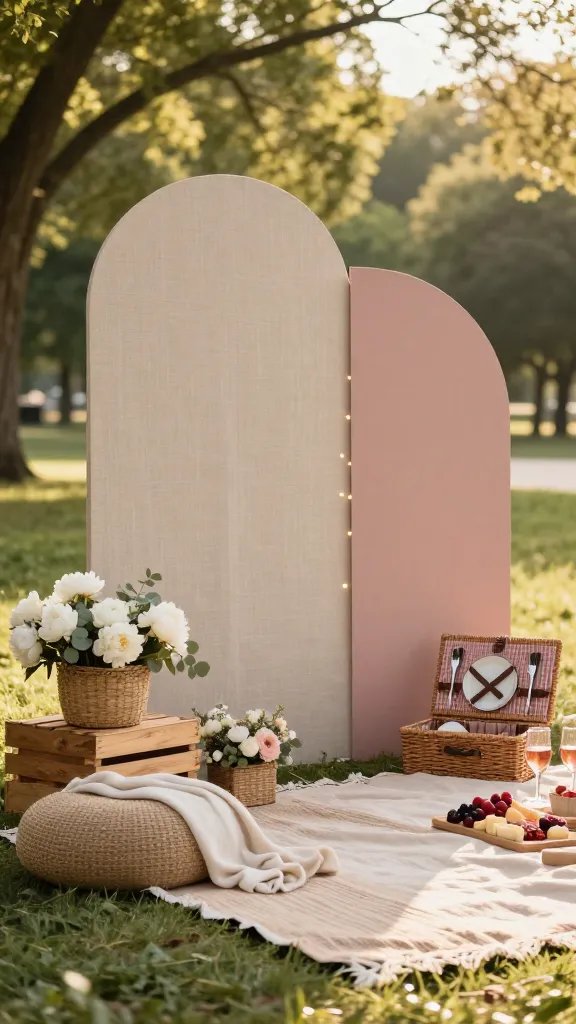
One flat panel looks lifeless on camera. You need layers so photos feel dimensional, not like a school portrait.
Layer Like You Mean It
- Combine a main backdrop with a side arch or drape offset by 8–16 inches.
- Add a low element: crates, poufs, baskets, or flower boxes at knee height.
- Use diagonals: angle a rug or banner to break straight lines.
Layering makes every snap look styled and intentional—perfect for birthdays, proposals, and friends who “only take candids.”
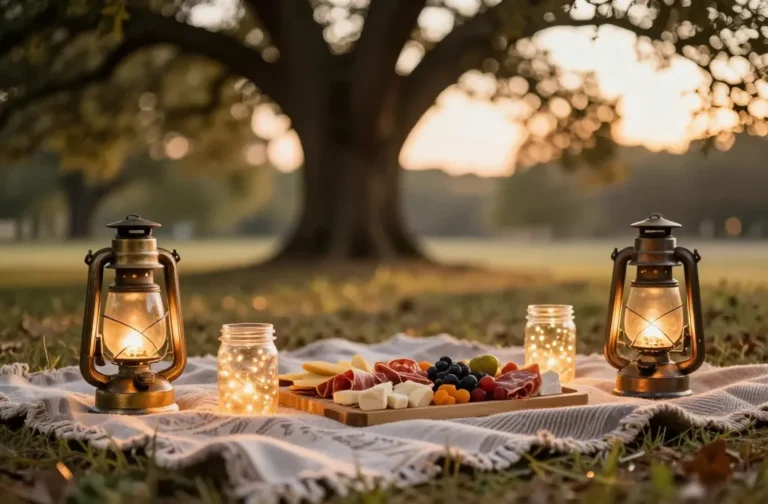
7. Ignoring Light Direction and Shadow Control

Light makes or breaks your backdrop. Backlighting can turn faces into silhouettes, while noon sun creates raccoon eyes.
Lighting Fixes
- Place the sun behind and slightly to the side of the photographer during golden hour.
- Use the backdrop as shade by rotating it to block direct sun from faces.
- Clip a white sheet or reflector to bounce light back onto subjects.
Dialed-in light flatters everyone and keeps colors true—your future self will thank you when you edit.
8. Fonts, Signs, and Props You Can’t Read
Pretty signs that vanish at five feet? Wasteful. Thin scripts and pale letters disappear outdoors.
Make Text Pop
- High-contrast colors: charcoal on blush, white on terracotta, navy on cream.
- Chunky, bold fonts for names; scripts only for short words.
- Outline letters or add a drop shadow for depth in bright settings.
Readable signage doubles as décor and memory markers—great for grads, anniversaries, and bridal picnics.
9. Overcomplicating Setup With Fussy Hardware
If your backdrop needs a toolkit and three YouTube tutorials, you’ll rush and regret it. Simpler rigs set up faster and fail less.
Keep It Simple
- Choose friction-fit pipe frames or click-lock stands over screw-heavy systems.
- Pre-rig garlands and drapes with zip ties and color-coded tape.
- Pack a “panic pouch”: clamps, scissors, extra zip ties, gaffer tape, safety pins.
Streamlined gear buys you more picnic time and fewer “where does this bolt go?” moments—FYI, speed matters when the wind picks up.
10. Forgetting Scale With Seating and People

A backdrop that looks perfect alone can look tiny once people sit. Low picnic tables shrink everything in frame.
Scale Smarts
- For seated groups, drop the focal décor (florals, signage) to 28–40 inches high.
- Widen the backdrop to 6–8 feet so shoulders don’t spill past edges.
- Add vertical accents only where people won’t block them.
Right-sized elements feel immersive and photo-friendly, especially for low-table spreads and cozy rug setups.
11. Skipping Weather-Proofing and Ground Reality

Dewy grass, dusty parks, and beach gusts don’t care about your mood board. If you ignore terrain, things stain, tip, and tangle.
Outdoor-Ready Moves
- Place waterproof mats under rugs and table blankets to stop damp creep.
- Choose washable fabrics and pre-spray with fabric protectant.
- Tether lightweight décor with fishing line; hide knots behind florals.
- Use ground screws in dirt or weighted base plates on hard surfaces.
Weather-proofing equals stress-proofing. Your setup stays cute even when nature gets spicy—trust me, you’ll feel smug when the breeze kicks up.
There you go—11 fixes that turn a flimsy, washed-out backdrop into a sturdy, photogenic showstopper. Start with height, light, and stability, then layer color and texture like a stylist. You’ll spend more time snacking and laughing, and less time chasing panels across the park. Go make that picnic look legendary.