Viral 13 “Custom Menu” Picnic Signs for Picnic Grazing Boards
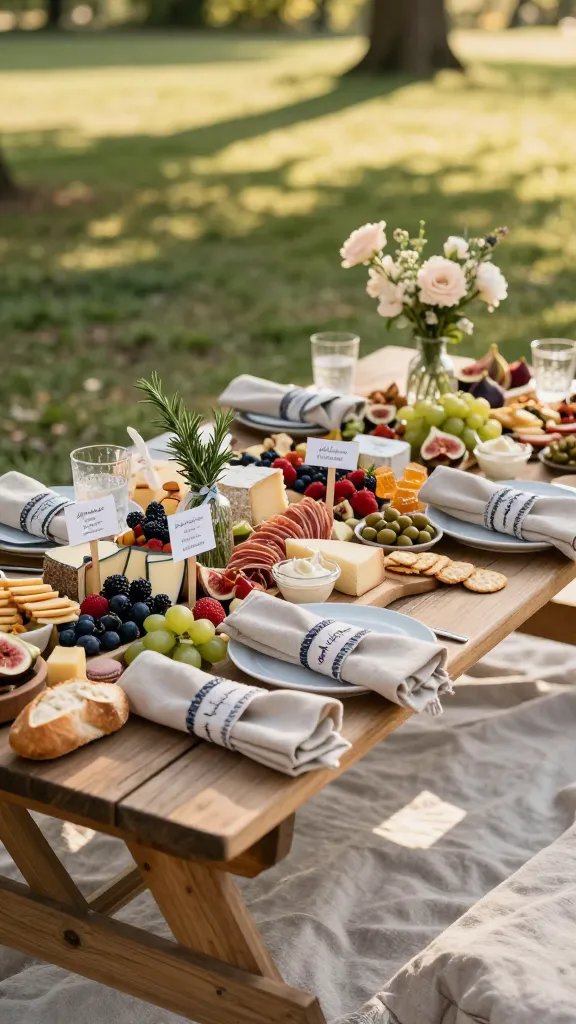
Picnic grazing boards already look delicious—now let’s make them unforgettable with clever “custom menu” signs. These tiny showstoppers guide guests, reduce awkward “uhh what is this?” moments, and level up your whole vibe. From chalkboards to edible labels, I’ve got creative options that are easy, affordable, and ridiculously charming. Ready to make your spread look like it belongs on Pinterest?
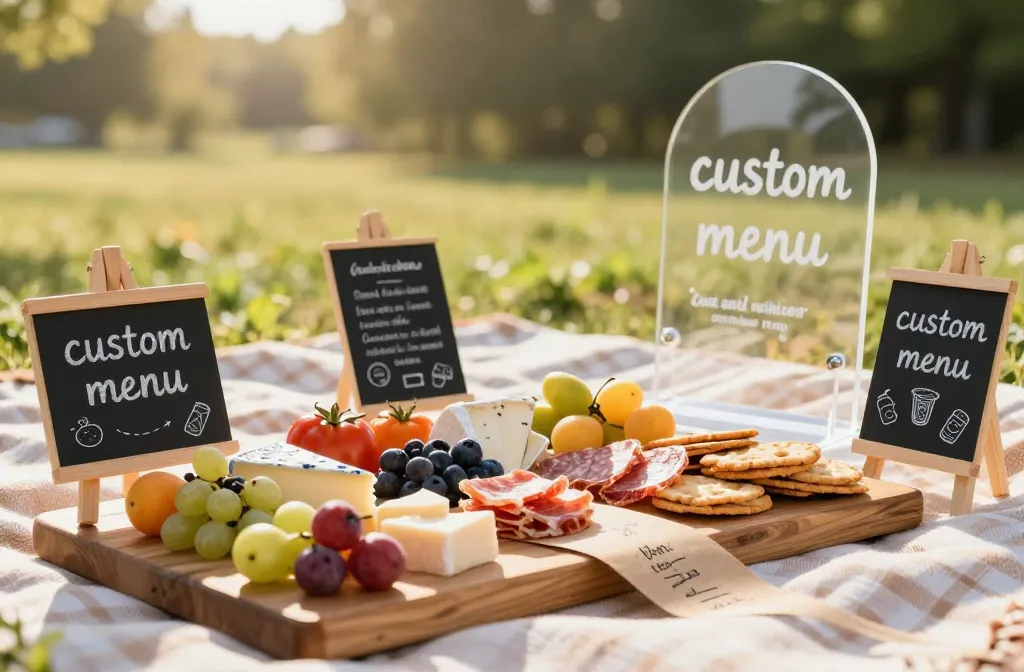
1. Mini Chalkboard Easels With Personality
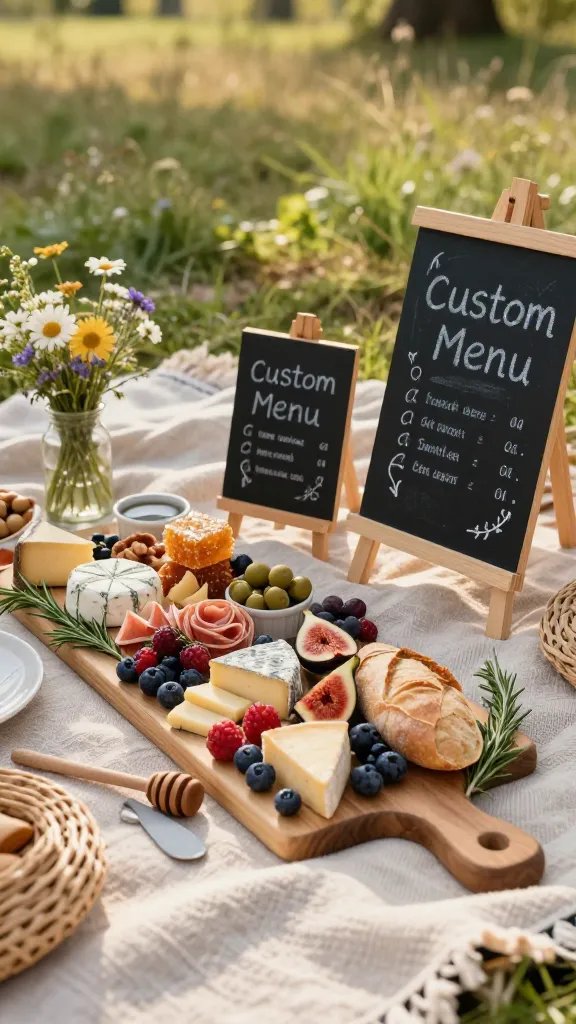
Nothing beats the cozy charm of mini chalkboards. They feel casual, photograph beautifully, and let you change your menu on the fly.
Tips
- Use a fine-tip chalk marker for crisp lettering.
- Add tiny doodles—arrows, vines, or cheese wedges—for flair.
- Keep a damp cloth handy for quick edits.
They shine at rustic picnics and boho setups. Bonus: you can reuse them forever, which your budget will love.
2. Acrylic Arch Signs For That Minimal Aesthetic
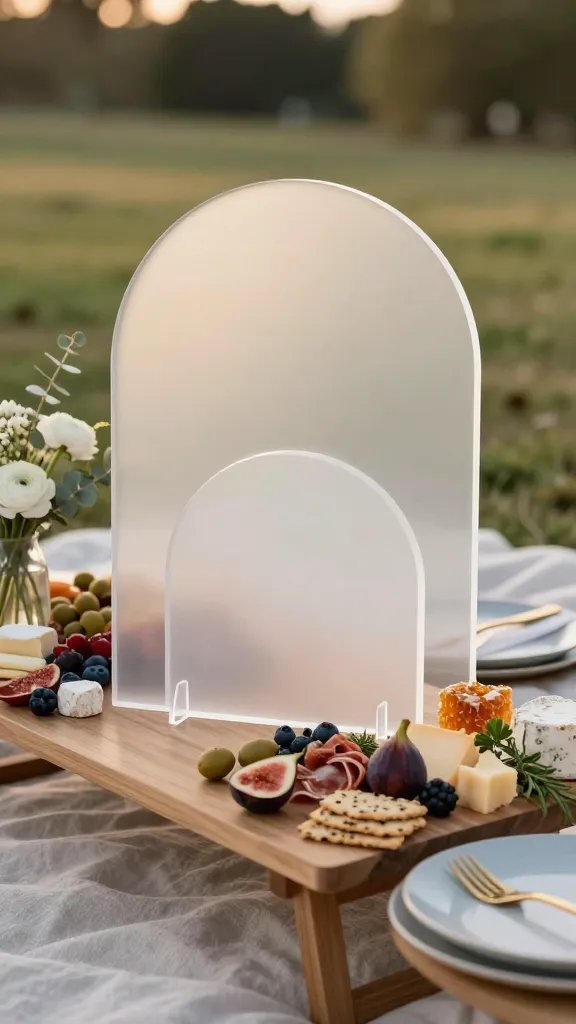
Acrylic signs look modern and clean, especially in arch or half-moon shapes. They pair well with any color palette, from soft pastels to bold brights.
Key Points
- Use white paint pens or vinyl lettering for high contrast.
- Layer sizes: one larger “Menu” arch and smaller item labels.
- Prop with clear stands so they look like they’re floating.
Perfect for engagement picnics or birthdays where you want a sleek, elevated feel.
3. Kraft Paper Runner + Brush Lettered Menu
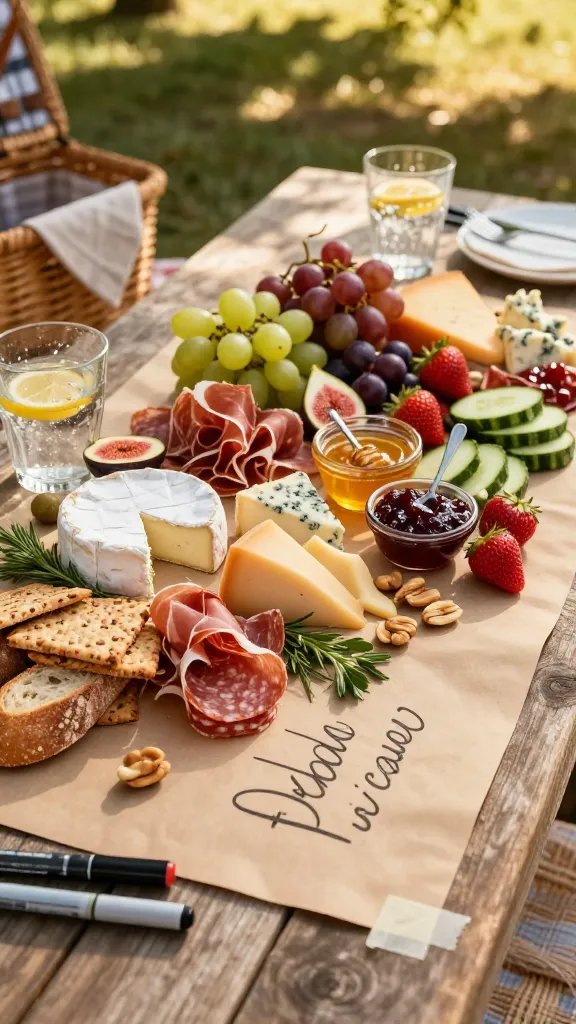
Roll out kraft paper under your grazing board and letter your “custom menu” right on the table. It screams effortless chic and makes cleanup a breeze.
Materials
- Kraft paper roll (18–24 inches wide)
- Brush pens or paint markers
- Painter’s tape to secure edges
Write category headers like Cheeses, Fresh, and Sweet Bites. It’s low-cost, high-impact, and ideal for big groups who graze all day.
4. Edible Wafer Paper Tabs (Yes, You Can Eat Them)
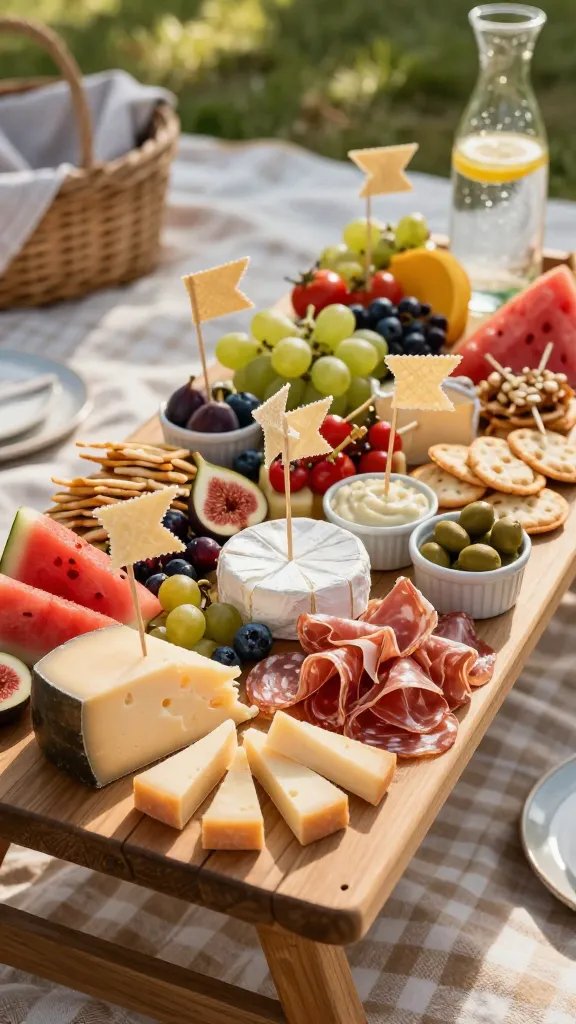
Want a “whoa, that’s cool” moment? Print tiny labels on edible wafer paper and stick them on skewers. They look delicate and whimsical without adding clutter.
How To Use
- Cut into flags and slide onto toothpicks or bamboo picks.
- Use edible ink pens for notes like “Smoked Gouda” or “Gluten-Free.”
- Keep away from moisture-heavy zones so they don’t wilt.
Great for allergen notes or signature bites where guests need quick clarity. IMO, they’re a subtle flex.
5. Pressed Flower Frames With Floating Labels
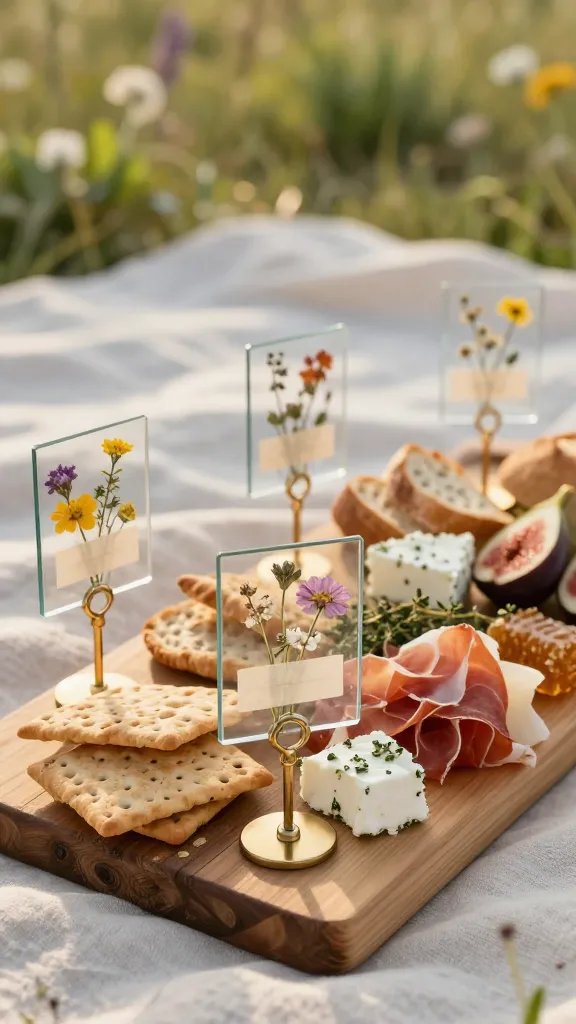
Tiny floating frames with pressed flowers plus a label strip? Swoon. They bring cottagecore vibes and make even crackers look artisanal.
Assembly
- Sandwich pressed blooms between glass.
- Add a vellum strip with printed text.
- Stand upright with mini plate stands.
Use these for romantic picnics, showers, or any day you want the board to feel like a meadow in spring.
6. Laser-Cut Wood Tags You’ll Reuse Forever
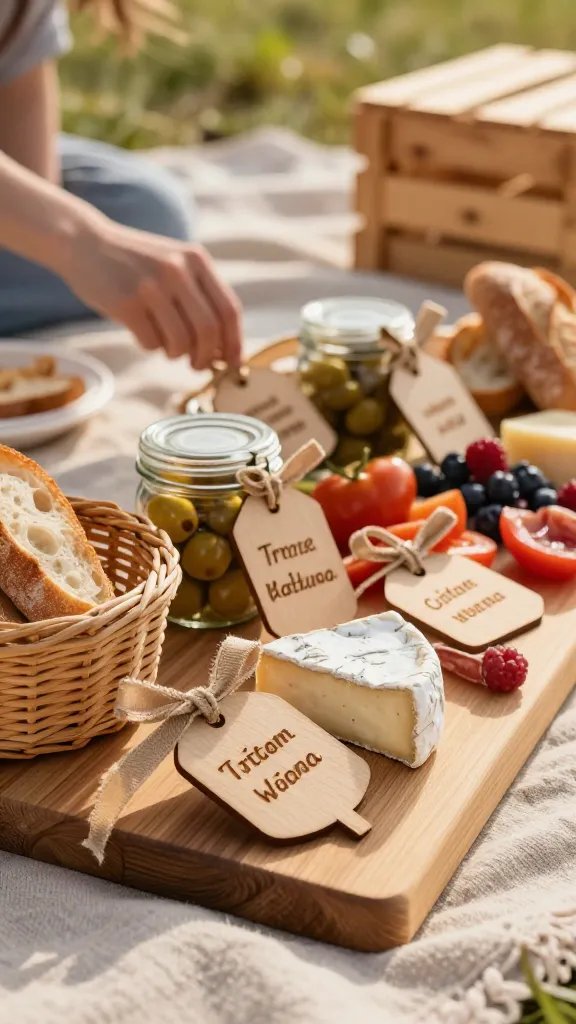
Durable and stylish, wood tags add warmth and stay readable outdoors. You can engrave category names or specific items.
Best Practices
- Stick to short labels like Truffle Brie or Citrus Olives.
- Tie with jute or velvet ribbon to baskets and jars.
- Seal wood with food-safe oil for longevity.
These shine at repeat events—think annual picnics or family reunions. Sustainability win, too.
7. Clip-On Binder Tags For a Cute, Low-Lift Hack
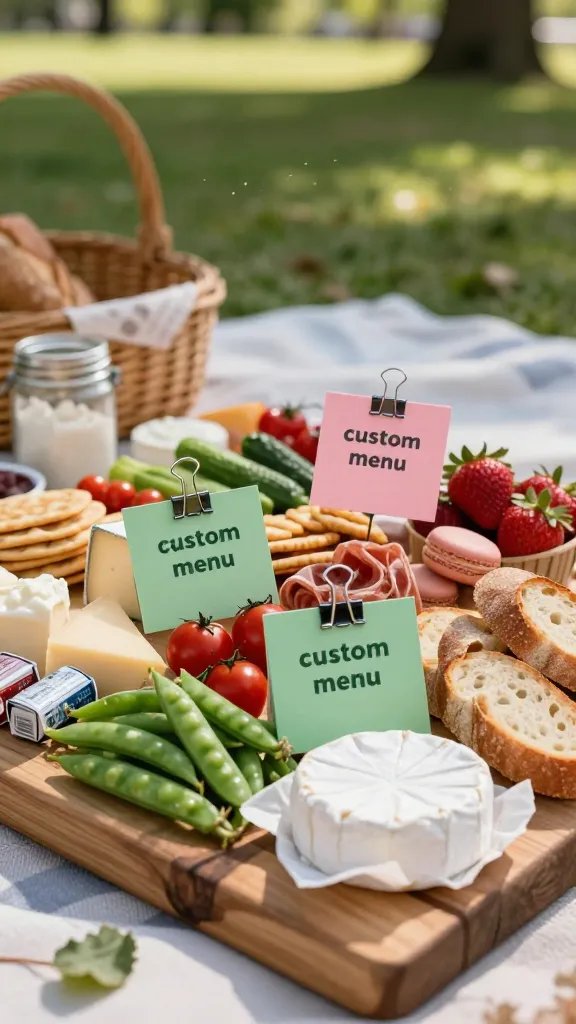
Small metal binder clips plus cardstock labels equal instant signage. It looks intentionally casual and takes two minutes to set up.
Quick Steps
- Print or handwrite labels on thick cardstock.
- Clip onto the edges of trays, baskets, or cheese wrappers.
- Color-code by category (greens for veggies, blush for sweets).
Use this when you want flexible, lightweight signs that won’t blow away. Seriously practical for breezy park days.
8. Tile Coasters as Luxe Label Plates

Ceramic or marble coasters pull double duty as chic signs and drip catchers for honey pots. They feel fancy without trying too hard.
How To Style
- Write with removable paint marker or grease pencil.
- Group three tiles to label a “flight” of cheeses.
- Layer under ramekins so labels stay near the food.
Perfect for wine-and-cheese picnics where you want texture, weight, and no-flyaway signs.
9. Colored Vellum Flags for Dreamy Layers
Soft, translucent vellum adds a dreamy vibe over baskets and platters. The color peeks through just enough to look curated.
Design Ideas
- Print in serif fonts for a boutique look.
- Use brass pins or mini clothespins to attach.
- Layer over patterned napkins for depth.
These flatter any pastel or neutral theme. Use when your picnic board doubles as a photo op (which it will).
10. Photo Strip Menus for Storybook Feels
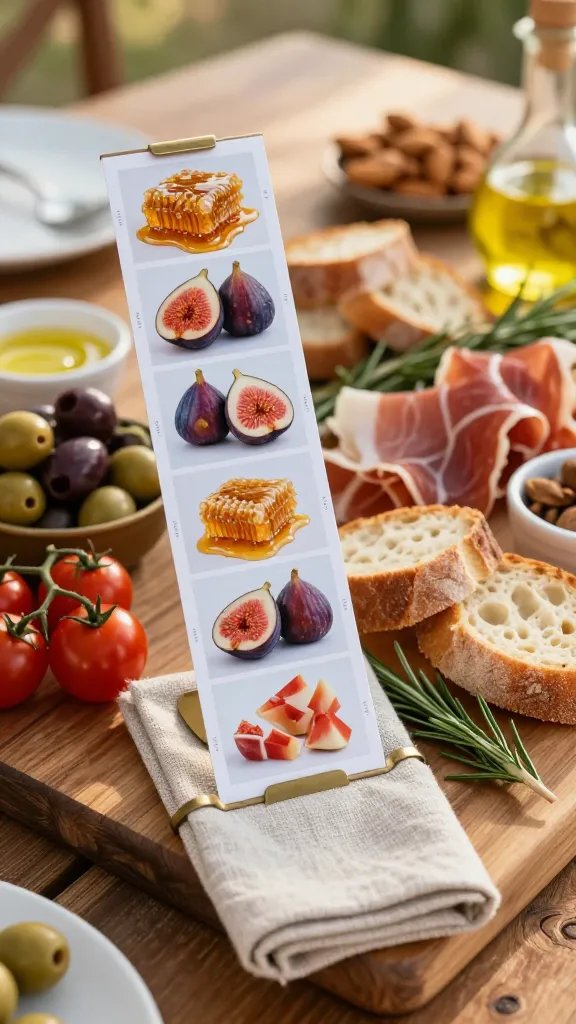
Print narrow “photo strip” menus with tiny item pics and captions. They guide guests visually and add personality to every bite.
Execution
- Shoot close-ups of hero items (figs, honeycomb, manchego).
- Arrange in a vertical strip with short captions.
- Display in mini stands or tuck into napkin folds.
Great for themed boards—Mediterranean, Garden Party, or Brunch. FYI, kids love these.
11. Slate Stones With White Ink Drama
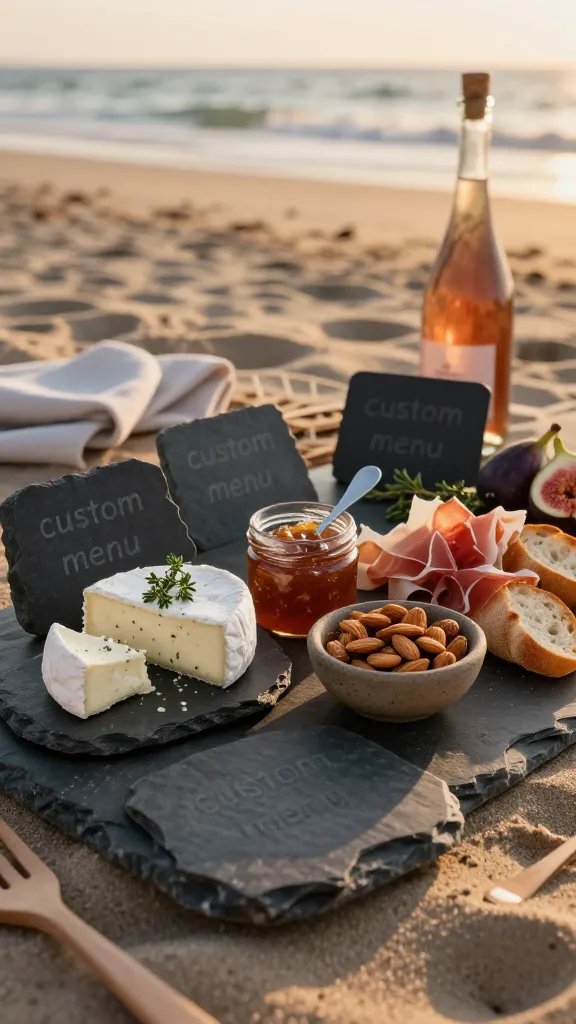
Flat slate pieces look moody and artisanal. Write in white ink or chalk marker for that bold restaurant-style contrast.
Tips
- Use irregular shapes for organic charm.
- Wipe with mineral oil to deepen the slate color.
- Keep messages short: Fig Jam, Herb Goat, Smoky Almonds.
Use for evening picnics or beach hangs where darker tones pop at golden hour.
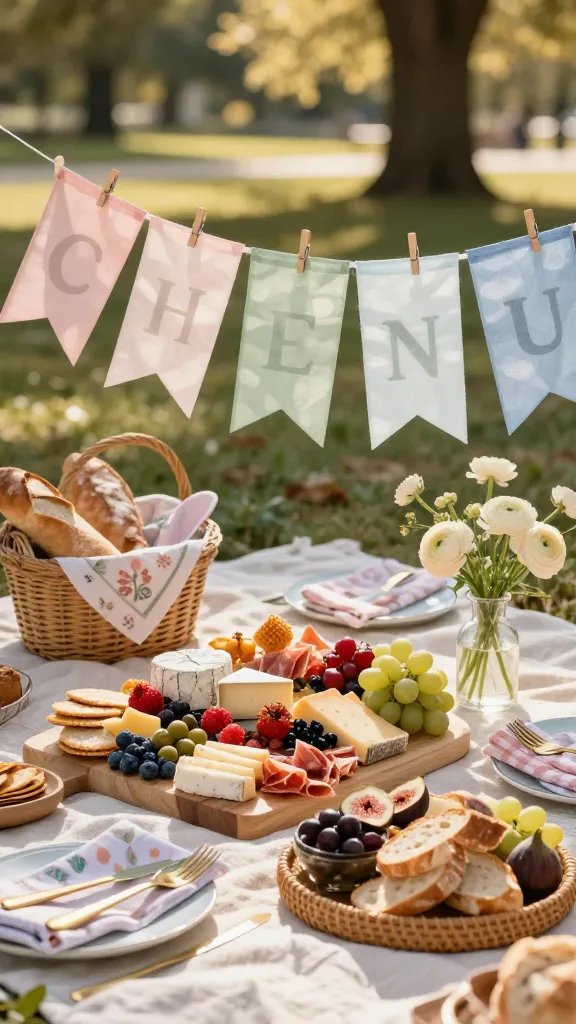
12. Cloth Napkin Bands With Embroidered Labels
Turn napkin wraps into subtle signage by embroidering or heat-pressing menu tags onto fabric bands. It’s tactile, unexpected, and very “special occasion.”
What Works
- Cotton bands with simple script or monograms.
- Neutral fabric + contrasting thread for readability.
- Assign each napkin a board zone: Cheese Crew, Dipper Squad, Sweets Lane.
Use when you want keepsake vibes—bridal showers, anniversaries, or milestone birthdays. Guests might “accidentally” take them home.
13. Magnetic Tin Lids for Modular Labeling
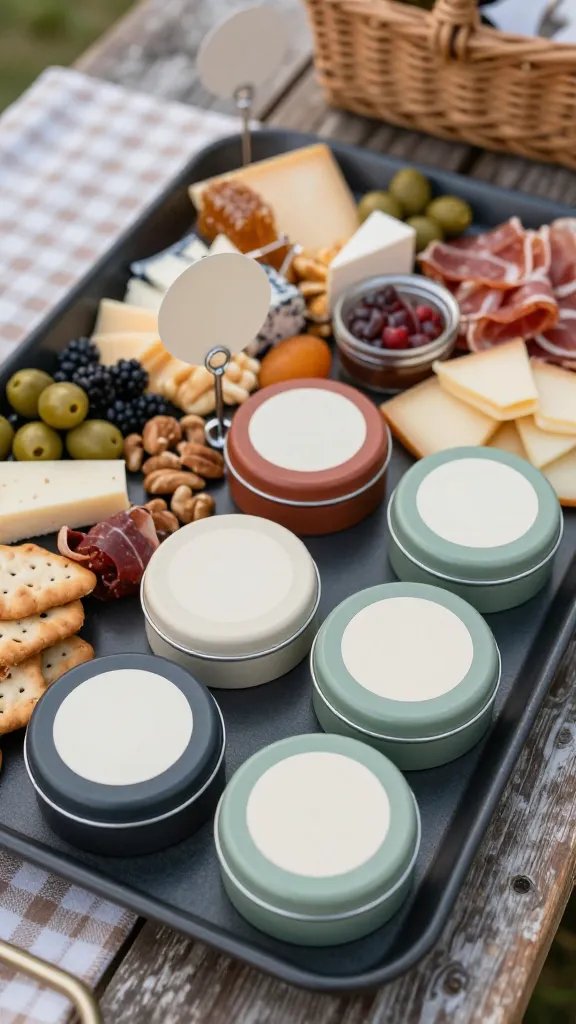
Repurpose small tin lids as magnets that cling to trays or metal stands. They’re quirky, tough, and easy to rearrange as the board evolves.
Setup
- Spray paint lids in your palette.
- Add adhesive magnet strips underneath.
- Stick circular label stickers on top for crisp text.
Ideal for dynamic boards where items rotate or run out. You’ll reconfigure on the fly like a pro—no fuss, no mess.
Bonus Guidance: What To Put On Your Custom Menu Signs
- Clear item names: keep them short and specific.
- Flavor notes: “tangy,” “smoky,” “floral,” “spicy.”
- Allergens: nuts, dairy, gluten, shellfish.
- Pairing cues: “try with fig jam,” “pairs with rosé,” “stack with prosciutto.”
These quick notes help guests feel confident and adventurous, which means fewer leftovers and happier tastebuds.
Design Shortcuts So Your Signs Look Cohesive
- Choose one font family and two sizes—headings and items.
- Stick to a color trio: base, accent, neutral.
- Repeat a shape (arch, circle, flag) across all signs.
- Add one recurring icon—leaf, star, or heart—for instant unity.
Consistency makes your spread look intentional and, trust me, super photogenic.
Sample Phrases You Can Steal
- Cheese Flight: Manchego • Truffle Brie • Blue with Honey
- Dipper Zone: Rosemary Focaccia • Seeded Crackers • Veg Sticks
- Sweet Finishes: Dark Chocolate Bark • Candied Orange • Strawberries
- Try This Stack: Cracker + Brie + Fig + Prosciutto
Steal these now, tweak later. Your future hungry guests will thank you.
Ready to picnic like a legend? Pick one or two sign styles, keep your labels short and helpful, and let the board do the rest. You’ll serve confidence, clarity, and major style—no “what is that?” interrogation required. Now go claim that sunny patch of grass and show off your custom menu magic.