9 Baby Shower Picnic Banner Ideas That Wow Instantly
Planning a baby shower picnic and want that instant “aww” factor? These banner ideas turn a simple park setup into a total vibe. We’re talking budget-friendly, DIY-friendly, and ridiculously photogenic. Grab your picnic blanket—these banners will do the rest.
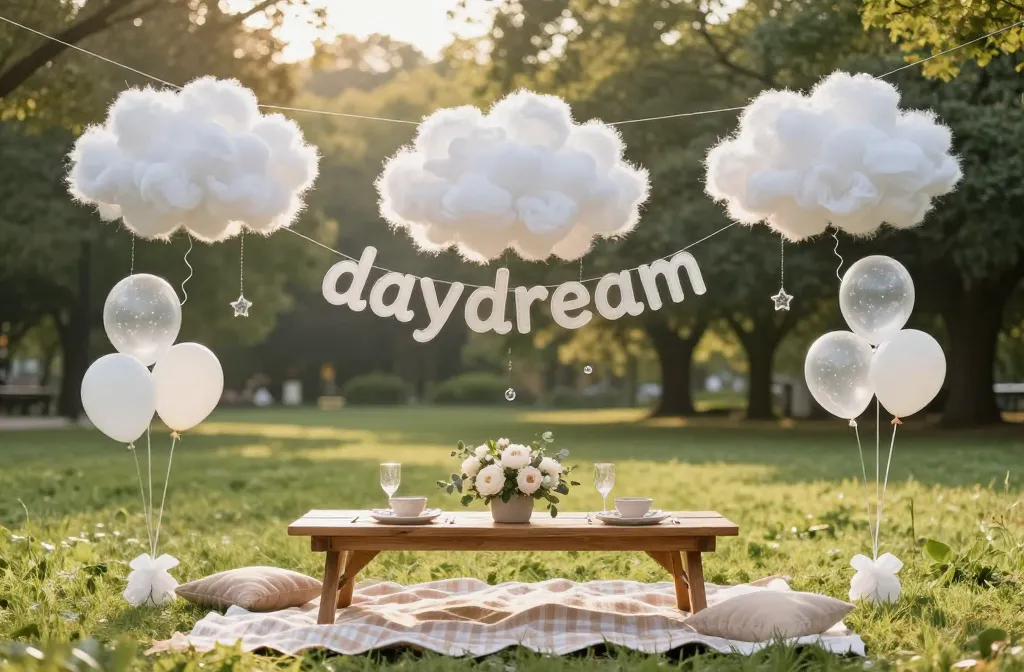
1. Cloudy Daydreams With Floating Lettering

Soft clouds plus floating letters deliver instant whimsy without trying too hard. You get that dreamy, airy look that screams baby shower magic. It’s light, ethereal, and super easy to assemble on-site.
Materials
- White tissue paper or cotton batting for clouds
- Fishing line and mini clear balloons
- Pre-cut letters (cardstock, wood, or acrylic)
- Command hooks or a lightweight dowel
Create fluffy cloud clusters using tissue or batting, then suspend individual letters underneath with fishing line so they “float.” Space them out slightly for movement in the breeze. Add tiny clear balloons to amp up the sky illusion—seriously, it looks so good in photos.
Tips
- Keep letters under 6 inches to prevent tangling.
- Use double-sided tape on the back of letters for stability.
- Pick a light-proof spot so white clouds don’t blow out in photos.
Best for breezy, open picnic lawns where you want an airy, minimalist focal point without heavy hardware.
2. Vintage Bunting Meets Baby Blocks
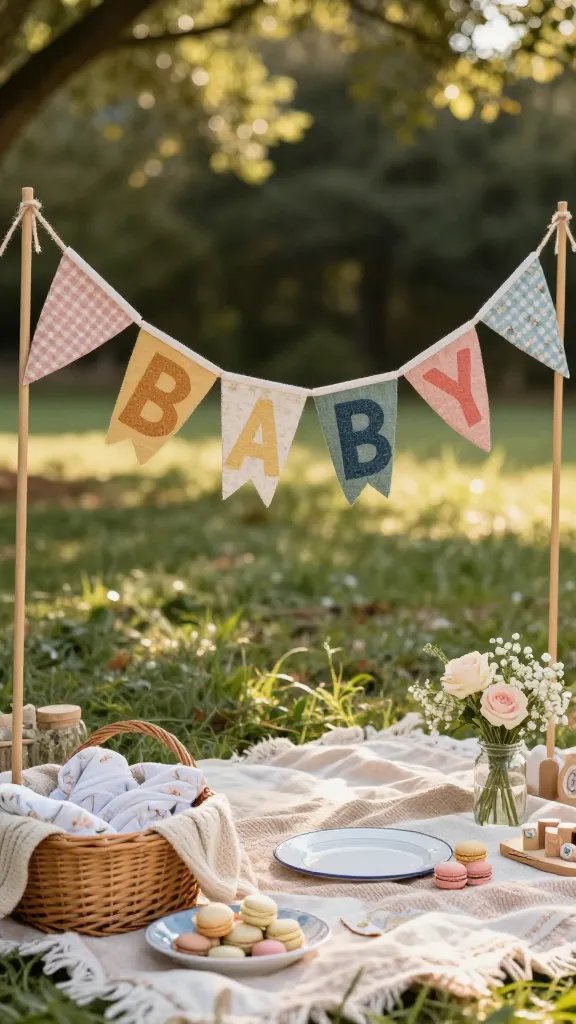
Old-school bunting gets a glow-up with bold “BABY” block letters layered on top. You’ll nail the nostalgic vibe without losing clarity or theme. It feels cozy and classic—perfect for multi-generational crowds.
Key Points
- Triangle pennants in linen, gingham, or floral prints
- Oversized letters in blocky fonts
- Twine or jute string for rustic charm
String your bunting first, mixing 3–4 prints to add rhythm. Then hot-glue or clip chunky letters across the tops—go for contrasting shades so they pop. If you want bonus charm, add mini pom-poms or lace edges.
Color Combos That Work
- Blush, sage, cream
- Dusty blue, mustard, ivory
- Lavender, oatmeal, soft gray
Great for picnic tables under trees or a dessert spread where you want something warm, timeless, and easy to read from a distance.
3. Botanical Garland With Baby Name Reveal
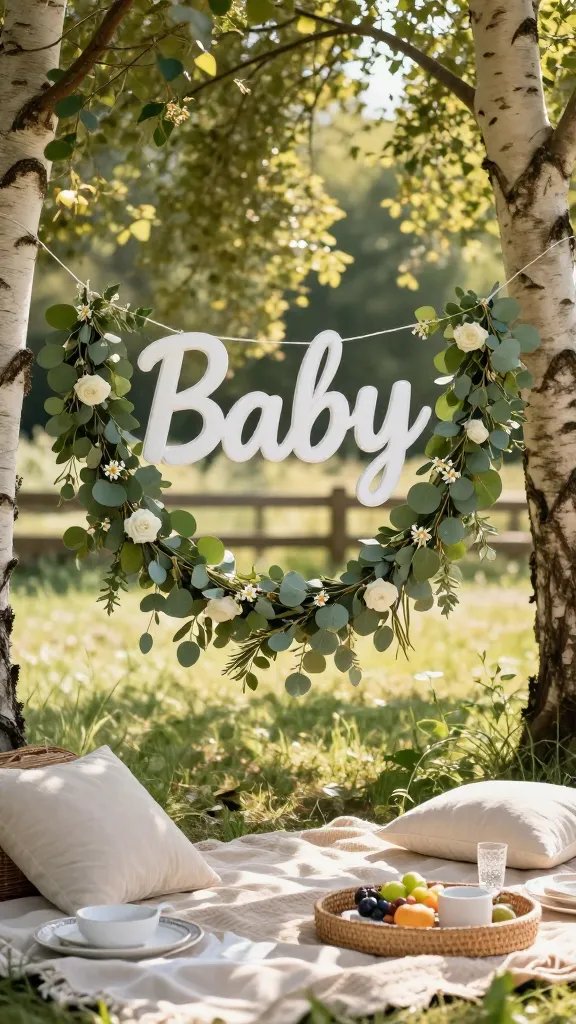
Greenery never fails, and a botanical banner with the baby’s name gives you that “effortlessly elegant” vibe. It’s fresh, gender-neutral, and zero-cheese if that’s your style. Plus, it’s Instagram bait in the best way.
Materials
- Eucalyptus or ruscus garland (faux or fresh)
- Gold or white acrylic letters
- Floral wire and clear hooks
- Optional: small white roses or chamomile blooms
Hang your garland along a picnic arch, fence, or between two trees. Wire the letters along the foliage so they nestle into the leaves. If you don’t have the baby’s name yet, use “Oh Baby” or “Little One.”
Pro Moves
- Mist fresh greenery lightly to keep it perky.
- Use matte letters to avoid glare in sunlight.
- Add delicate ribbon tails in chiffon for movement.
Perfect for minimalist themes, garden parties, or any crew that swoons for earthy, organic styling.
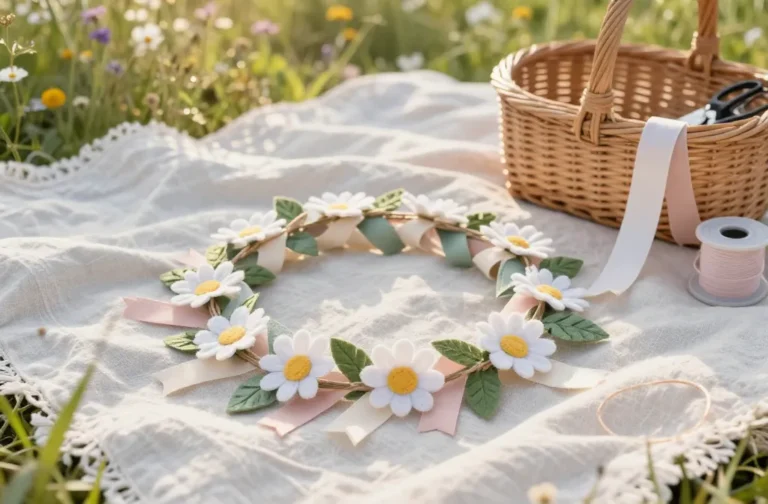
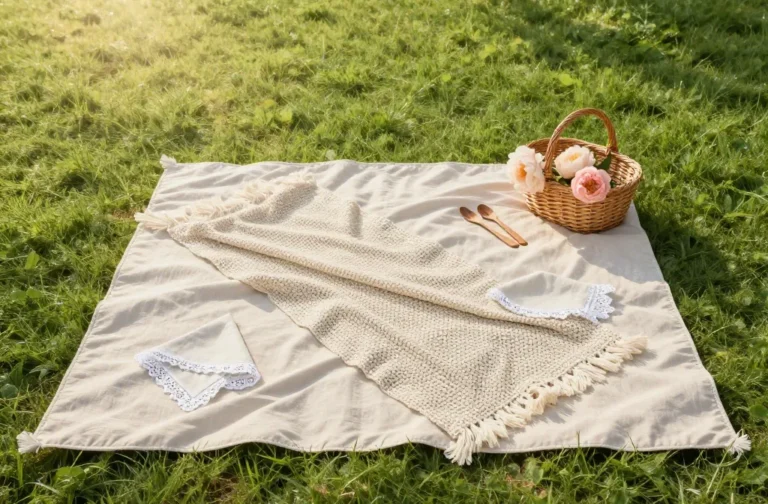
4. Picnic Blanket Patchwork Banner

Lean into the picnic aesthetic with a patchwork banner made from actual blanket and fabric scraps. It brings warmth, texture, and a little crafty chaos (the cute kind). Think cozy quilt, but make it party decor.
How-To
- Cut fabric squares or triangles in plaid, gingham, and solids.
- Stitch or fabric-glue onto a sturdy ribbon or bias tape.
- Add felt letters or sew-on patches for the message.
Mix scale: one large plaid, one mini gingham, one solid, and one floral for balance. Keep letters simple and bold so they read clearly across the patchwork. If you want extra story, include a square cut from a family blanket (cue the tears).
When To Use
- Casual backyard picnics
- Rustic or farmhouse themes
- When you want personal, handmade charm
Ideal if you love texture and nostalgia. It photographs beautifully against greenery or wood.
5. Balloon Garland Banner With Script Overlay
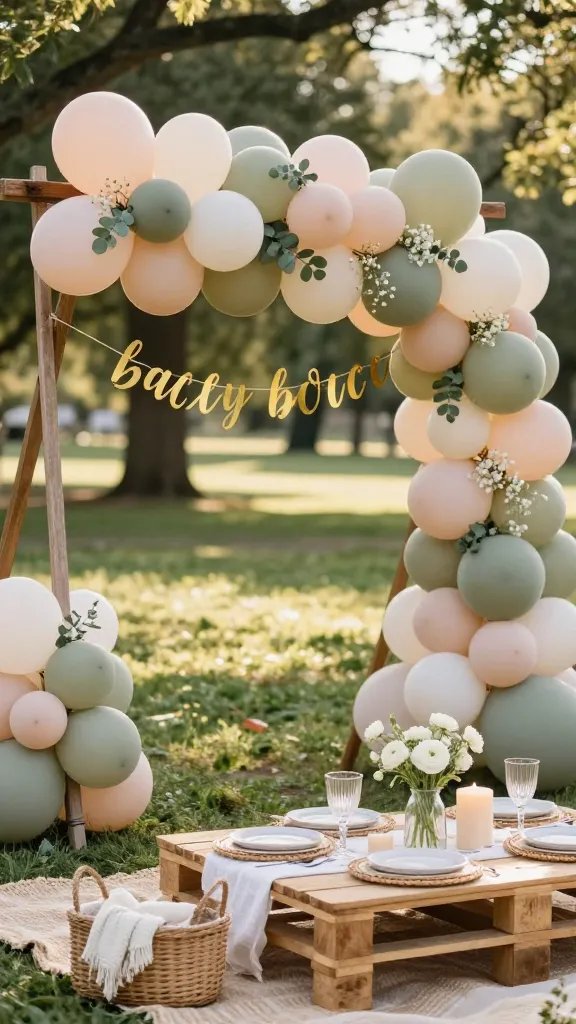
Balloon garlands still run the party world, and pairing them with a chic script banner upgrades the look instantly. You get big visual impact with relatively simple materials. Also, balloons = guaranteed smiles.
Build It
- Small and medium balloons in 2–3 colors
- Balloon tape and glue dots
- Script banner: “Oh Baby,” baby name, or “Welcome Baby”
- Eucalyptus sprigs or baby’s breath for fill-ins
Create a full garland first along a tree trunk, arch, or A-frame. Then layer the script banner across with fishing line so it looks like it floats in front. Tuck greenery to soften the edges.
Tips
- Use matte or pastel balloons for softer picnic vibes.
- Stick to one metallic accent max (like gold script) so it doesn’t scream nightclub.
- Transport the garland in sections to avoid tears—yours and the balloons’.
Best for photo backdrops or dessert tables when you want a clear focal point and a little drama—IMO, it never fails.
6. Storybook Pennants With Baby Quotes
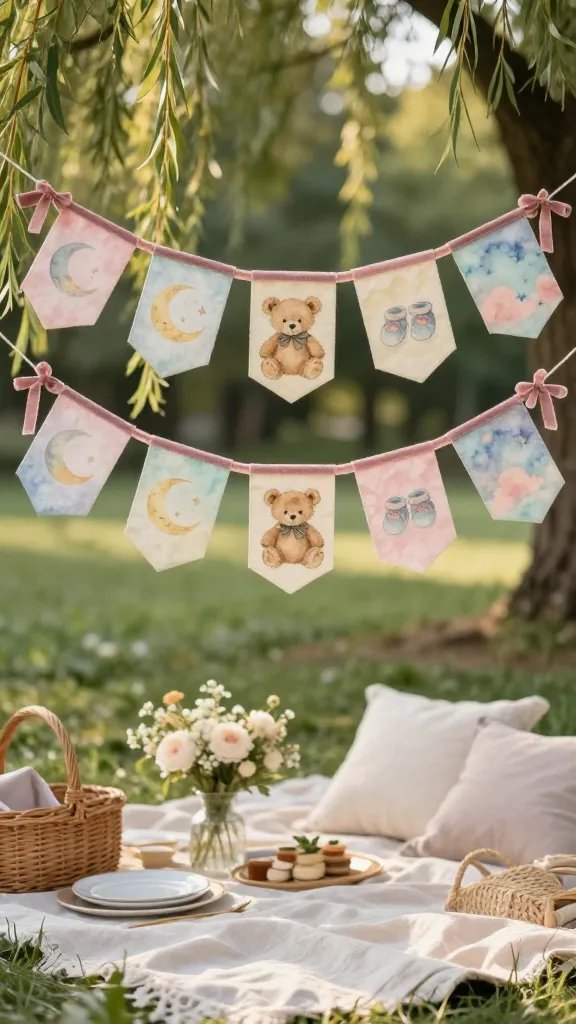
Bring the feels with a banner that pairs sweet baby quotes and classic illustrations. It turns your picnic into a mini storybook moment—and guests will stop to read. Educational? No. Adorable? Absolutely.
Design Ideas
- Pennants with quotes like “You Are My Sunshine” or “Dream Big, Little One.”
- Vintage-style art: moons, stars, teddy bears, tiny booties.
- Soft watercolor backgrounds in pastels.
Print pennants on heavyweight cardstock or canvas paper. Punch holes and string them with velvet ribbon for a luxe touch. Alternate quotes and images to create rhythm, or end with the baby’s name for a sweet reveal.
Pro Touches
- Round the edges for a book-page feel.
- Add a subtle deckle edge with a tearing ruler.
- Dust with a hint of gold foil or glitter (a tiny hint—trust me).
Great for shaded areas near seating, where guests can take a minute to enjoy the details and snap pics.
7. Picnic Produce Banner (But Make It Baby)
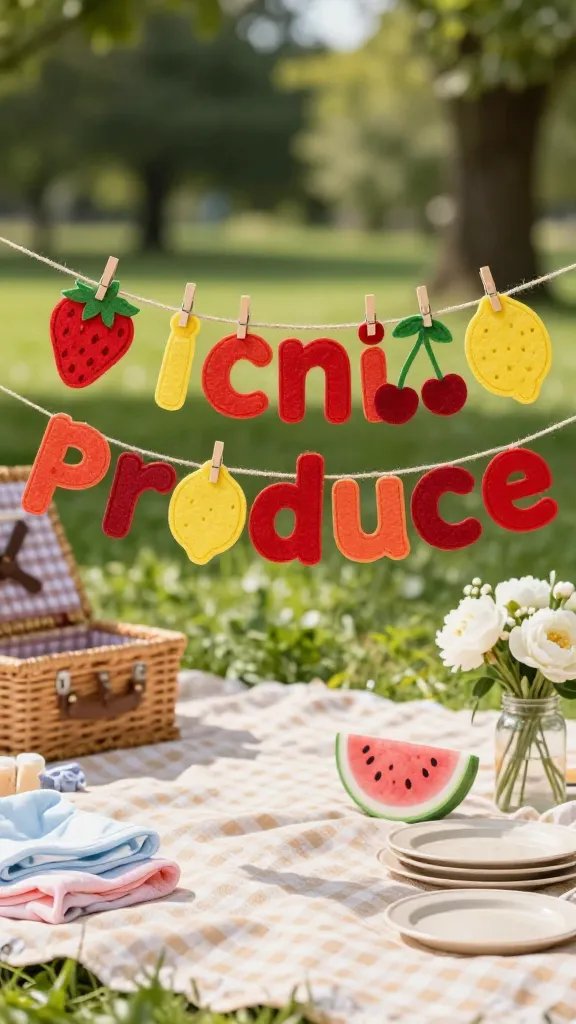
Leverage picnic iconography—think strawberries, lemons, and cherries—but swap slogans for baby puns. It’s playful without getting tacky, and the colors pop like crazy outdoors. Bonus: easy to DIY with felt or foam.
Theme Variations
- Strawberries: “Berry Sweet Baby”
- Lemons: “Little Squeeze” or “Main Squeeze Arriving Soon”
- Cherries: “So Cherry-ished”
- Watermelon: “One In A Melon”
Create oversized produce cutouts and intersperse them with chunky letters. Use twine to string and mini clothespins to clip for that market-stall vibe. If you’re extra, add gingham ribbon tails so it screams picnic in the best way.
Tips
- Keep produce silhouettes bold and simple for easy recognition.
- Layer felt pieces for dimension (seeds, leaves, rinds).
- Stick to 2–3 fruit types to avoid chaos.
Perfect if you want bright, cheerful energy that kids and adults both love. This one earns big smiles in photos.
8. Sunny Skies Ribbon Banner With Beads And Bells
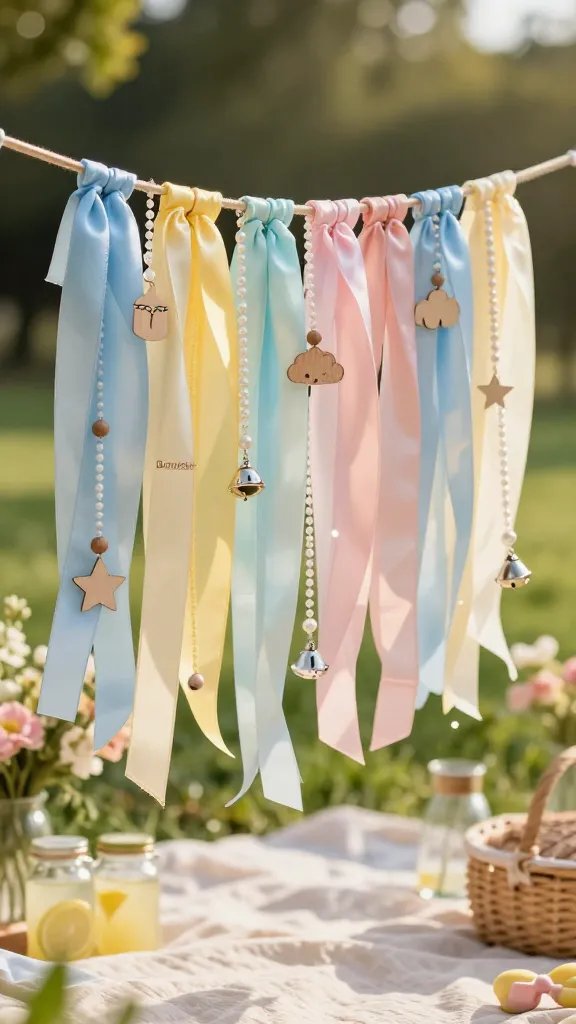
Want movement and sparkle? A cascading ribbon banner with beads and tiny bells catches light and breeze like a dream. It adds atmosphere you can feel—literally—when those ribbons dance.
Materials
- Assorted ribbons (satin, chiffon, grosgrain) in 3–4 colors
- Wooden dowel or branch
- Wood beads, mini bells, or pearl strands
- Laser-cut baby-themed charms (optional)
Tie ribbons in varying lengths along the dowel, clustering colors for ombré or alternating for contrast. Thread beads or bells onto some strands so they glint and tinkle softly. Center a small message plaque or tiny wooden letters over the ribbons for the “banner” component.
Color Stories
- Sunset: peach, coral, blush, gold
- Sky: powder blue, white, silver
- Garden: sage, cream, dusty rose
Best for a breezy spot where you want kinetic energy and texture. It doubles as a stunning entrance marker.
9. Photo Timeline Bunting: From Ultrasound To “See You Soon”
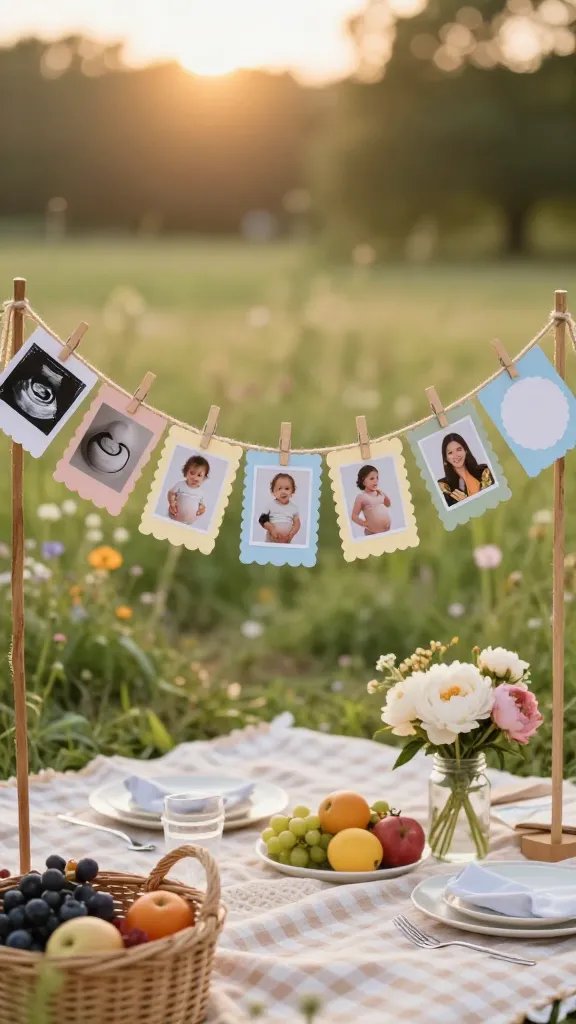
Turn the banner into a story with a timeline of photos—from ultrasound to bump pics. It’s personal, emotional, and wildly sharable. People will actually stop to look and coo (prepare for happy cries).
How To Arrange
- Start with ultrasound images, then month-by-month bump shots.
- Add small caption cards: “First Kick,” “Craving Alert,” “Third Trimester!”
- Finish with a final card: “See You Soon, Baby [Name/Nickname]”
Mount photos on mini mats or scalloped cardstock. Use tiny clothespins on a natural twine line, then sprinkle in paper hearts or stars as spacers. Keep prints matte so sunlight doesn’t glare them out.
Tips
- Print extras in case the wind gets feisty.
- Use removable dots on photo backs to keep them straight.
- Place under partial shade for easy viewing.
Perfect near the gift table or entrance so guests feel connected right away. It doubles as a keepsake you can later hang in the nursery—win-win.
1. Cloudy Daydreams With Floating Lettering
Soft clouds plus floating letters deliver instant whimsy without trying too hard. You get that dreamy, airy look that screams baby shower magic. It’s light, ethereal, and super easy to assemble on-site.
Materials
- White tissue paper or cotton batting for clouds
- Fishing line and mini clear balloons
- Pre-cut letters (cardstock, wood, or acrylic)
- Command hooks or a lightweight dowel
Create fluffy cloud clusters using tissue or batting, then suspend individual letters underneath with fishing line so they “float.” Space them out slightly for movement in the breeze. Add tiny clear balloons to amp up the sky illusion—seriously, it looks so good in photos.
Tips
- Keep letters under 6 inches to prevent tangling.
- Use double-sided tape on the back of letters for stability.
- Pick a light-proof spot so white clouds don’t blow out in photos.
Best for breezy, open picnic lawns where you want an airy, minimalist focal point without heavy hardware.
2. Vintage Bunting Meets Baby Blocks
Old-school bunting gets a glow-up with bold “BABY” block letters layered on top. You’ll nail the nostalgic vibe without losing clarity or theme. It feels cozy and classic—perfect for multi-generational crowds.
Key Points
- Triangle pennants in linen, gingham, or floral prints
- Oversized letters in blocky fonts
- Twine or jute string for rustic charm
String your bunting first, mixing 3–4 prints to add rhythm. Then hot-glue or clip chunky letters across the tops—go for contrasting shades so they pop. If you want bonus charm, add mini pom-poms or lace edges.
Color Combos That Work
- Blush, sage, cream
- Dusty blue, mustard, ivory
- Lavender, oatmeal, soft gray
Great for picnic tables under trees or a dessert spread where you want something warm, timeless, and easy to read from a distance.
3. Botanical Garland With Baby Name Reveal
Greenery never fails, and a botanical banner with the baby’s name gives you that “effortlessly elegant” vibe. It’s fresh, gender-neutral, and zero-cheese if that’s your style. Plus, it’s Instagram bait in the best way.
Materials
- Eucalyptus or ruscus garland (faux or fresh)
- Gold or white acrylic letters
- Floral wire and clear hooks
- Optional: small white roses or chamomile blooms
Hang your garland along a picnic arch, fence, or between two trees. Wire the letters along the foliage so they nestle into the leaves. If you don’t have the baby’s name yet, use “Oh Baby” or “Little One.”
Pro Moves
- Mist fresh greenery lightly to keep it perky.
- Use matte letters to avoid glare in sunlight.
- Add delicate ribbon tails in chiffon for movement.
Perfect for minimalist themes, garden parties, or any crew that swoons for earthy, organic styling.
4. Picnic Blanket Patchwork Banner
Lean into the picnic aesthetic with a patchwork banner made from actual blanket and fabric scraps. It brings warmth, texture, and a little crafty chaos (the cute kind). Think cozy quilt, but make it party decor.
How-To
- Cut fabric squares or triangles in plaid, gingham, and solids.
- Stitch or fabric-glue onto a sturdy ribbon or bias tape.
- Add felt letters or sew-on patches for the message.
Mix scale: one large plaid, one mini gingham, one solid, and one floral for balance. Keep letters simple and bold so they read clearly across the patchwork. If you want extra story, include a square cut from a family blanket (cue the tears).
When To Use
- Casual backyard picnics
- Rustic or farmhouse themes
- When you want personal, handmade charm
Ideal if you love texture and nostalgia. It photographs beautifully against greenery or wood.
5. Balloon Garland Banner With Script Overlay
Balloon garlands still run the party world, and pairing them with a chic script banner upgrades the look instantly. You get big visual impact with relatively simple materials. Also, balloons = guaranteed smiles.
Build It
- Small and medium balloons in 2–3 colors
- Balloon tape and glue dots
- Script banner: “Oh Baby,” baby name, or “Welcome Baby”
- Eucalyptus sprigs or baby’s breath for fill-ins
Create a full garland first along a tree trunk, arch, or A-frame. Then layer the script banner across with fishing line so it looks like it floats in front. Tuck greenery to soften the edges.
Tips
- Use matte or pastel balloons for softer picnic vibes.
- Stick to one metallic accent max (like gold script) so it doesn’t scream nightclub.
- Transport the garland in sections to avoid tears—yours and the balloons’.
Best for photo backdrops or dessert tables when you want a clear focal point and a little drama—IMO, it never fails.
6. Storybook Pennants With Baby Quotes
Bring the feels with a banner that pairs sweet baby quotes and classic illustrations. It turns your picnic into a mini storybook moment—and guests will stop to read. Educational? No. Adorable? Absolutely.
Design Ideas
- Pennants with quotes like “You Are My Sunshine” or “Dream Big, Little One.”
- Vintage-style art: moons, stars, teddy bears, tiny booties.
- Soft watercolor backgrounds in pastels.
Print pennants on heavyweight cardstock or canvas paper. Punch holes and string them with velvet ribbon for a luxe touch. Alternate quotes and images to create rhythm, or end with the baby’s name for a sweet reveal.
Pro Touches
- Round the edges for a book-page feel.
- Add a subtle deckle edge with a tearing ruler.
- Dust with a hint of gold foil or glitter (a tiny hint—trust me).
Great for shaded areas near seating, where guests can take a minute to enjoy the details and snap pics.
7. Picnic Produce Banner (But Make It Baby)
Leverage picnic iconography—think strawberries, lemons, and cherries—but swap slogans for baby puns. It’s playful without getting tacky, and the colors pop like crazy outdoors. Bonus: easy to DIY with felt or foam.
Theme Variations
- Strawberries: “Berry Sweet Baby”
- Lemons: “Little Squeeze” or “Main Squeeze Arriving Soon”
- Cherries: “So Cherry-ished”
- Watermelon: “One In A Melon”
Create oversized produce cutouts and intersperse them with chunky letters. Use twine to string and mini clothespins to clip for that market-stall vibe. If you’re extra, add gingham ribbon tails so it screams picnic in the best way.
Tips
- Keep produce silhouettes bold and simple for easy recognition.
- Layer felt pieces for dimension (seeds, leaves, rinds).
- Stick to 2–3 fruit types to avoid chaos.
Perfect if you want bright, cheerful energy that kids and adults both love. This one earns big smiles in photos.
8. Sunny Skies Ribbon Banner With Beads And Bells
Want movement and sparkle? A cascading ribbon banner with beads and tiny bells catches light and breeze like a dream. It adds atmosphere you can feel—literally—when those ribbons dance.
Materials
- Assorted ribbons (satin, chiffon, grosgrain) in 3–4 colors
- Wooden dowel or branch
- Wood beads, mini bells, or pearl strands
- Laser-cut baby-themed charms (optional)
Tie ribbons in varying lengths along the dowel, clustering colors for ombré or alternating for contrast. Thread beads or bells onto some strands so they glint and tinkle softly. Center a small message plaque or tiny wooden letters over the ribbons for the “banner” component.
Color Stories
- Sunset: peach, coral, blush, gold
- Sky: powder blue, white, silver
- Garden: sage, cream, dusty rose
Best for a breezy spot where you want kinetic energy and texture. It doubles as a stunning entrance marker.
9. Photo Timeline Bunting: From Ultrasound To “See You Soon”
Turn the banner into a story with a timeline of photos—from ultrasound to bump pics. It’s personal, emotional, and wildly sharable. People will actually stop to look and coo (prepare for happy cries).
How To Arrange
- Start with ultrasound images, then month-by-month bump shots.
- Add small caption cards: “First Kick,” “Craving Alert,” “Third Trimester!”
- Finish with a final card: “See You Soon, Baby [Name/Nickname]”
Mount photos on mini mats or scalloped cardstock. Use tiny clothespins on a natural twine line, then sprinkle in paper hearts or stars as spacers. Keep prints matte so sunlight doesn’t glare them out.
Tips
- Print extras in case the wind gets feisty.
- Use removable dots on photo backs to keep them straight.
- Place under partial shade for easy viewing.
Perfect near the gift table or entrance so guests feel connected right away. It doubles as a keepsake you can later hang in the nursery—win-win.
Ready to picnic like a pro? Pick one banner as your star and layer a second, simpler style nearby for depth. You’ll create a cozy, photogenic setup that feels special without feeling fussy—FYI, that’s the sweet spot. Now grab some twine, cue the sunshine, and go make some baby-shower magic.