13 Kids’ Birthday Picnic Backdrops (Safe + Cute) You’ll Love
Planning a picnic party and want photos that scream “core memory”? You need a backdrop that’s safe, sturdy, and ridiculously cute. I pulled together the best ideas that set up fast, handle wind, and won’t stress you out. Ready to make parents ask, “Wait, where did you get that?”
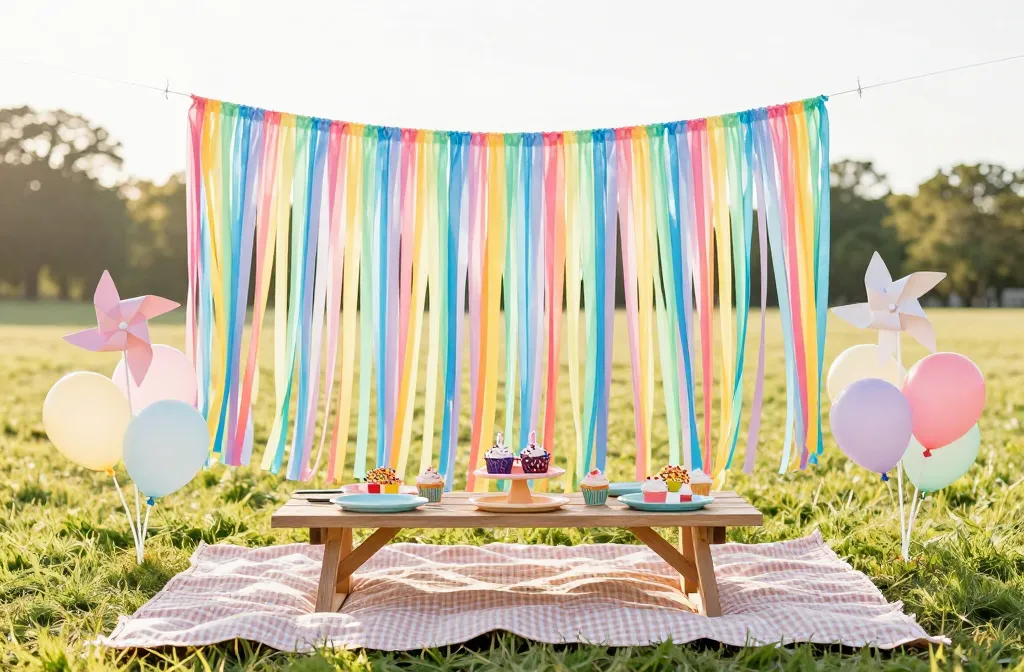
1. Rainbow Ribbon Wall That Twinkles
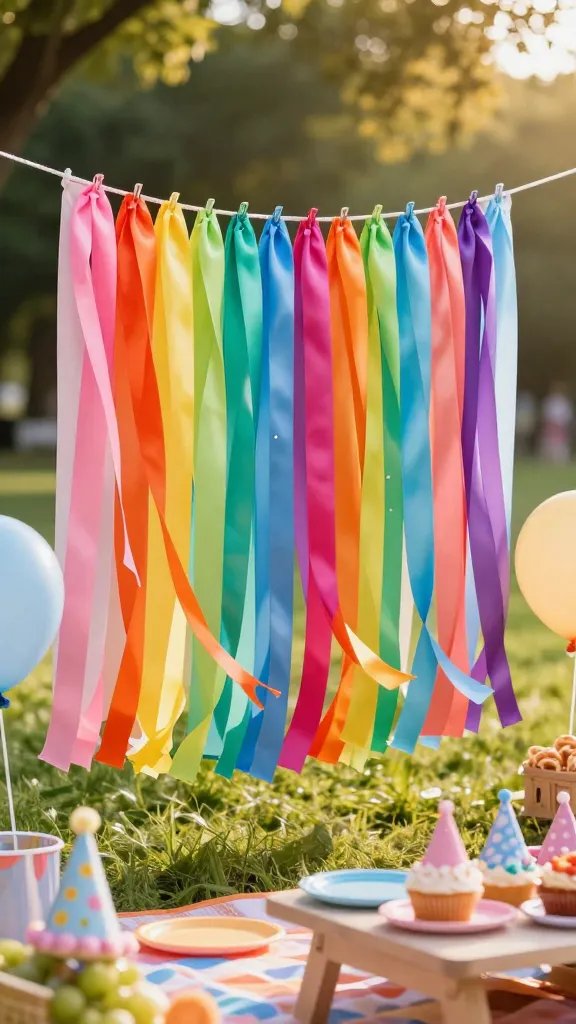
This one looks like a candy shop exploded in the best way. You hang long strands of satin or grosgrain ribbon from a rope or PVC frame, and boom—instant color magic. It flutters in the breeze just enough for dreamy movement, but not so much that it tangles kids.
Materials
- Grosgrain ribbons (1–1.5 inches wide) in 7–10 bright colors
- Twine or paracord “clothesline”
- Zip ties or painter’s tape
- Two garden stakes or a lightweight PVC frame
Keep ribbon ends blunt-cut to avoid frays, and secure knots high so curious hands can’t yank them down. Perfect for unicorn, rainbow, or art-themed parties.
2. Picnic Blanket Patchwork Wall
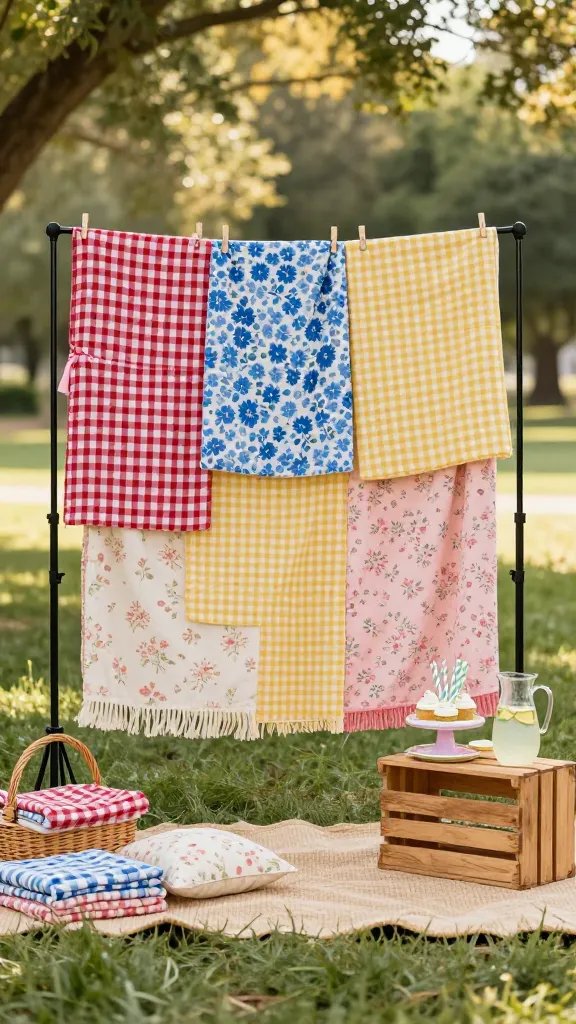
Lean into the picnic vibe with a patchwork of gingham and floral blankets clipped to a collapsible backdrop stand. It looks homemade in the good way—cozy, cheerful, and totally on theme. Plus, you can reuse those blankets later.
Tips
- Mix patterns: red gingham, blue ditsy florals, sunny yellow checks
- Clip with wooden clothespins or spring clamps, then cover clips with mini bows
- Layer 2–3 blankets to add depth without bulk
Soft textures = safe for little heads if someone bumps into it. Great for classic picnic, farmhouse, or teddy bear tea parties.
3. DIY Balloon Garland With Eucalyptus
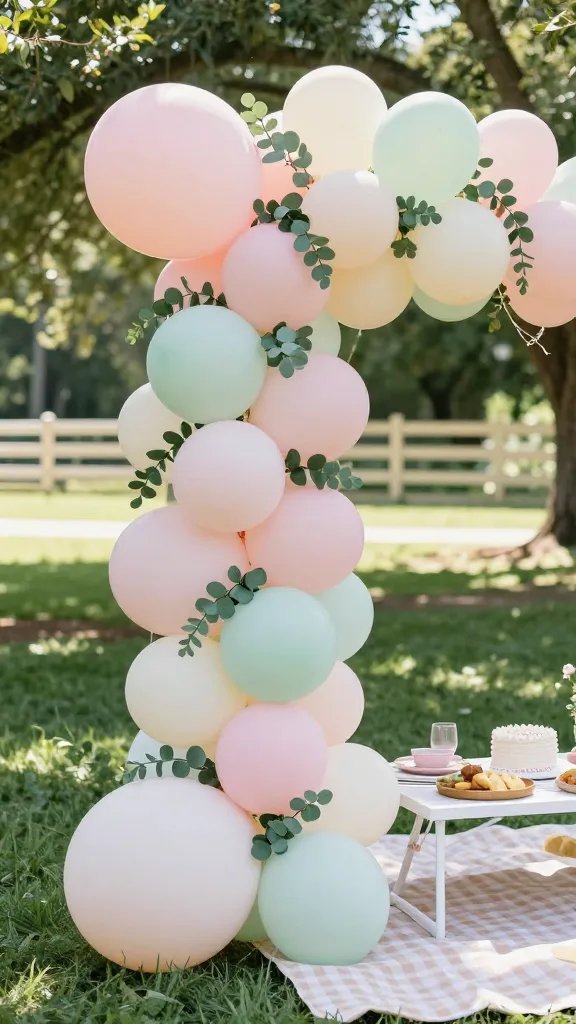
Balloon garlands still slay, but make them picnic-cute with pastel balloons and faux eucalyptus. They set the scene fast, fill vertical space, and scream “birthday” even from the parking lot. Choose high-quality balloons so you don’t spend the party chasing pop sounds.
Key Points
- Use a garland strip, hand pump, and mixed sizes (5, 10, 12 inches)
- Stick to 2–3 colors: blush, mint, cream + greenery
- Anchor to a fence or arch with fishing line and removable hooks
Skip helium outdoors; air-filled lasts longer and handles wind better. Ideal for fairy garden, picnic brunch, or any spring-summer theme.
4. Chalkboard Door With Oversized Doodles
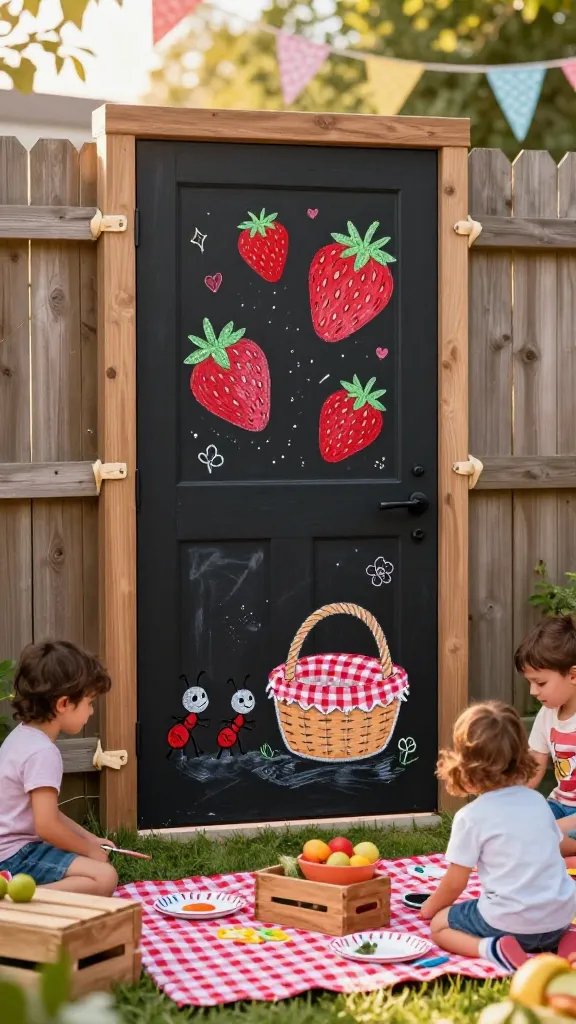
Grab an old interior door, paint it with kid-safe chalkboard paint, and doodle giant strawberries, ants, and picnic baskets. Kids can add their own tiny drawings, which makes it interactive and adorable. You get a bold, graphic look with minimal setup.
Safety Note
- Secure the door to a fence or stand with sandbags at the base
- Use dustless chalk markers for less mess
- Wipe clean and redraw mid-party if smudged—easy reset
Works for rustic, art-forward parties and doubles as a signboard for schedules or snack labels.
5. Paper Plate Flower Garden
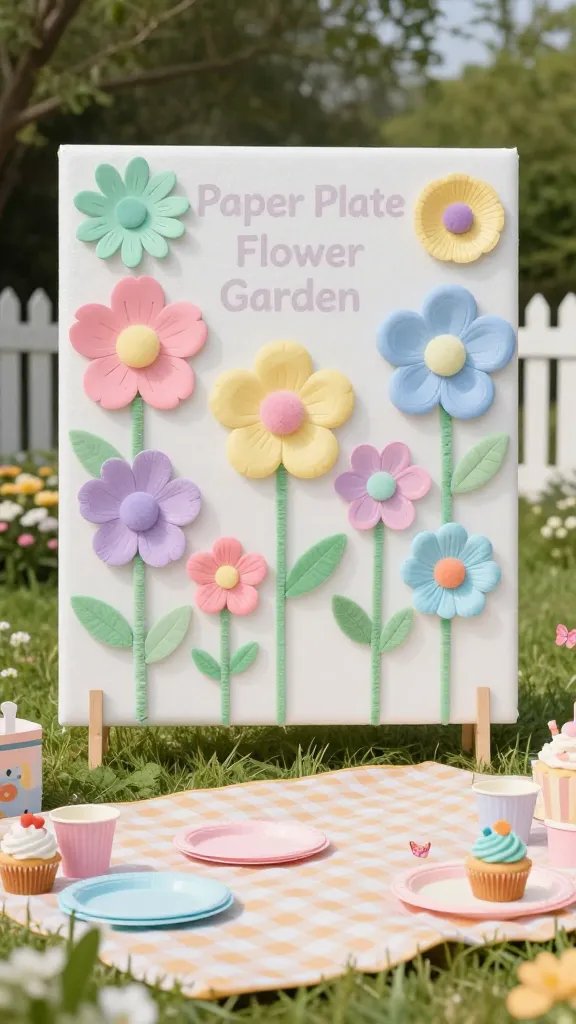
Turn basic paper plates into a field of jumbo flowers. Cut petal shapes, layer colors, and add a cupcake liner or pom-pom center. It’s budget-friendly, weather-resistant, and surprisingly sturdy.
How-To
- Use pastel plates, glue on “petals,” and tape to a foam board
- Hot glue pipe cleaner “stems” and leaves made from construction paper
- Mount the foam board to a stake or easel behind the picnic blanket
Zero sharp edges, zero stress. Perfect for garden, butterfly, or cottage-core vibes—seriously cute.
6. Fruit Crate Wall With Plush Produce
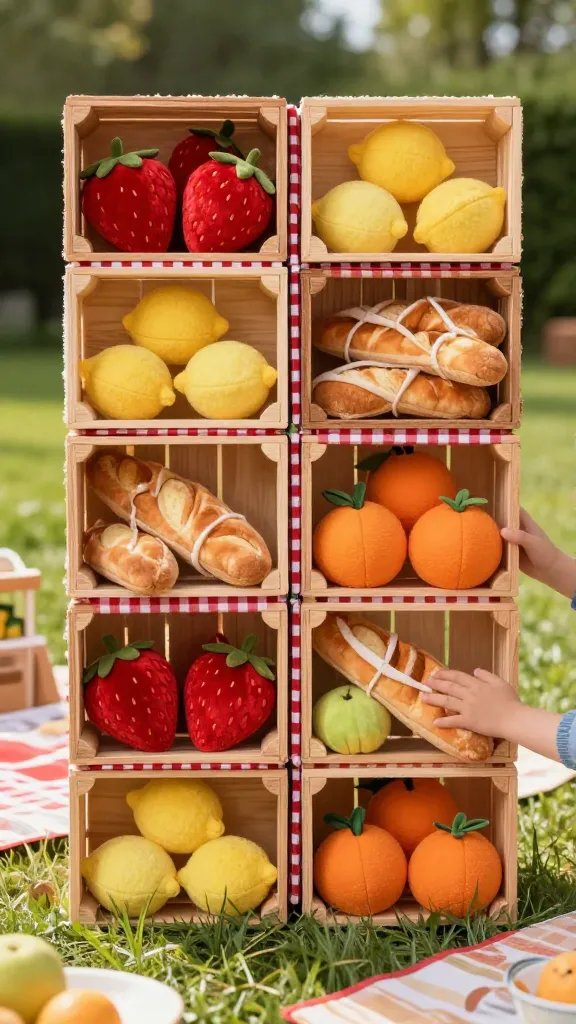
Stack lightweight wooden crates into a grid and tuck in plush strawberries, lemons, and fabric baguettes. It gives you a market-stall look that matches every picnic aesthetic. Kids love pointing out the “grocery list.”
Assembly Tips
- Secure crates with zip ties and anchor the stack with tent stakes
- Use plush or felt produce—no hard plastic
- Weave a gingham runner through the crates for color
Excellent for little foodies, chef themes, or lemonade stands. Bonus: crates store party favors after photos.
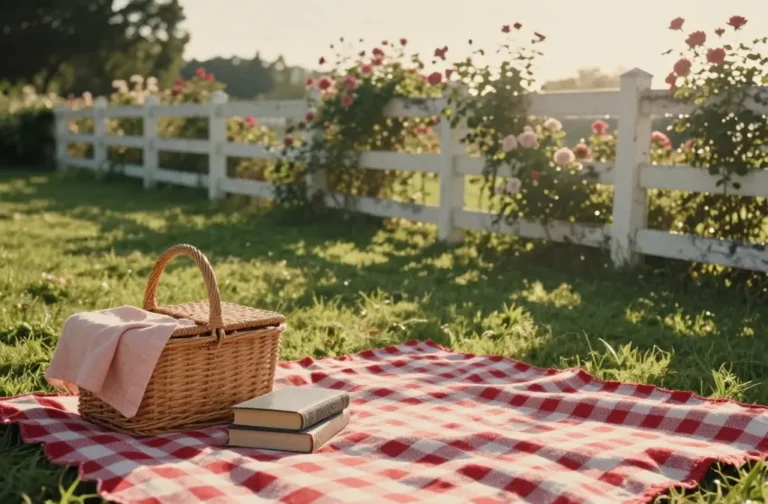
7. Storybook Blanket Fort Backdrop
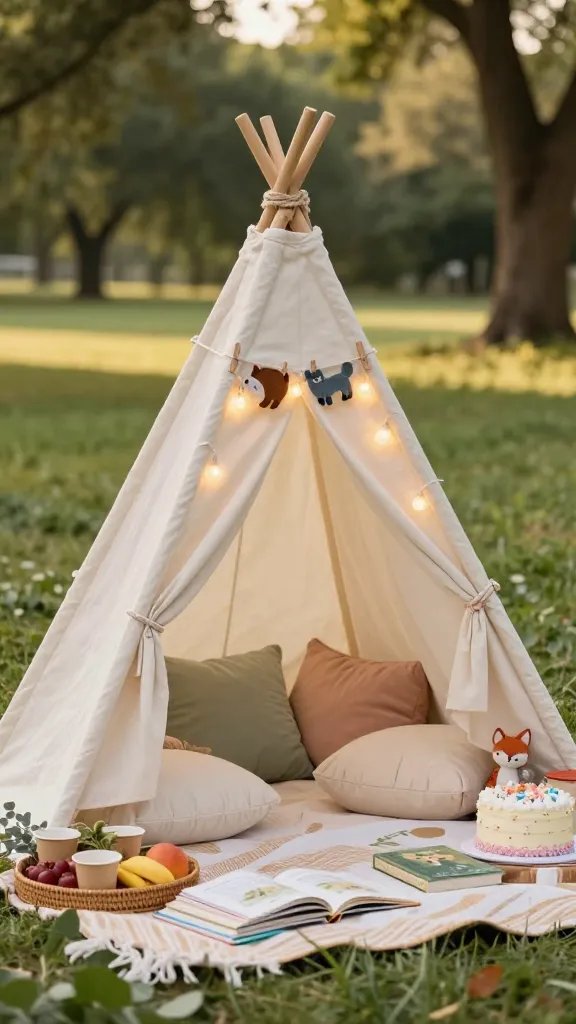
Build a safe “fort” backdrop with two A-frame dowel stands and layered cotton sheets. Add fairy lights inside and place a book stack in front—instant reading-nook magic. It looks whimsical in photos and gives shy kids a cozy spot to pose.
Materials
- Two A-frame stands (wood dowels + rope), cotton sheets, clothespins
- Battery-operated fairy lights with enclosed battery packs
- Floor cushions or poufs
Tie everything off securely and keep lights cool-touch. Works beautifully for woodland, animal, or bedtime-story themes.
8. Giant Picnic Basket Cutout
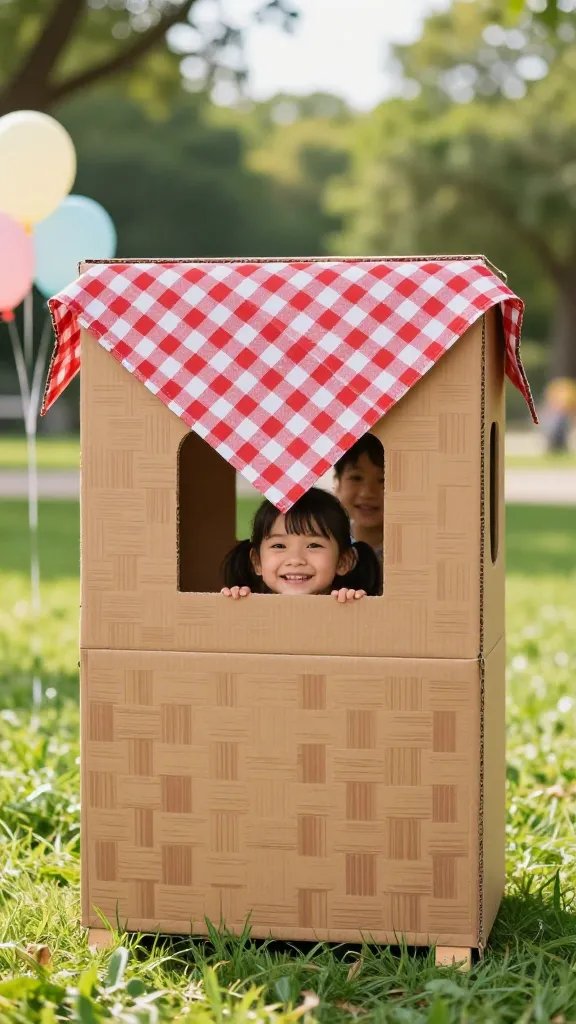
Create a life-sized picnic basket front from corrugated cardboard or foam board. Paint weave lines, add a large gingham “napkin,” and cut a peek-through window. Kids love poking their faces out like a photo booth.
Build Tips
- Reinforce edges with painter’s tape before painting
- Use non-toxic acrylics; seal with a matte spray for durability
- Attach to a freestanding frame with Velcro straps
Lightweight, safe, and over-the-top cute. Perfect centerpiece for the photo zone at any outdoor birthday.
9. Whimsical Kite Cluster
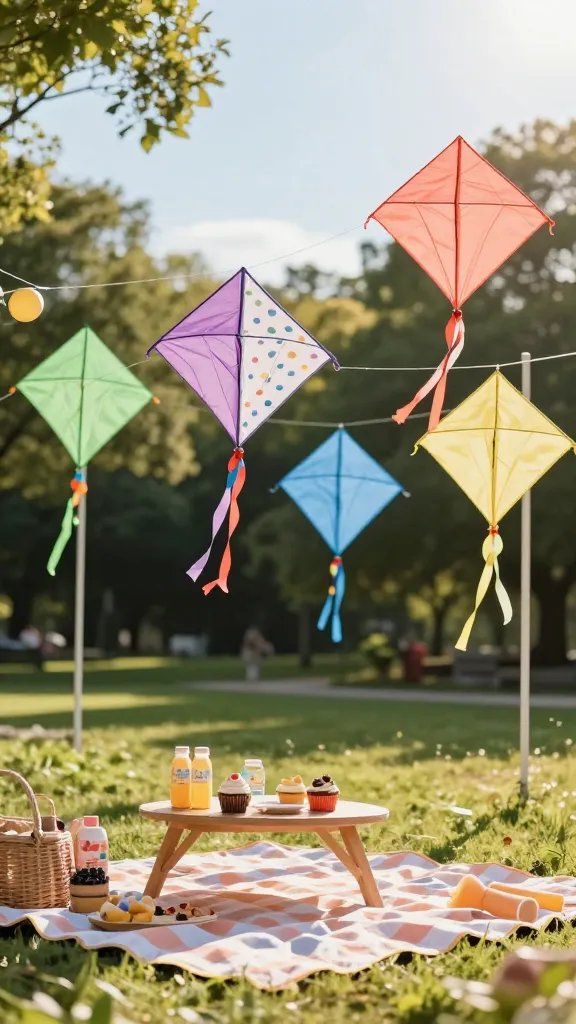
Group paper or fabric kites in bright solids and polka dots, then trail ribbon tails that dance in the breeze. It feels airy and festive without blocking sightlines. You get motion, color, and nostalgia—triple win.
Setup
- Cut diamond kites from foam sheets or ripstop fabric
- Attach to a sturdy fishing line “sky” stretched between poles
- Add short tails to prevent tangles on windy days
Great for park picnics with open space, and the kite theme blends with almost any color palette.
10. Pastel Pallet Fence With Bunting

Repurpose shipping pallets into a kid-height fence, painted in sherbet pastels. Drape felt bunting or fabric pennants across for a party-perfect frame. It looks custom without the custom price tag.
Key Points
- Sand splinters, then paint with water-based exterior paint
- Stand pallets upright with sandbags or tent stakes
- Use felt or double-hemmed fabric pennants for durability
Stable, tactile, and photo-friendly. Works for farm, carnival, or vintage picnic aesthetics.
11. Nature Wall: Leaves, Flowers, and Clip-In Critters
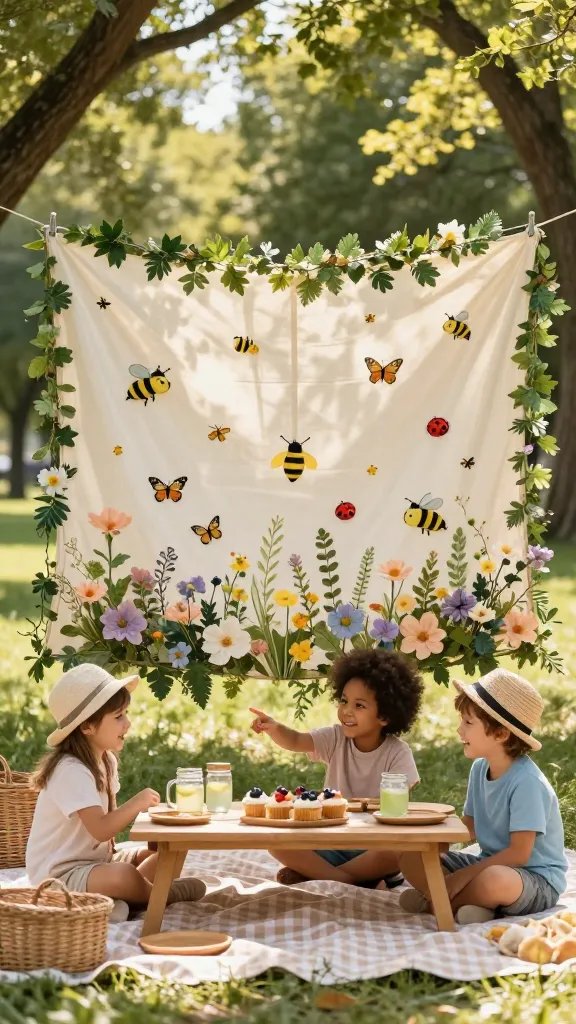
Let the park do the heavy lifting. Build a “nature wall” by clipping faux leaves, floral stems, and little felt bees or ladybugs to a net backdrop. It blends right into the picnic setting while still reading as intentional in photos.
Materials
- Lightweight cargo net or floral grid
- Faux greenery garlands and silk flowers
- Clip-on felt bugs and butterflies
Choose soft clip-ons and secure everything tightly. Great for bug hunts, garden themes, or any outdoor birthday—FYI, parents love this one.
12. Checkerboard Doorway With Streamer Confetti
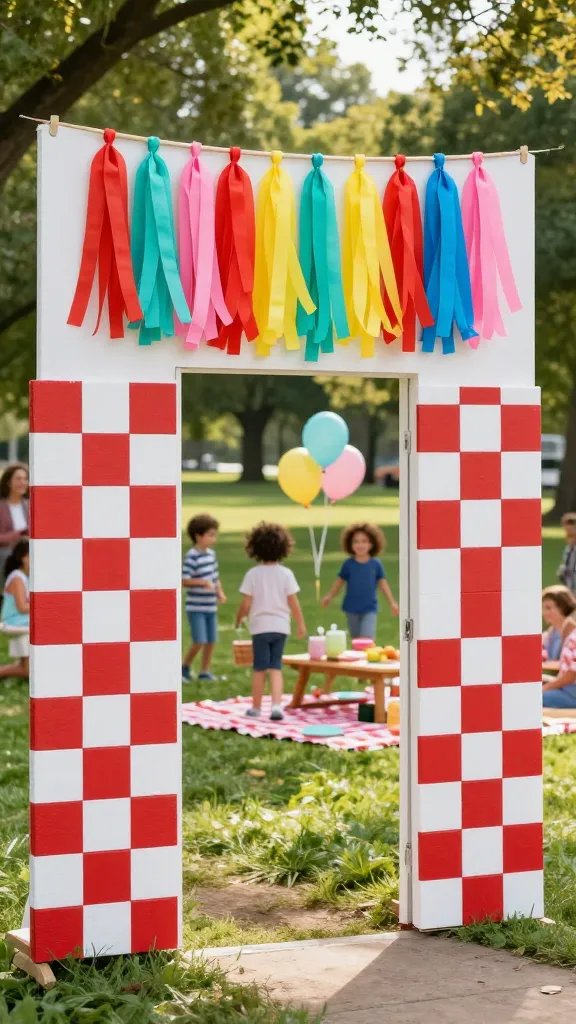
Frame your picnic zone like a party entrance. Create a big red-and-white checkerboard from foam boards, then hang short streamer “confetti” across the top. It’s the perfect “walk-through-and-wow” moment.
Assembly
- Cut foam boards into 12-inch squares; alternate red and white
- Mount to a simple arch or PVC frame using Velcro straps
- Hang 12–18 inch streamers from a dowel across the top
Short streamers avoid tripping hazards, and foam stays lightweight. Ideal for photo ops and for guiding guests to the main picnic blanket area.
13. Fabric Hoops and Floating Clouds
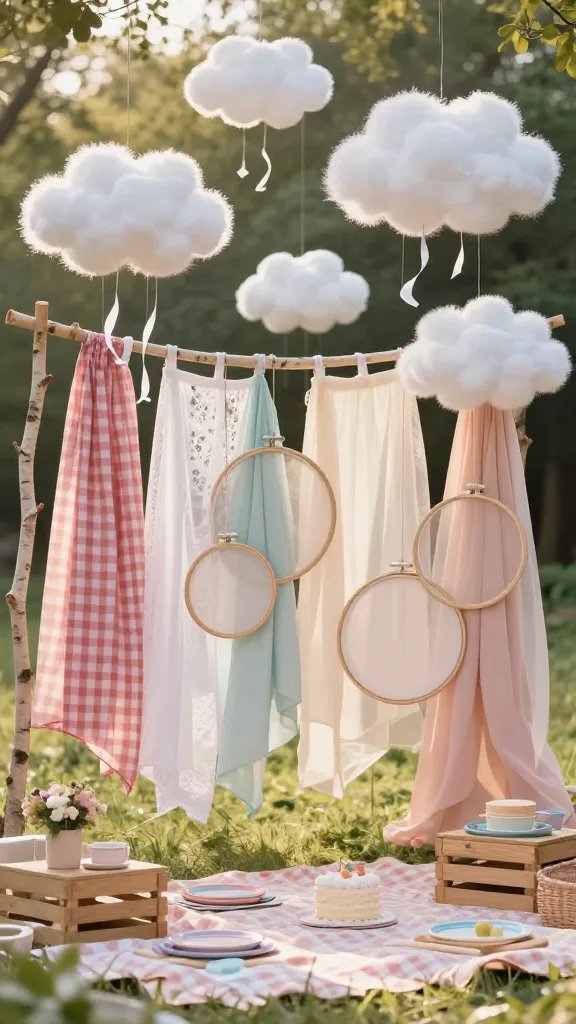
Mix embroidery hoops wrapped with gingham, tulle, and lace, then add plush cloud mobiles above. The layered circles create a whimsical “sky over a picnic” effect. It feels airy, safe, and very birthday-core.
Tips
- Use 8–18 inch hoops with mixed fabrics
- Hang at staggered heights from a branch or freestanding beam
- Make clouds from polyfill stuffed into white tulle puffs
No hard edges, plenty of texture, and movement that reads beautifully on camera. Perfect for littles who love looking up at “floating” magic—trust me, they’ll point and giggle.
You don’t need a fancy venue to get jaw-dropping party photos—just one playful, safe backdrop that makes everyone smile. Pick your favorite, gather a few supplies, and set it up in an hour or less. Then relax, eat a strawberry, and let the memories basically photograph themselves.