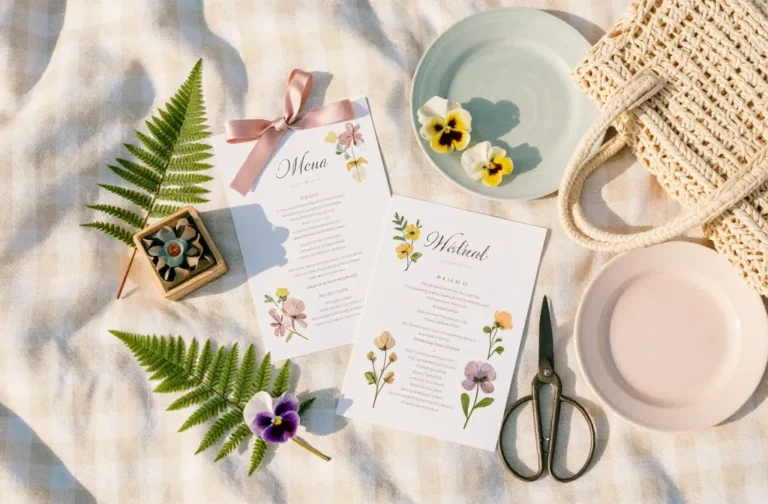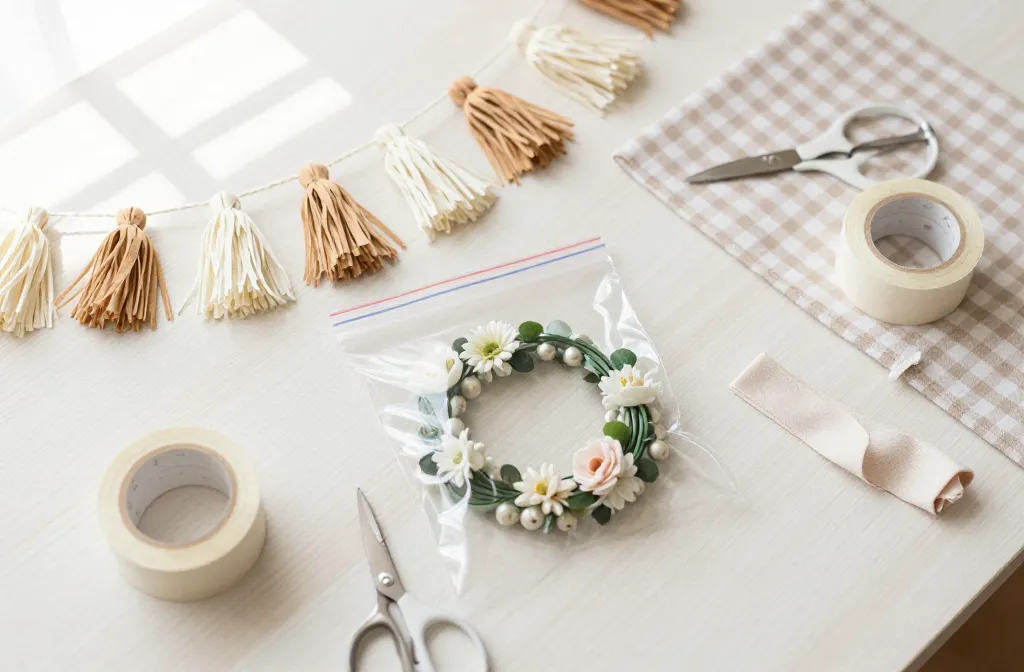
11 Ways to Store Picnic Garlands So They Don’t Tangle Fast
Your garlands looked adorable at the picnic… until they came home as a knot the size of a volleyball. Let’s fix that. These smart, low-effort storage tricks keep string lights, paper tassels, faux florals, and bead strands neat, fluffy, and ready for the next sunny hangout. Quick wins, cheap materials, zero frustration—let’s untangle your life, one garland at a time.
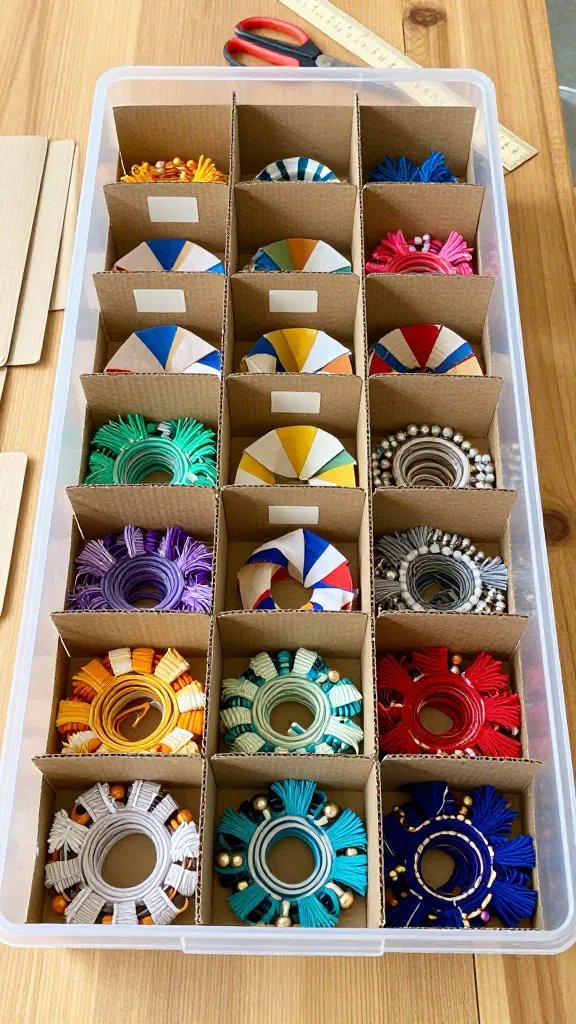
1. Spool Them On Cardboard Like Ribbon
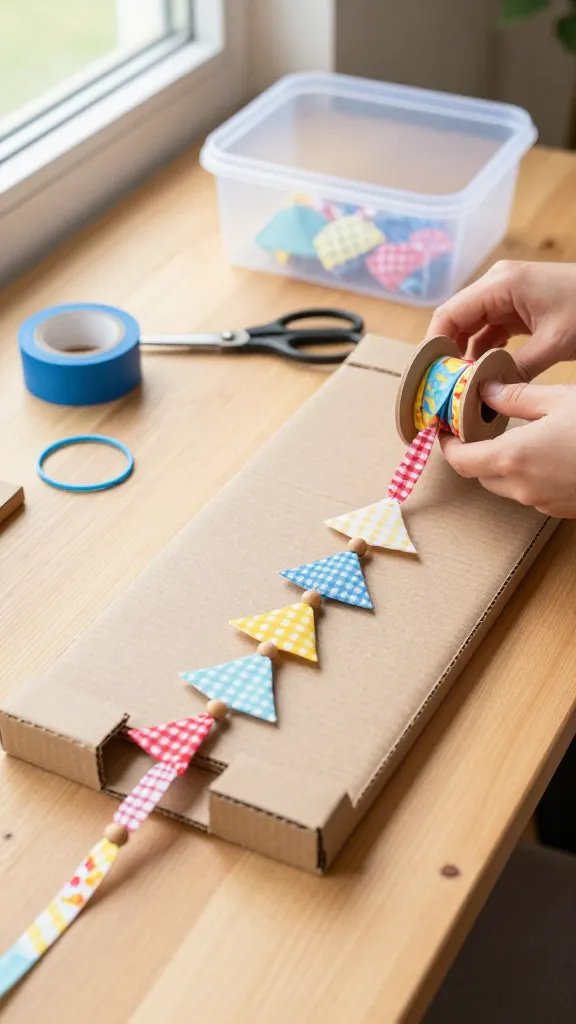
This one feels almost too simple, which is why it works. You turn any sturdy cardboard into a custom spool, then wrap your garland with light tension. It keeps the strand flat, visible, and—most importantly—knot-free.
Materials
- Sturdy cardboard (think shipping box)
- Scissors or box cutter
- Painter’s tape or a rubber band
Cut a rectangle about the width of your storage bin; notch two slits on each short end. Anchor one end of the garland in a slit, wrap evenly, and secure the tail with tape or a band. Label the edge with length and style. This method shines for paper tassels and bead garlands you don’t want crushed.
2. Use Zip-Top Bags With “Coil-And-Cinch”
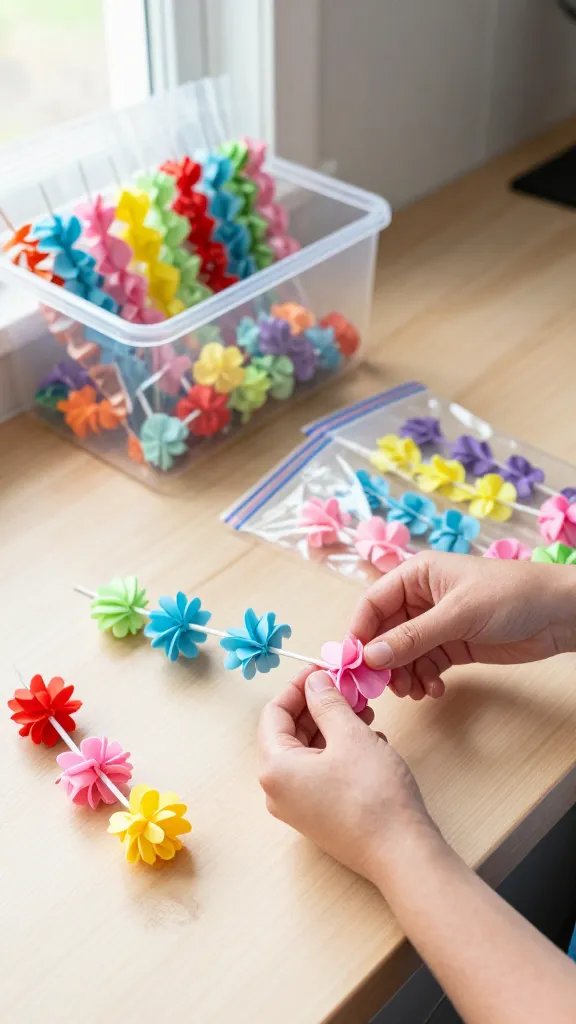
Clear bags keep dust out and tangles at bay while letting you see exactly what’s inside. The coil-and-cinch move adds just enough structure without squishing delicate details.
Tips
- Coil loosely in hand, pinky-to-thumb width
- Secure coil with a soft fabric tie
- Slide into a quart or gallon bag, press out excess air
Store like-with-like in a shoebox-sized bin. You’ll grab the right color in seconds, and FYI, this works especially well for mini bunting and light plastic florals.
3. Wrap Around Pool Noodles Or Foam Tubes
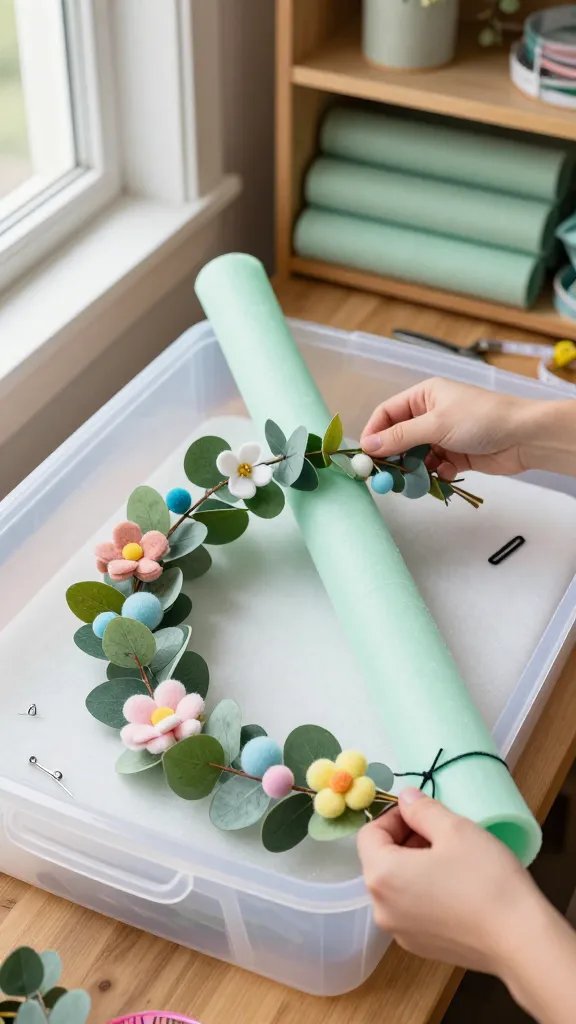
Bulky garlands with flowers, leaves, or pompoms need cushioning. Enter the humble pool noodle—lightweight, inexpensive, and surprisingly perfect as a form.
Key Points
- Cut noodle to fit your shelf or bin
- Wrap with a gentle spiral; avoid tight overlaps
- Use two sewing pins or Velcro ties to secure ends
The foam prevents flattening and keeps curves smooth. Great for faux eucalyptus, felt ball garlands, and anything you fluffed to perfection and want to keep that way.
4. File Them On Clip Hangers In A Closet
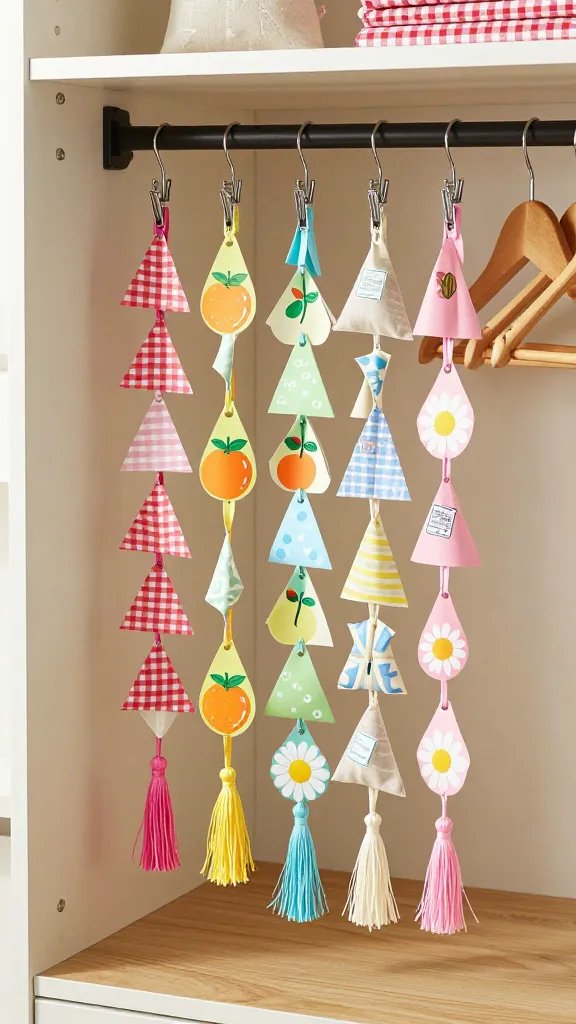
Vertical storage = fewer tangles and zero squish. Clip hangers (the ones for skirts) let you hang multiple garlands without coiling them at all.
How-To
- Attach one end to a clip, then lightly drape the length back and forth
- Use the second clip to hold the tail
- Group by theme on a garment rack or closet rod
Bonus: hang a sachet or silica packet nearby if you store paper garlands to keep moisture away. This setup makes pre-party setup laughably fast—seriously.
5. Repurpose Coffee Cans Or Oat Cylinders As Reels
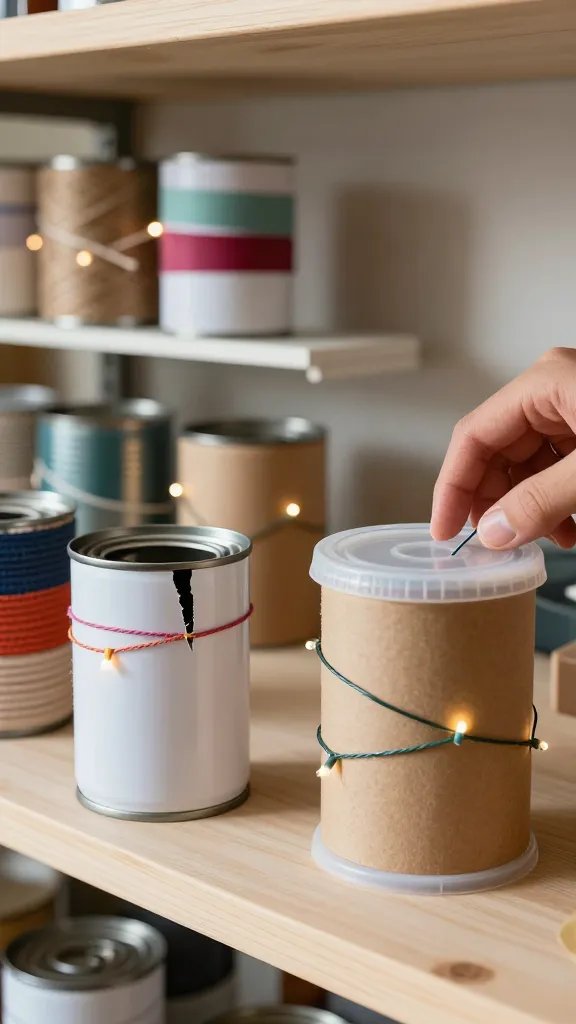
Those pantry staples are secretly excellent storage reels. They’re smooth, sturdy, and easy to label. Plus, lids keep dust out.
Steps
- Cut a small notch on the rim to anchor a starting end
- Wrap your garland around the cylinder with light tension
- Pop the tail into the notch; cap with lid and label
This method keeps string lights and twine garlands tame, and it stacks nicely on shelves. Applications: holiday gear overlap, picnic boxes, and garage storage.
6. Divide With Cardboard “Accordion” Trays
If you stash a bunch of garlands in one bin, hard dividers stop them from courting chaos. A DIY accordion tray makes lanes so each strand stays in its own little world.
Make It
- Cut cardboard strips to the height of your bin
- Slot them together to form a grid (like a wine box)
- Coil each garland and drop into its own cell
Add labels on top for fast IDs. Use this for mixed materials—paper, fabric, and beads—when you want everything visible at a glance.
7. Store On Plastic Embroidery Hoops Or Bangles
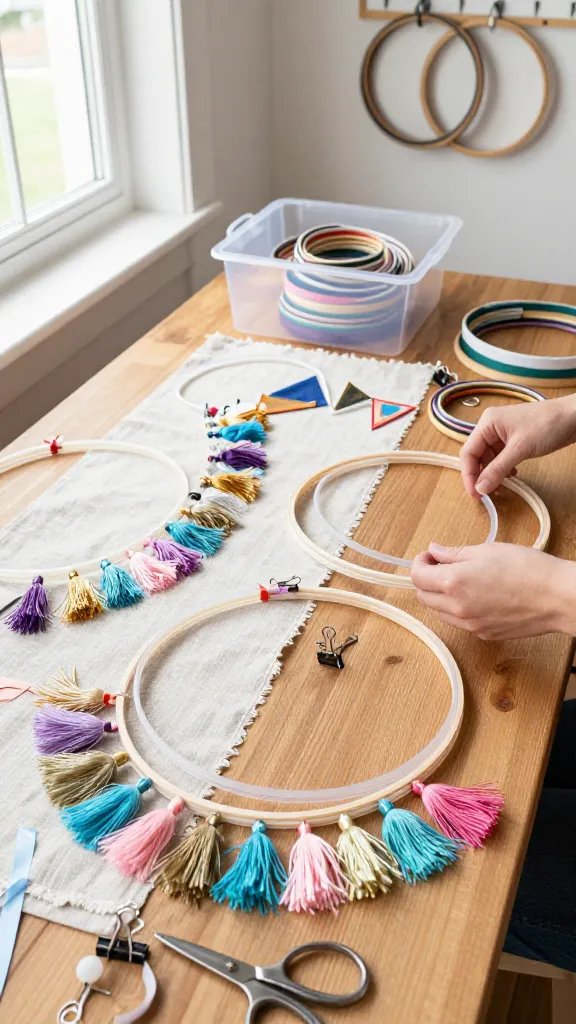
Hoops act as tidy anchors and keep circles smooth. They’re gentle on delicate materials and make unspooling nicely controlled.
When It Shines
- Lightweight tassel garlands
- Mini pennants
- Streamer bundles
Attach one end to the hoop with a binder clip, wrap loosely, then secure with a soft tie. Stack hoops in a bin or hang them on pegs. Perfect for people who like a quick visual inventory, IMO.
8. Zip Ties + Parchment Sleeves For String Lights
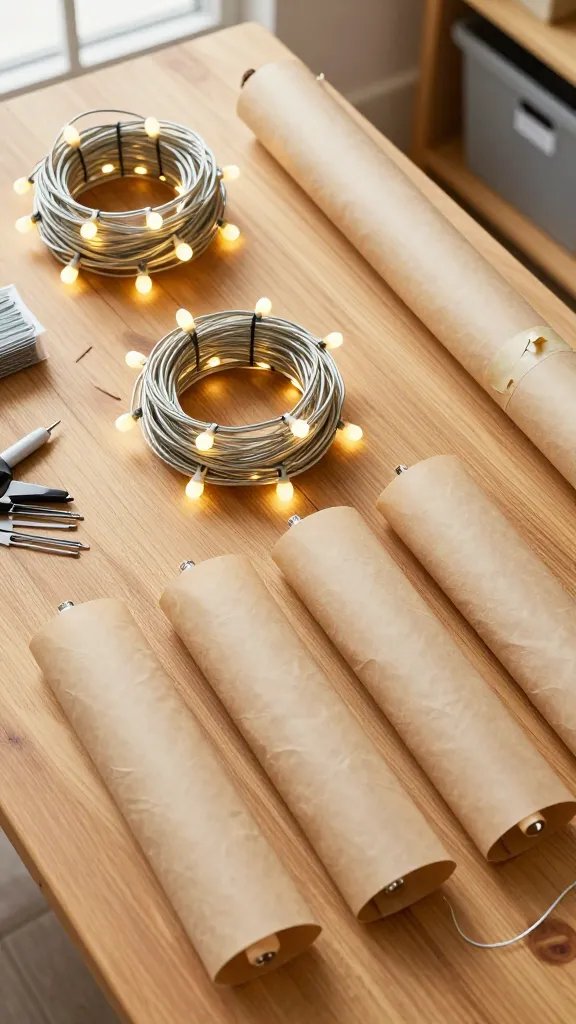
String-light garlands tangle like they trained for it. A two-part fix—temporary mini zip ties and parchment sleeves—keeps bulbs protected and cords flat.
Setup
- Coil lights into 8–10 inch loops
- Add three mini zip ties: top, middle, bottom (not too tight)
- Slide the bundle into a parchment-paper sleeve and tape lightly
The parchment prevents snagging and helps them slide in and out. Great in hot attics where plastic can stick. Remove ties as you install for a snag-free deploy.
9. Binder Clips On Pegboard For Ready-To-Grab Storage
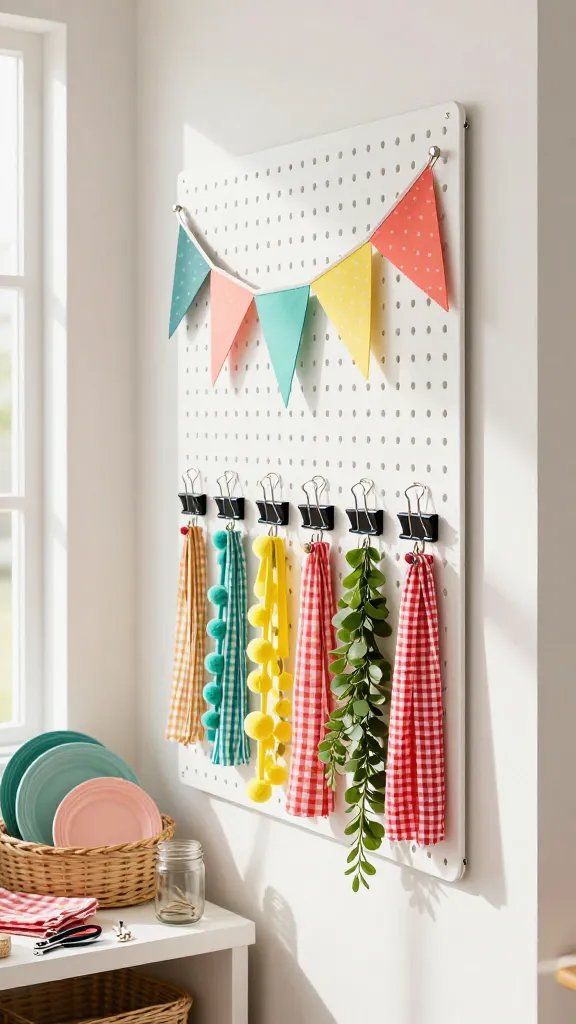
Need fast access for frequent picnics? Go vertical with pegboard and binder clips. It’s visual, modular, and delightfully DIY.
How-To
- Install pegboard near your party stash
- Clip one end of each garland and hang the clip from a peg
- Loop the remaining length and secure with a second clip
Label pegs by color or occasion. You’ll stop duplicating what you already own, and your setup will feel like a tiny party command center.
10. Tissue Paper “Taco” Folds For Paper Garlands
Paper tears, creases, and tangles faster than you can say “whoops.” A tissue paper taco protects edges and keeps folds clean without crushing.
Steps
- Lay a sheet of acid-free tissue flat
- Place garland in a loose oval on one half
- Fold tissue over like a taco; secure with a single washi tape tab
Stack tacos in a shallow bin with a moisture absorber. This keeps colors vibrant and tassels fluffy. Ideal when you craft your own paper pretties and want them to last.
11. Label-And-Layer System In Clear Latching Bins
The real MVP is a simple, repeatable system. Clear bins, labels, and gentle layers make everything easy to find and hard to mess up.
Build The System
- Choose two bin sizes: shallow for delicate, deep for bulky
- Line bottoms with felt or a cotton tea towel
- Layer: spooled/hooped items on bottom, bagged coils in the middle, foam-wrapped pieces on top
- Label front and lid with contents and length
Stack by season or color and you’ll never dig again. This scales from a tiny apartment shelf to a full garage wall, and trust me, future-you will high-five present-you for it.
Ready to retire the noodle-knots for good? Pick two or three methods that match your garland stash and set them up this weekend. A little structure now means faster decorating, less damage, and way more chill vibes at your next picnic.