How to Pack an Easter Picnic That Doesn’T Get Soggy (Real Talk Checklist) Secrets
Let’s fix the wet-bread, lukewarm-egg, crushed-strawberry situation once and for all. You can pack an Easter picnic that tastes fresh, stays crisp, and looks cute on a blanket. The trick? Smart barriers, strategic chilling, and a few clutch containers. Grab a basket (or a backpack) and let’s make sog-proof magic.
1. Build A Moisture Firewall (So Nothing Touches What It Shouldn’t)
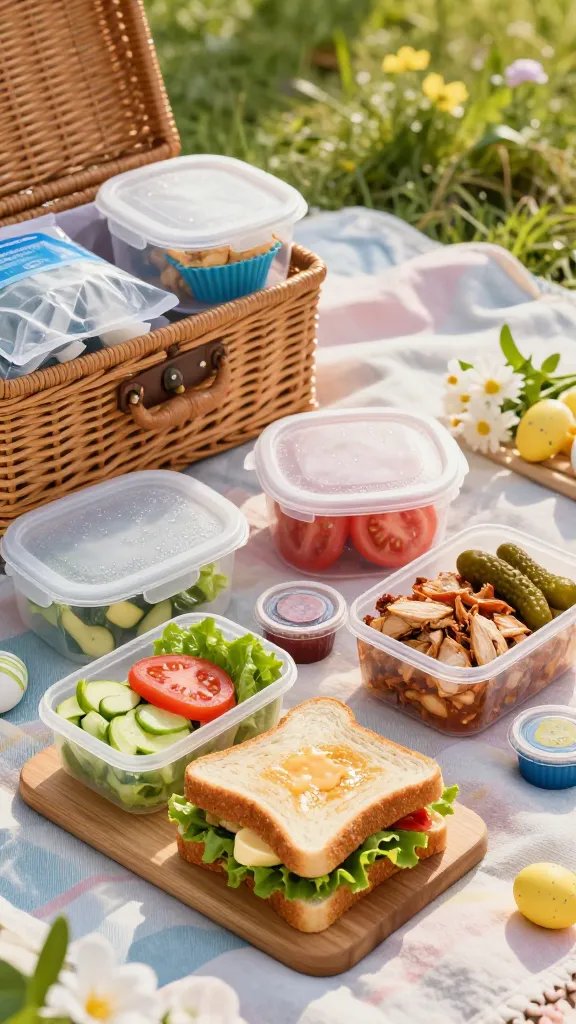
Moisture moves. Condensation, juicy fillings, sweaty ice packs—if you don’t block it, it will find your buns (the bread kind). Build physical barriers so crisp stays crisp and soft stays soft. Think compartments, wraps, and little shields that act like raincoats for your food.
Key Moves:
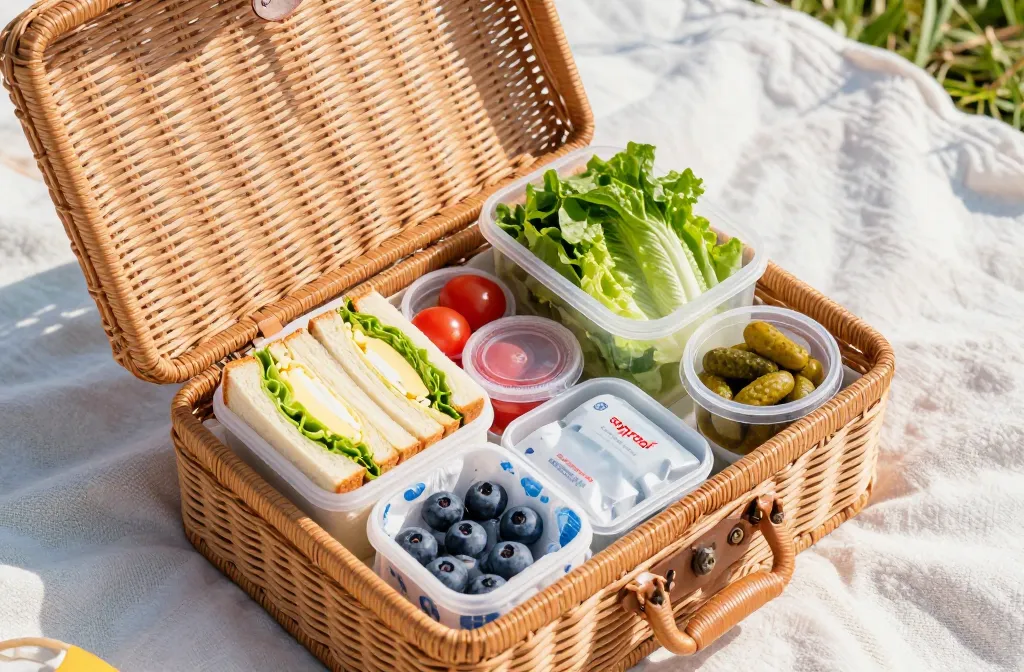
- Hard containers > soft bags. Use shallow, rigid containers with tight lids for anything saucy or juicy. Bento-style works great.
- Wrap smart. Use butter or mayo as a moisture shield on bread, then line with greens. Buttered-to-edge bread beats sog every time.
- Separate wet/dry. Pack wet components (tomatoes, pickles, dressings) in tiny lidded cups. Add them right before eating.
- Line produce. Nest berries on folded paper towels inside a container to catch condensation and keep them perky.
- Leaf shields. Layer lettuce, collard, or nori between fillings and bread. They act like edible gaskets.
- Crisp-box for carbs. Keep crackers, hot cross buns, and baguette slices in a separate, ventilated bag (paper or a fabric bread bag) away from cold packs.
When you treat every juicy thing like a tiny thunderstorm, you keep your sunshine foods sunny. Perfect for fancy sandwiches, pastry people, and anyone who likes crunch that actually crunches.
Mini Checklist:
- 2–3 small leakproof sauce cups
- 1–2 bento containers with dividers
- Paper towels or reusable cloths to line produce
- Separate bread/cracker bag
Result: zero collateral sog and a picnic that eats like a plated meal.
2. Chill Like A Strategist, Not A Fridge (Because Condensation Is Sneaky)
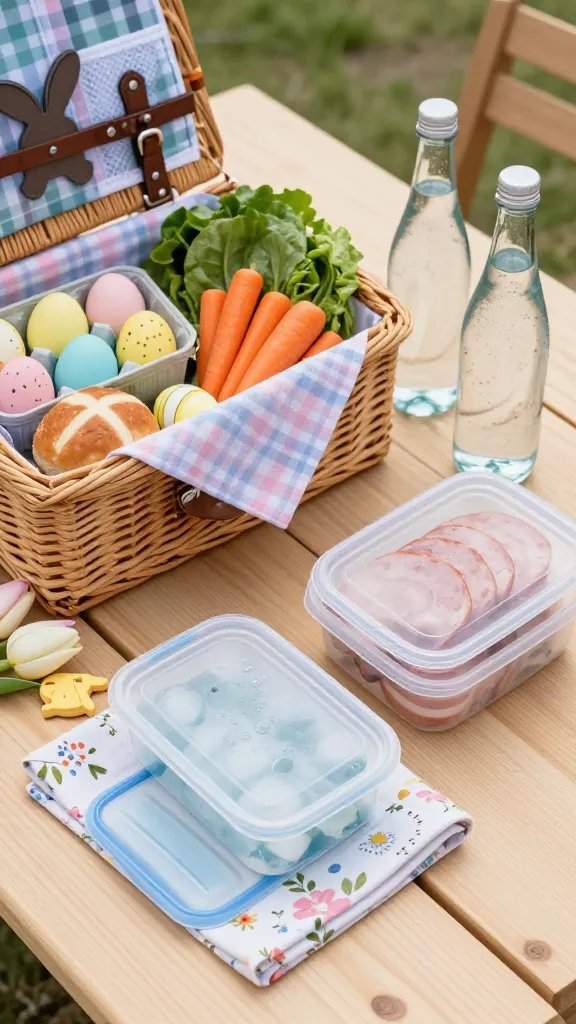
Cold is great; condensation is the enemy. If you throw everything over an ice brick, cold air turns into tiny rain inside your containers. Instead, pre-chill what matters and keep airflow steady so water doesn’t pool.
Temperature Tactics:
- Pre-chill ingredients and containers. Pop containers and drinks in the fridge the night before. You’ll need fewer ice packs and less temp shock.
- Use gel packs, not loose ice. Gel packs don’t melt into puddles. Wrap them in a tea towel to prevent sweaty contact.
- Layer cold smart. Bottom: ice packs. Middle: proteins, dairy, eggs. Top: produce, bread, delicate desserts. Air goes up, moisture stays down.
- Insulate intentionally. Use a soft cooler tote inside your basket. Add a thin silicone mat or cardboard on the bottom to lift containers off condensation.
- Open less, smarter. Keep drinks separate so you don’t keep opening the food compartment and letting moisture in/out repeatedly.
What To Pre-Chill (And What Not To):
- Yes: deviled eggs, ham, cheese, hummus, yogurt dips, salads (without dressing).
- No: bread, crackers, pastries (they stale in the fridge). Pack these at room temp.
Handle coolness like a pro and you’ll arrive with crisp veg, safe mayo, and zero clammy bread. Great for long drives or if you picnic with kids who open the cooler every five seconds—seriously.
Bonus Tip:
- Slip a silica gel dehumidifier packet into the drink compartment only (not touching food) to tame cooler humidity.
End result: cold where it counts, dry where it matters.
3. Assemble At The Last Minute (But Prep Like A Meal-Prep Goblin)
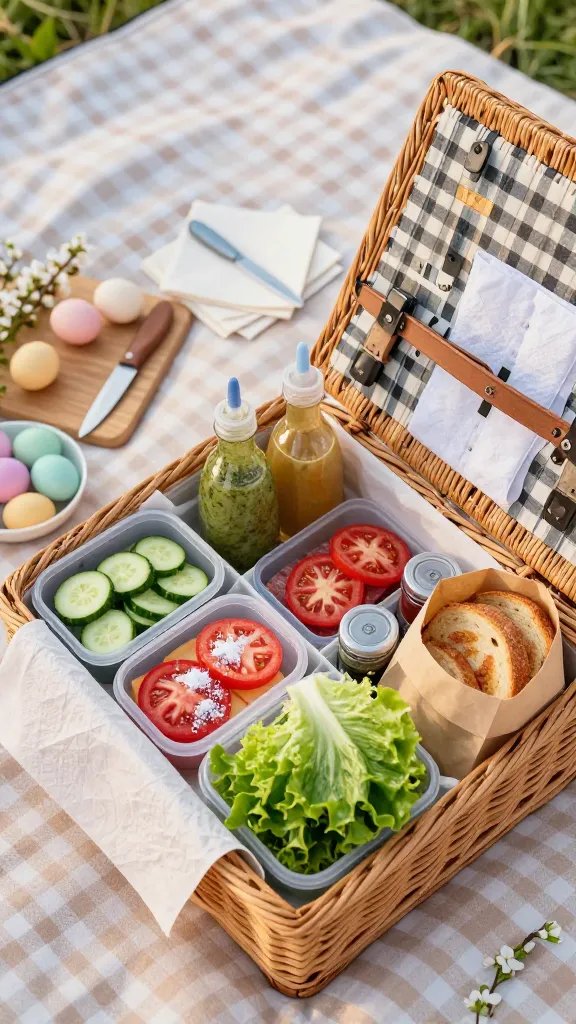
Assembly-on-site sounds annoying until you realize it’s your anti-sog superpower. You’ll do 90% of the work at home, then combine in 30 seconds flat on the blanket. Think kits: everything ready, nothing wet together.
Your “Real Talk” Prep List:
- Pre-slice, pre-portion, pre-season. Slice cucumbers thick, tomatoes into meaty slabs, and salt them lightly to draw a touch of moisture out. Pat dry before packing.
- Keep dressings separate. Bring a small squeeze bottle or two. Emulsified dressings cling better and don’t waterlog greens.
- Make-later sandwiches. Pack bread, fillings, and spreads in separate nestable containers. Assemble just before eating.
- Jar salads (but the right way). Bottom: dressing. Then hearty stuff (beans, grains, carrots). Top: greens and herbs. Flip and shake when you’re ready.
- Fruit fixes. Hull strawberries at home but keep them whole. For melon, pack in chunks with mint leaves; mint slows the sad, soggy vibe.
Speedy On-Blanket Tools:
- Mini cutting board for emergency slicing.
- Butter knife + small chef’s knife in sheaths.
- Micro tongs for clean, quick assembly.
- Two cloth napkins to use as placemats while you build.
When you assemble late, you eat like you’re at a café. Ideal for Instagrammable spreads, picky eaters, and the friend who “just wants a little dressing.”
Quick Assembly Combos That Don’t Sog:
- Herbed Egg Salad Buns: Buttered brioche, arugula leaf shield, egg salad in a cup, chives on top.
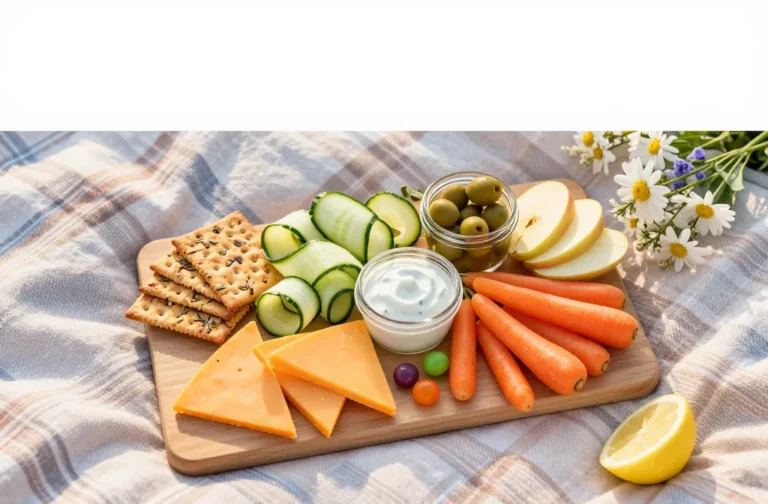
- DIY Mezze Boxes: Pita wedges in paper, hummus and tzatziki in cups, cucumbers and peppers in a dry bin.
- Spring Grain Jars: Lemon vinaigrette, farro, peas, radish, feta, herbs, baby greens last.
You’ll spend less time apologizing for mush and more time actually picnicking. IMO, that’s the win.
4. Choose Anti-Sog Menu MVPs (Flavors That Travel Like Champs)
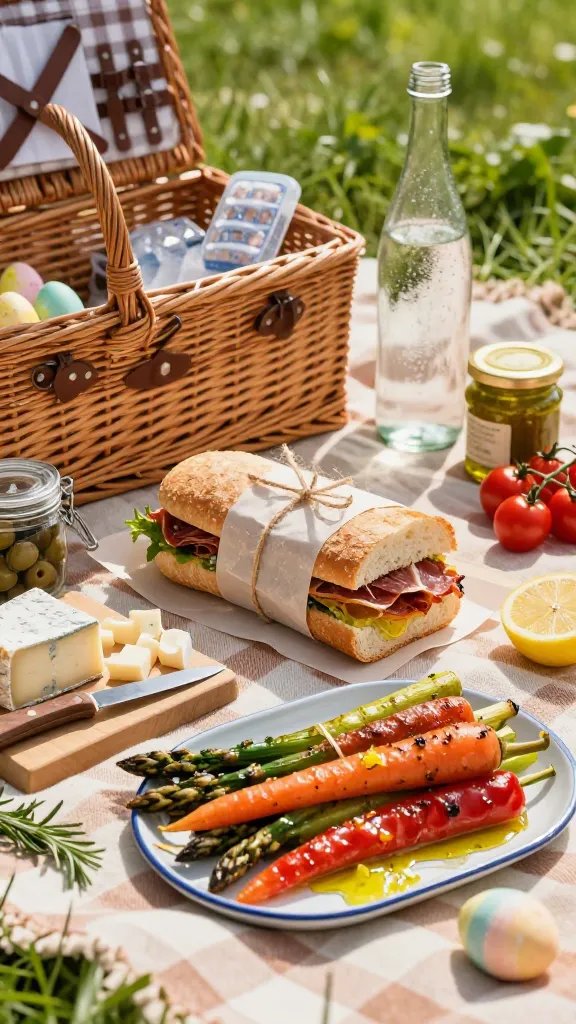
You can fight sog or you can outsmart it with foods that naturally resist it. Pick sturdy textures, oil-forward dressings, and items that taste better after a chill. Soft foods can come—just pack them clever.
Sturdy, Picnic-Proof Stars:
- Pressed sandwiches (pan bagnat, muffuletta) with oil-based dressings and firm bread. Wrap tightly in parchment, not plastic.
- Roasted veg (asparagus, carrots, peppers) dressed with olive oil and lemon zest—delicious cold, zero sad wilt.
- Firm cheeses (manchego, aged cheddar, comté) instead of oozy brie if the day is toasty.
- Chicken cutlet or schnitzel in a separate dry box. Add to rolls on-site to keep the crunch.
- Tart salads (panzanella with day-old bread added on-site, lentil-herb salad, chickpea-cucumber with dill). Acid brightens, oil shields.
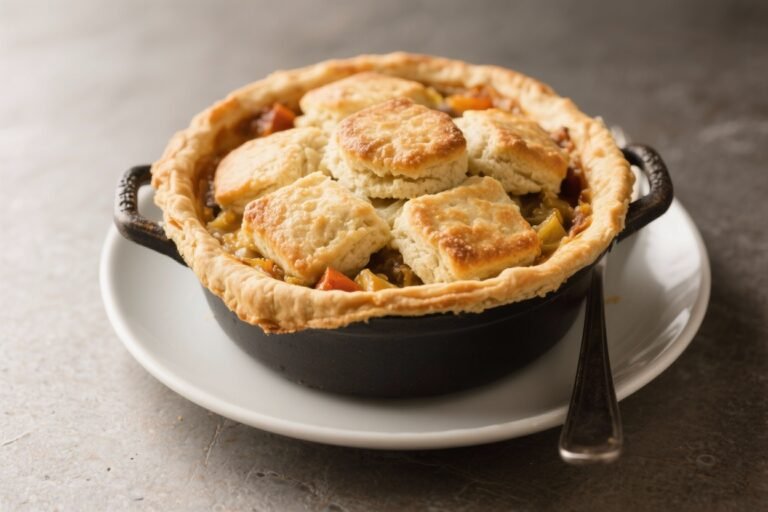
- Hand pies and galettes with crimped edges keep fillings contained and crusts flaky.
- Chocolate-dipped strawberries set the night before—chocolate acts like armor against juiciness.
Skip Or Tweak These:
- Leafy salads pre-dressed. Dress on the blanket or use sturdy greens like kale or little gems.
- Tomato-loaded sandwiches assembled at home. Pack tomato slices separate with a pinch of salt and paper towel.
- Water-heavy fruits (watermelon cubes swimming in juice). Drain and pack with mint, or go for wedges with rinds.
- Mac salads with lots of mayo that loosen as they warm. Bind with a little Greek yogurt and add crunch last minute.
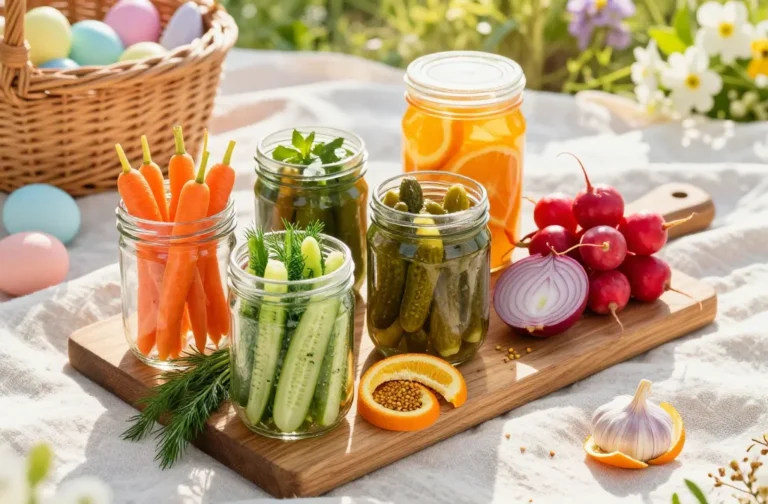
Flavor Bomb Add-Ons (Tiny But Mighty):
- Crunch toppers: toasted seeds, crispy shallots, pita chips—packed in tiny bags.
- Bright hits: lemon wedges, capers, cornichons, pickled onions.
- Herb confetti: chopped dill, chives, parsley in a dry jar lined with a paper towel.
Pick travel-hardy food and you’ll win before you even pack. Perfect when you want bold flavor with zero texture drama.
Sample Easter Menu That Won’t Sog:
- Prosciutto-pea pesto panini kit (assemble and press briefly with a warm thermos).
- Roasted carrot salad with yogurt-tahini on the side and pistachio crunch.
- Deviled eggs with chive oil (eggs and filling separate; pipe on-site from a zip bag).
- Spring fruit: strawberries, clementines, and grapes in lined containers.
- Hot cross buns in a paper bag with a little butter tin.
Your spread still screams Easter, just without the soggy subplot.
5. Pack The Basket Like Tetris (Transport Tricks That Keep Everything Crisp)
You did the food right—don’t undo it in transit. The way you pack the basket decides whether your salad stays perky or your buns get squished into edible coasters. Stack for ventilation, weight, and ease.
Order Of Operations:
- Bottom layer: ice packs wrapped in towels, then proteins and dips in leakproof containers.
- Middle layer: jar salads, roasted veg, cheese—items that like it cool but not cold.
- Top layer: bread, pastries, crisp add-ons, and delicate fruit.
- Side pocket or second tote: drinks and the trash bag/compost bag.
Blanket-Side Setup:
- Lay a waterproof picnic blanket or a tarp under a cute blanket to avoid damp ground creeping up.
- Use two cutting boards as “tables” to elevate containers off the grass = less condensation.
- Bring two sets of tongs: one for proteins, one for greens. No cross-sogging.
Leak And Smoosh Insurance:
- Elastic bowl covers or beeswax wraps over containers to catch lid drips.
- Rubber bands around dressing cups to keep lids snug.
- Rigid bottle sleeves for sparkling water or wine so they don’t roll and squish pastries.
- Collapsible containers for leftovers, so crunchy bits don’t go back in with damp stuff.
Cleanup That Prevents Future Sog:
- Pack two trash bags: one dry, one compostable. Keep wet scraps out of the basket.
- Bring microfiber cloths to wipe condensation before repacking.
- Stash a small spice tin with flaky salt and chili flakes for last-minute rescues if flavors dulled.
Pack with intention and everything arrives intact, looks gorgeous, and stays fresh. Perfect for park hops, beach days, or backyard egg hunts where you need easy access and zero leaks.
Ready to live your best Easter picnic life? Grab a cooler tote, plan a sturdy menu, and assemble on the blanket like a pro. You’ll keep everything crisp, bright, and totally not soggy—trust me, your future self will high-five you between bites.