Nail It Every Time How to Pack a Picnic Cooler (Food Safety + Organization + No Crushed Food)
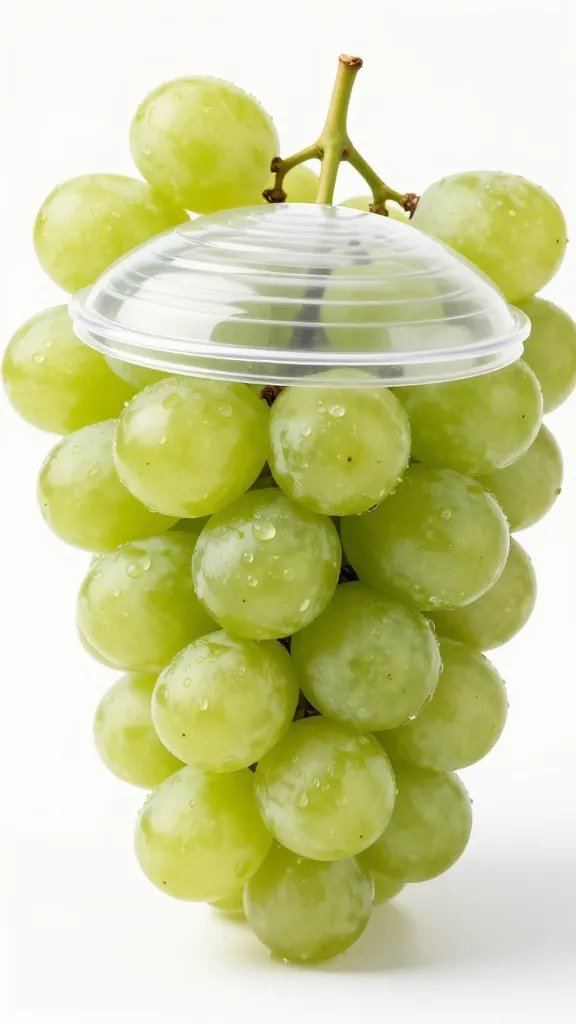
You packed the perfect picnic—until you opened the cooler and found a hummus avalanche, a soggy baguette, and grapes that looked like they’d survived a minor car crash. Let’s not do that again. With a bit of strategy, your cooler can keep food safe, organized, and un-smooshed. Here’s exactly how to pack it like a pro, without turning into someone who owns a label maker.
Choose the Right Cooler (Yes, It Matters)
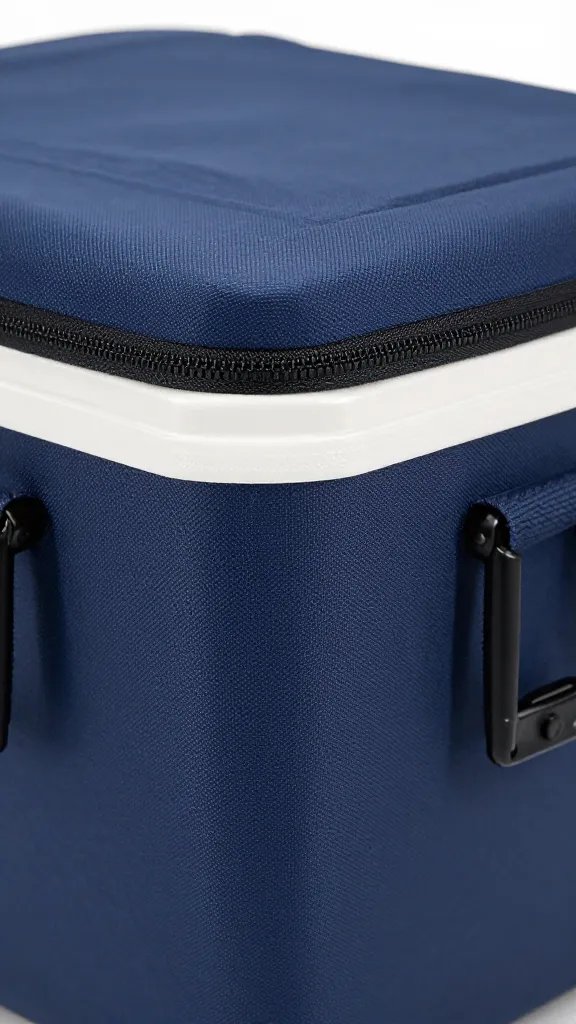
Not all coolers perform the same, and yes, a stylish tote cooler has limits. For day trips, a solid hard-sided cooler does wonders. For longer days or brutally hot weather, spring for one with thick insulation and a tight seal.
- Hard-sided cooler: Best for protection (no crushed fruit), longer cold retention, and stacking layers.
- Soft-sided cooler: Great for short trips and lighter loads, but less crush protection and insulation.
- Size smart: Choose the smallest cooler that fits everything. Extra air space warms up faster.
Bonus gear that helps
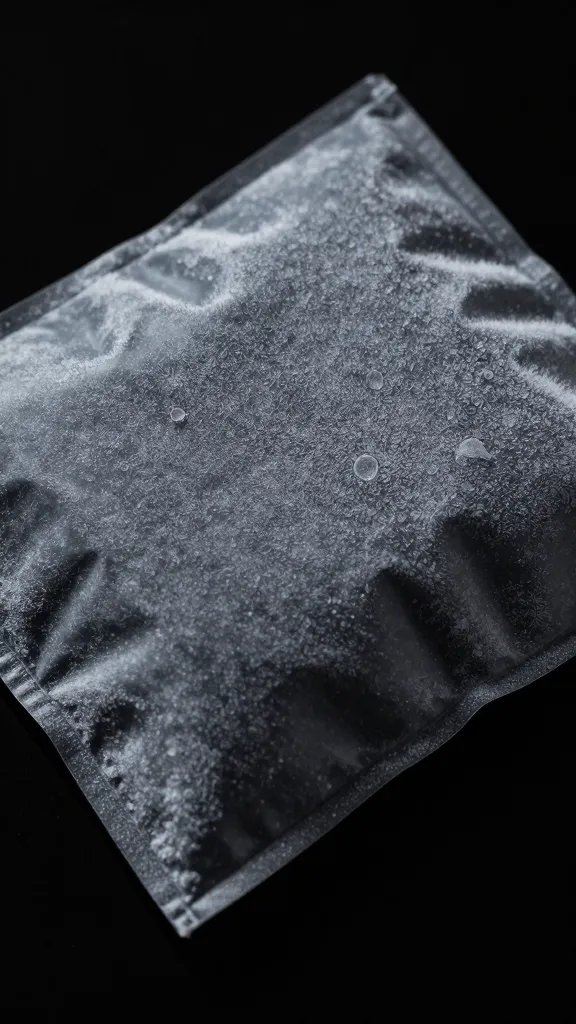
- Freezer packs: Less messy than ice and don’t waterlog your snacks.
- Block ice: Lasts longer than cubes. Cubes are fine for short trips and drinks.
- Dry ice (advanced mode): Keeps things frozen rock-solid. Wrap it and ventilate—don’t trap it in an airtight space.
Pre-Chill Like You Mean It
Cold food keeps things cold. Warm food acts like a tiny heater with bad intentions. Keep everything in the fridge overnight, and if you can, chill the cooler itself.
- Pre-chill the cooler: Toss in a bag of ice or frozen water bottles for 30–60 minutes before packing.
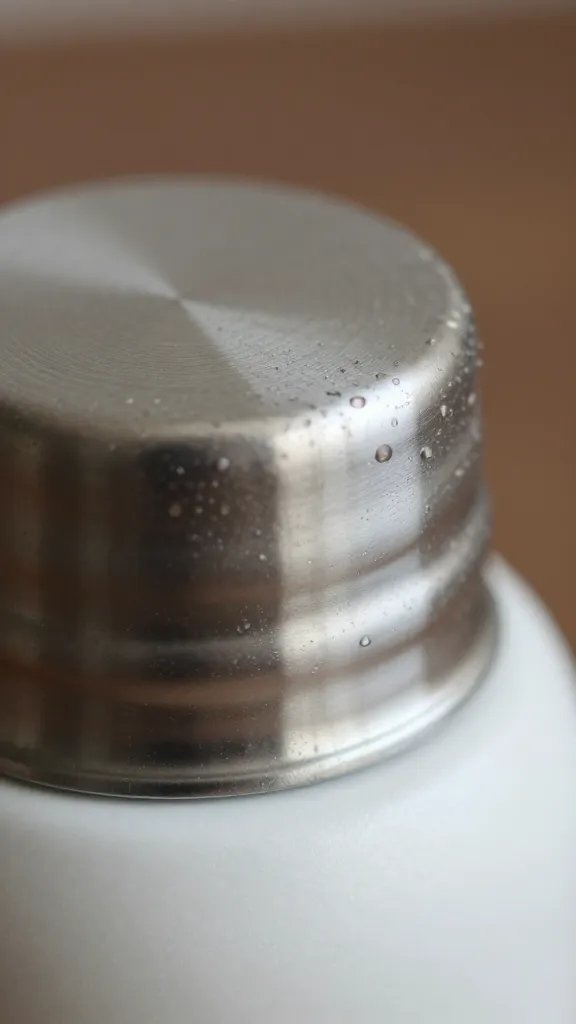
- Chill drinks: Put them in the fridge the night before. Warm drinks eat your ice alive.
- Freeze what you won’t eat right away: Water bottles, grapes, applesauce pouches, even brownies (IMO, frozen brownies taste elite).
Food Safety Comes First (Because Picnics Aren’t Fun with Food Poisoning)
You want your cooler at or below 40°F (4°C). That’s your magic number. Bacteria throw a party between 40°F and 140°F, and we’re not inviting them.
- Use a thermometer: Clip one inside or toss a fridge thermometer in. Don’t guess.
- Pack perishables with the ice: Think meats, dairy, mayo-based salads, cut fruit.
- Keep raw and ready-to-eat separate: Raw proteins go in leakproof containers, always on the bottom.
- Limit opening: Group items by when you’ll eat them. Fewer lid flips = colder cooler.
- Two-hour rule: Put leftovers back in the cooler within 2 hours, or 1 hour if it’s 90°F+ outside. After that, toss it. FYI, your stomach will thank you.
Pack a mini “clean kit”
- Hand wipes or sanitizer for pre-meal cleanups.
- Paper towels + a small trash bag for spills and wrappers.
- Separate knife and cutting board for handling fruit/cheese away from raw stuff.
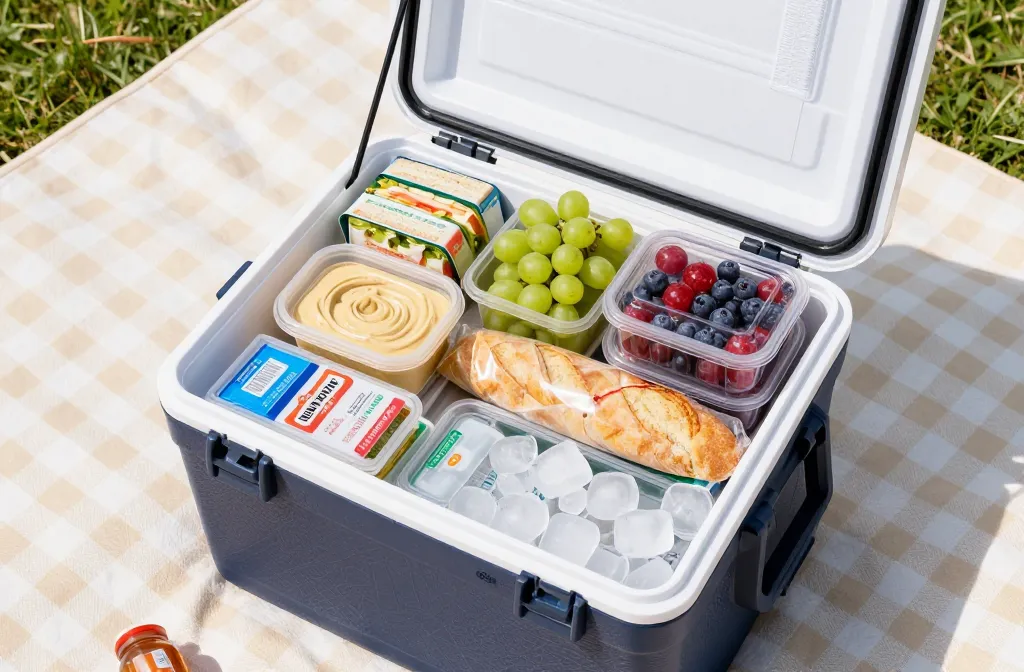
Build Your Cooler in Layers (No More Crushed Food)
Think of your cooler like a tiny apartment. Heavy stuff lives at the bottom. Fragile guests stay up top. Everything has a place.
- Bottom layer: The cold base
Add a solid layer of ice packs or block ice. This creates a chill foundation. - Raw/very cold items
Place raw meats or anything that must stay super cold directly on the base in leakproof bags or containers. Add a towel or thin cutting board as a barrier if needed. - Dense items next
Stack drinks, jars, dips, and firm containers. They won’t crush easily and help weigh down the cold zone. - Prepared foods
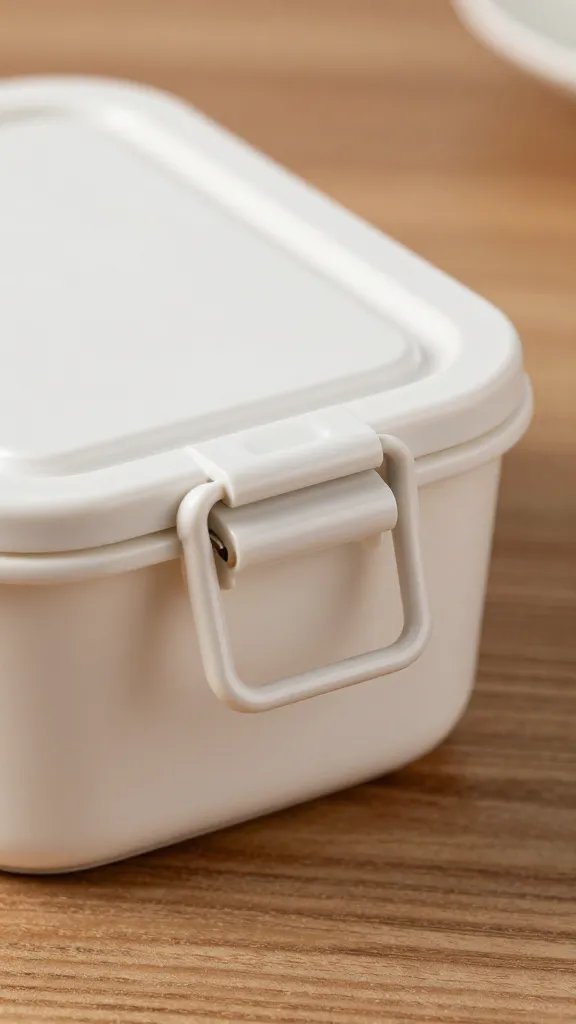
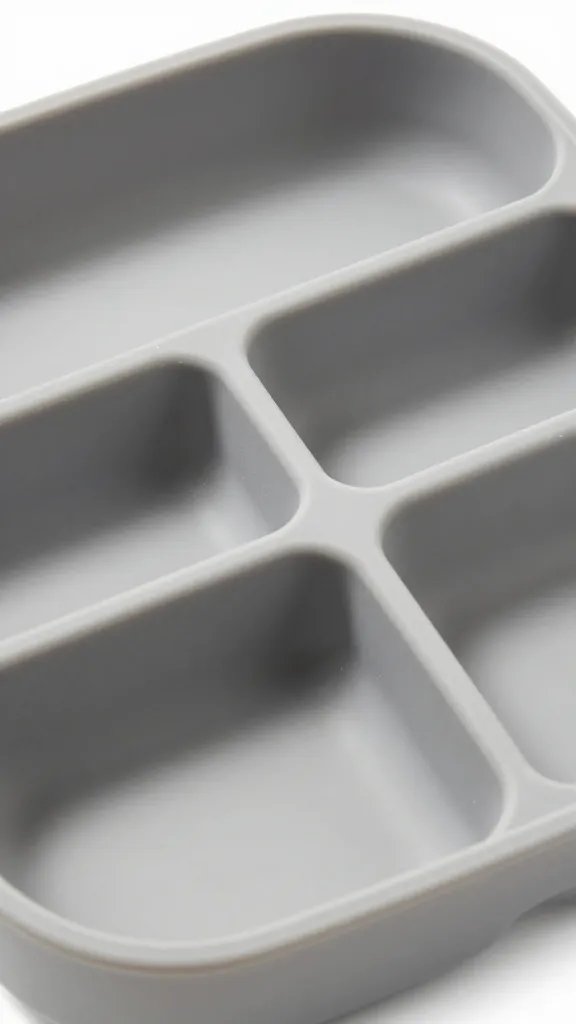
Sandwiches, salads, and fruit go in shallow, rigid containers. Use deli containers or bento boxes to prevent smooshage. - Top layer: Fragile + frequent grabbers
Berries, herbs, cupcakes, and soft bread live here. Add a final ice pack on top if you have one. - Fill gaps
Use small ice packs, frozen juice boxes, or napkins to wedge items so they don’t slide. Dead space = warm air. Block it.
Side pockets and accessories
- Keep utensils and napkins in an external pocket or a zip bag on top.
- Condiments in travel squeeze bottles to avoid bulky jars.
- Dry snacks (chips, crackers) stay outside the cooler unless it’s blazing hot.
Smart Containers = Happier Food
Containers make or break your picnic. Literally, sometimes.
- Go rigid for fragile items: Hard containers for berries, deviled eggs, and frosted treats.
- Use shallow containers: Stack neatly and cool faster.
- Zip-top bags for ice barriers: Double-bag anything leaky. Air out of bags = better cooling.
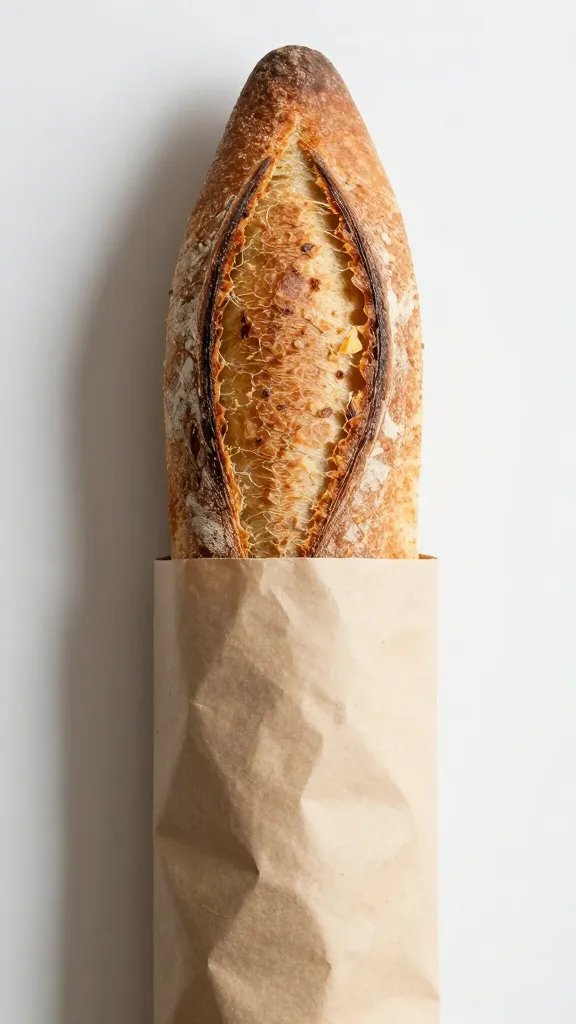
- Wrap bread separately: Keep bread in a breathable bag on top. Build sandwiches on-site to avoid sogginess.
- Label lightly: A piece of tape with “Lunch 1” or “Drinks” helps when everyone’s rummaging. Not mandatory—just nifty.
Drinks Strategy That Doesn’t Hijack the Cooler
Drinks love to hog space. Don’t let them.
- Separate drink cooler if you can: One cooler for food, one for drinks. People open the drink cooler more often, so your food stays colder.
- Pre-chill everything: Cold cans + a bag of ice = minimal melt and max chill.
- Frozen water bottles: Pull double duty as ice and hydration. Win-win.
Ice to drink, not to drown
- Use a mix of blocks and cubes: Blocks last, cubes chill quickly.
- Salted ice bath for beer or soda: Add salt to the ice water to speed chilling. Science, baby.
Organization Tricks That Save Your Sanity
You don’t need a spreadsheet—just a plan.
- Group by meal or category: “Lunch now” bag on top, “snacks later” below. Less digging = colder cooler.
- Color-code or bag items: One bag for meats, one for fruit, one for desserts. Easy grab, less chaos.
- Keep a “top tray”: A shallow bin on top for grab-and-go faves: cheese, cut fruit, dips.
- Bring backups outside the cooler: Chips, nuts, jerky, and cookies handle heat fine and free up space.
Cleanup and Leftovers Without the Ick
No one loves picnic cleanup, but future-you loves not finding a sticky cooler next weekend.
- Pack a few extra bags: One for trash, one for recyclables, one for dirty utensils.
- Keep cold chain intact: Put leftovers back in right away. If ice feels mostly melted and everything’s warm, be ruthless and toss perishable stuff.
- Drain and dry: When you get home, drain meltwater, wipe with soapy water, and leave it open to air-dry. No mystery smells later.
FAQ
How long will my cooler keep food safe?
With enough ice and minimal opening, you’ll usually get 4–6 hours of solid chill for a day picnic. Use block ice or lots of ice packs for longer. If you see lots of meltwater and food doesn’t feel cold, assume it hit the danger zone and skip the leftovers, FYI.
Should I drain meltwater or keep it?
Keep it if you want max cold—ice water bath cools better than air. Drain it if it threatens to soak paper-wrapped items or you need to reduce weight. Compromise: keep water in the drink cooler, drain the food cooler as needed.
What’s the best ice-to-food ratio?
Aim for about 1:1 by volume for hot days, 2:1 ice to food if you’ll be out all day or opening often. Smaller coolers need less total ice but still benefit from a base layer and top layer. IMO, extra ice beats sad coleslaw every time.
Can I put warm food in the cooler?
Try not to. Warm food melts ice fast and raises the overall temp. Cool it in the fridge first, or spread it in a shallow container in the freezer for 20–30 minutes before packing.
How do I prevent soggy sandwiches?
Build them at the picnic. Pack bread on top in a separate bag, keep wet fillings (tomatoes, pickles) in small containers, and add condiments at the last minute. If you must pre-build, butter the bread as a moisture barrier and wrap tightly.
Do I really need two coolers?
Need? No. But it helps a ton. Drinks get opened constantly, so separating them keeps your food at food-safe temps longer. If you only have one cooler, group “grab often” items near the top and chill everything before packing.
Wrap-Up: Your Cooler, Upgraded
Pack cold food into a cold cooler with a cold plan. Heavy stuff and raw items at the bottom, fragile treats up top, and ice everywhere it counts. Keep a simple system, limit lid flips, and bring napkins because, well, life. Follow this, and your next picnic looks like a highlight reel, not a crime scene.