How to Style a Breakfast Grazing Board for a Morning Picnic That Wows
· Yasmine Taljaard
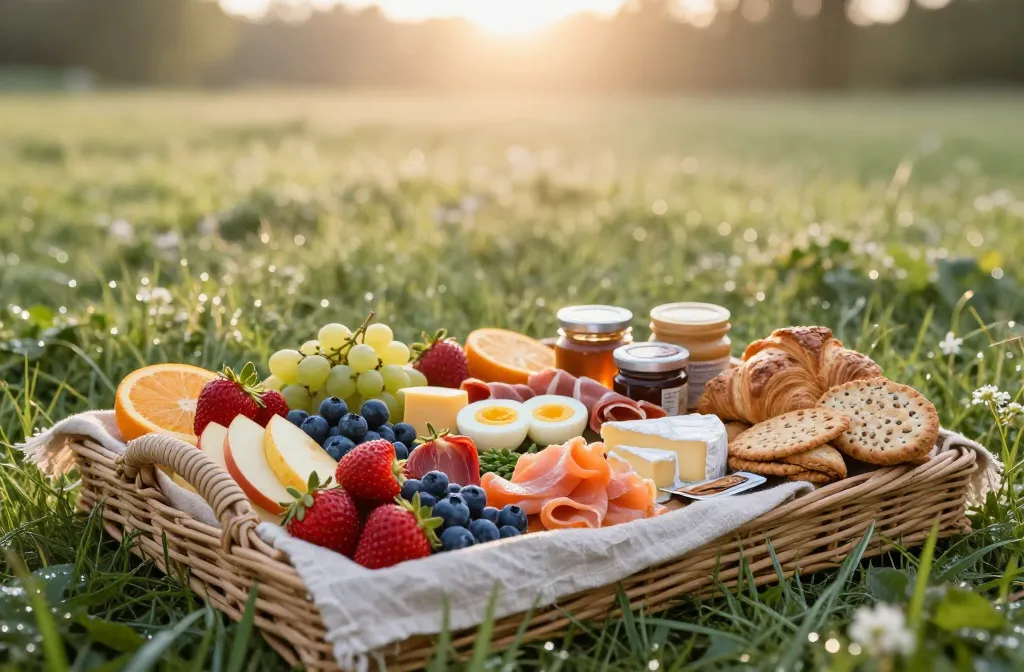
I’ve carried more than a few breakfast boards across damp lawns and sandy paths at sunrise. The ones that worked looked abundant, traveled well, and didn’t leave me scrambling for a knife at the park bench. In this guide, I’ll show you exactly how to plan, pack, and style a breakfast grazing board that stays fresh, looks generous, and serves smoothly. You’ll learn what to buy, how to arrange it fast, and how to avoid soggy pastries and warm yogurt.
Choose Foods That Travel Well and Taste Great at Room Temperature
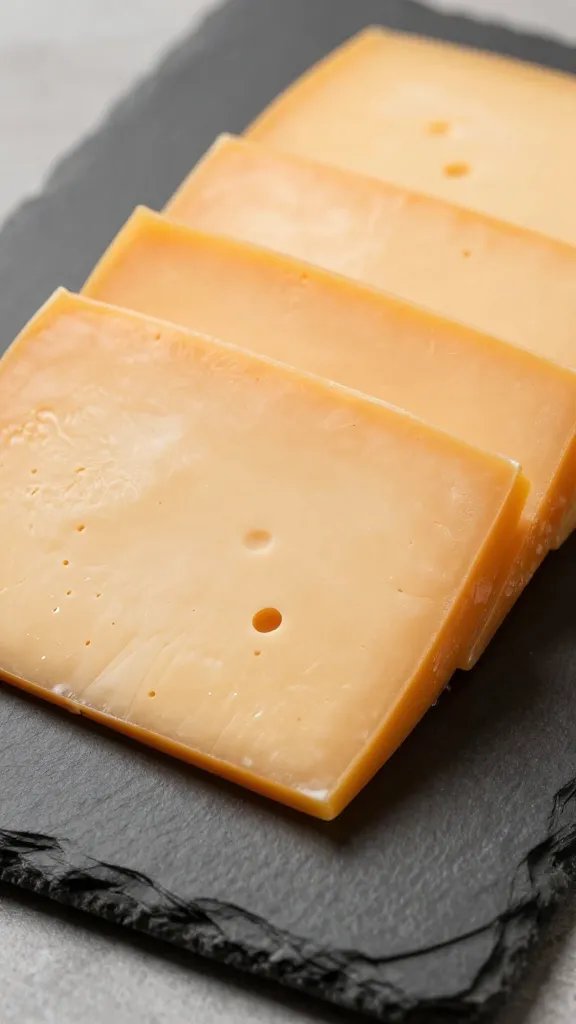
For a morning picnic, I select items that hold for 60–90 minutes without refrigeration. I stick to sturdy fruit, cured meats, hard or semi-soft cheeses, and baked goods that don’t crumble. I avoid anything that “weeps” or melts fast.
Think of texture and flavor contrast. You want creamy, crunchy, salty, and fresh in every cluster. I keep a simple color palette so it doesn’t look messy: berry reds, citrus yellows, and leafy greens.
Recommended Menu (Shop-It List)
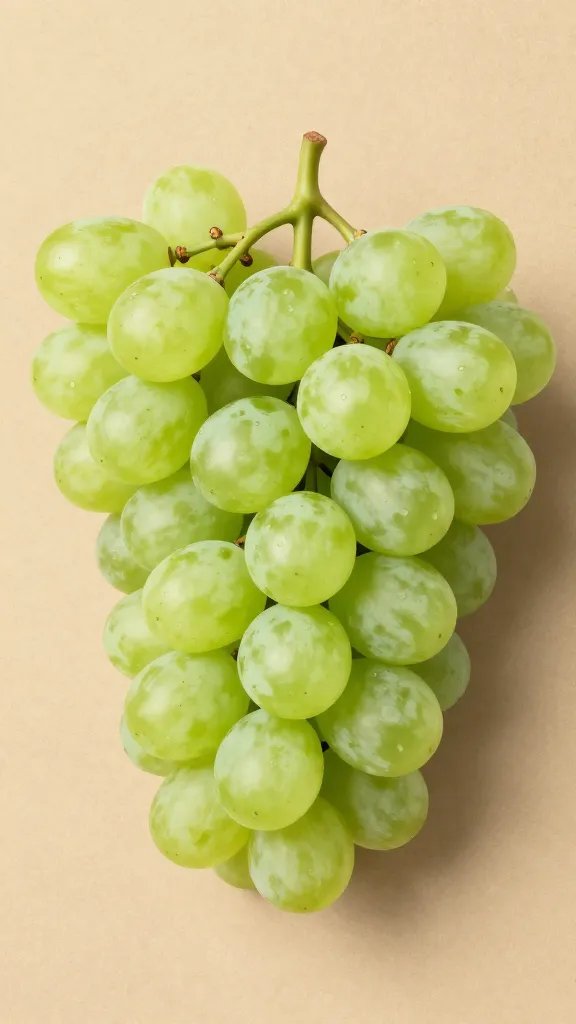
- Fruits: Strawberries (stems on), blueberries, grapes, sliced oranges, and apple wedges brushed with lemon.
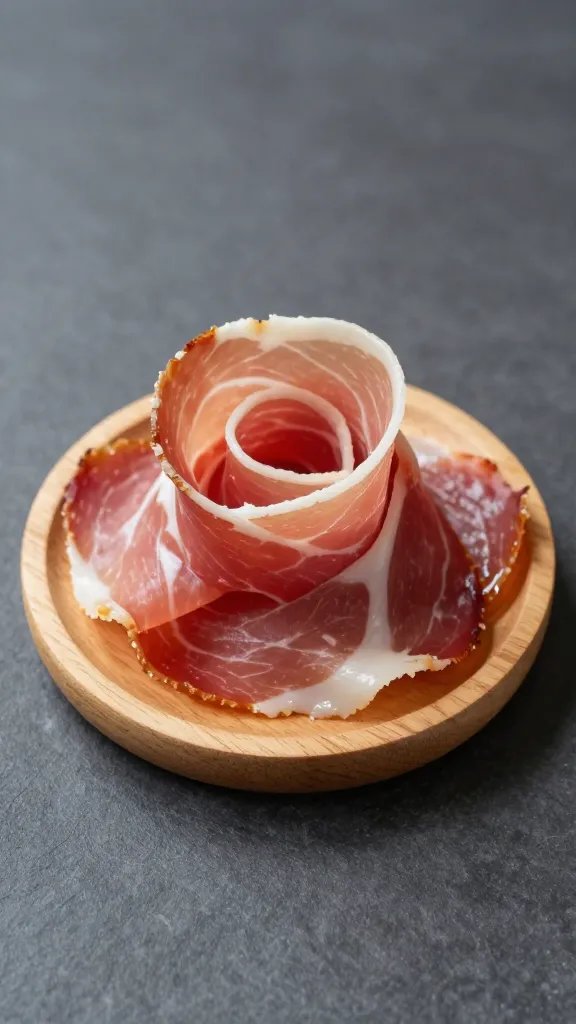
- Proteins: Prosciutto or salami, hard-boiled eggs (halved), smoked salmon (pre-portioned), nut butter packets.
- Cheeses: Aged cheddar, gouda, brie or camembert in small wedges (keep chilled until departure).
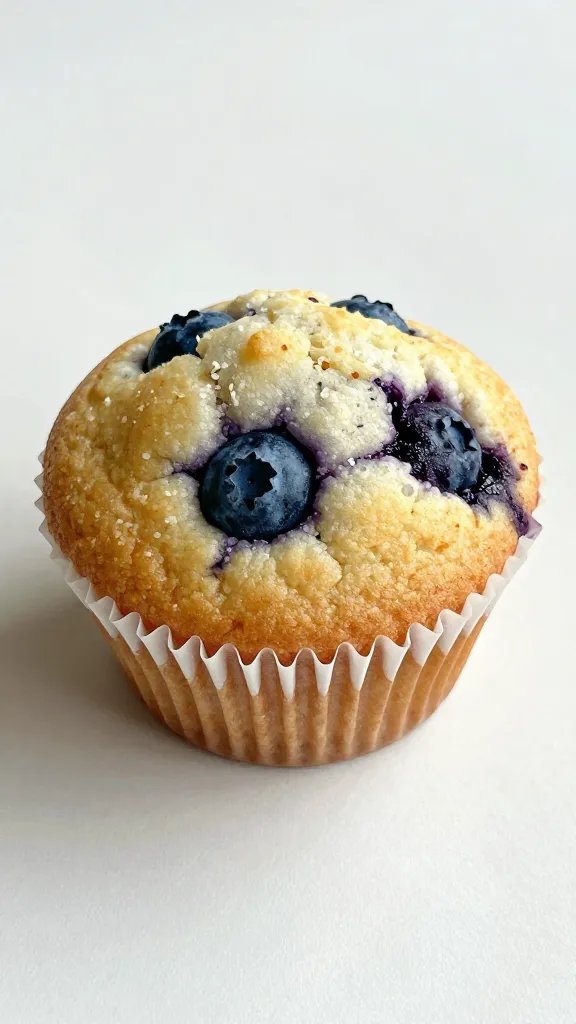
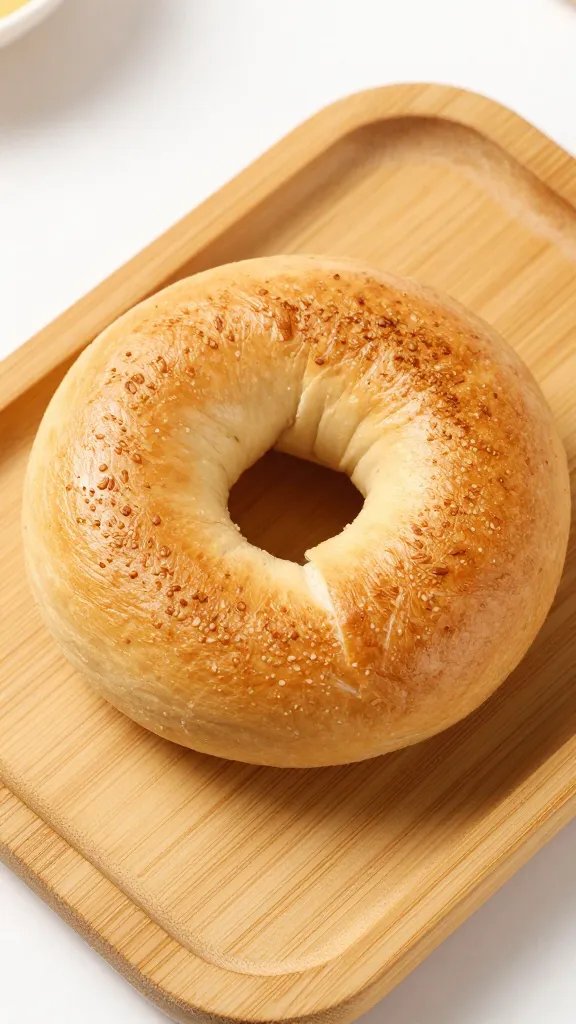
- Carbs: Mini croissants, bagels (pre-sliced), seeded crackers, mini waffles, granola clusters.
- Extras: Cucumber ribbons, cherry tomatoes, capers, pickled onions, fresh herbs (dill, mint), small jar honey or jam.
Action today: Draft a focused shopping list with 2 fruits, 1 cheese, 1 protein, 1 bread/cracker, and 2 extras so you don’t overbuy.
Pick the Right Board and Portable Containers
I use a lightweight wooden board or a rimmed baking sheet lined with parchment. A rim prevents roll-offs on uneven picnic tables. For transport, I place the “board” inside a flat tote or a clean cardboard box lid for stability.
Small jars and silicone cupcake liners keep wet and dry separate. I decant sticky items like jam, honey, and capers into leakproof mini containers. I pack ice packs under the board in a soft cooler so the board stays cool but dry.
Material Recommendations
- Board: Rimmed sheet pan or thin bamboo board (12–18 inches).
- Dividers: Silicone baking cups, small mason jars, lidded condiment cups.
- Transport: Soft cooler with 2 thin ice packs and a tea towel as a buffer.
Action today: Test-fit your board inside a bag or box you already own so you know it travels flat.
Pre-Prep Smart: What to Slice, What to Leave Whole

I pre-slice firm cheeses and bagels at home. I leave soft cheeses as small wedges to reduce mess. I halve eggs and pre-portion smoked salmon so no one needs a knife.
For fruit, I wash and fully dry everything. I slice apples and brush with lemon water (1 tablespoon lemon juice in 1 cup water). I keep strawberries whole with stems for easy grabbing and less juice on the board.
Step-by-Step Pre-Prep (30 Minutes, Night Before + Morning Of)
- Night before: Boil eggs (10 minutes), cool, peel, and refrigerate.
- Night before: Pre-slice cheddar/gouda, cover with parchment, then plastic wrap; refrigerate.
- Morning: Wash/dry fruit; prep apple slices with lemon water; pat dry.
- Morning: Pre-slice bagels and wrap in a clean tea towel.
- Pack condiments and wet items in sealed containers; place cold items against ice packs.
Action today: Set a small tray in your fridge with all chilled board items grouped so you can load quickly before you leave.
Style in Zones: Build From Anchors to Fillers
I always start with anchors: cheese wedges, a jar of jam, and a bowl of berries. Anchors create height and stop rollaways. Then I add proteins in small, repeating piles around them.
I fan sliced fruit next, then nest breads and crackers at the edges so hands don’t reach over everything. I finish with “confetti” elements—herbs, nuts, and a few citrus slices—to connect zones and add color without clutter.
Fast Styling Order on Site (7 Minutes)
- Place anchors: soft cheese wedge, jam jar, a small bowl of berries.
- Add proteins in 3 clusters (prosciutto folds, salmon ribbons, egg halves).
- Fan fruits in arcs; alternate colors for contrast.
- Tuck breads/crackers along the perimeter; add mini waffles near honey.
- Dot with cucumbers, tomatoes, capers; finish with dill and mint sprigs.
Action today: Practice the layout on your kitchen counter once and snap a phone photo—use it as your on-site blueprint.
Balance Flavors and Textures So Every Bite Works
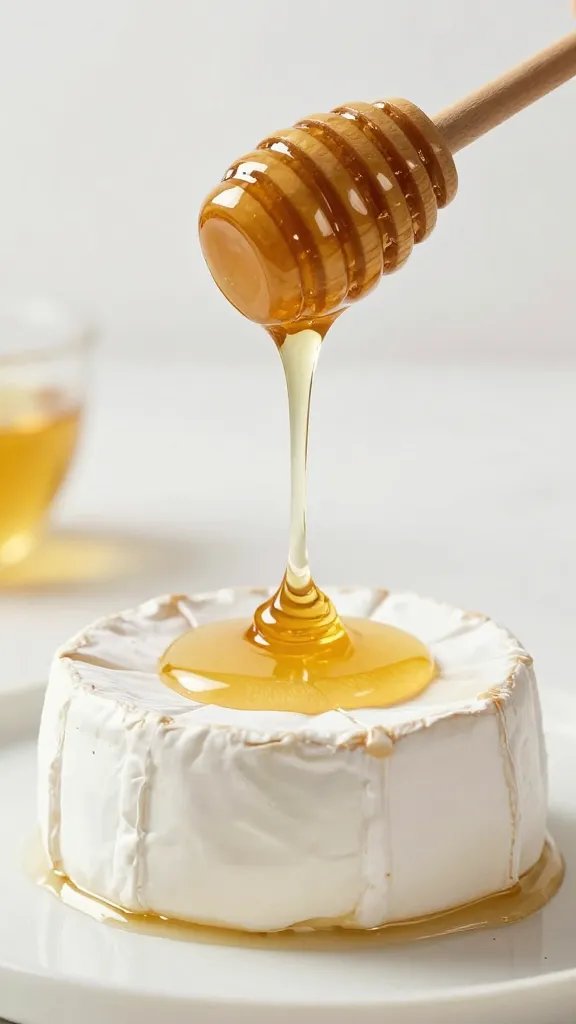
I plan at least one complete bite in each zone: bread or cracker + creamy or salty + bright. For example, mini waffle + brie + strawberry slice + honey; bagel + salmon + cucumber + dill.
I repeat these combinations in more than one spot so guests don’t crowd a single area. I avoid overloading with sweets; I add savory pickles or capers to reset the palate.
Pairing Ideas That Always Land
- Brie + Strawberry + Honey on a mini waffle.
- Cheddar + Apple + Granola Cluster on a seeded cracker.
- Smoked Salmon + Cucumber + Dill on a bagel half with a swipe of cream cheese.
- Prosciutto + Orange Segment with a mint leaf.
Action today: Choose two go-to pairings and buy those exact components first; build the rest around them.
Keep It Safe, Cool, and Neat Outside
Breakfast boards live outdoors for an hour, max. I keep perishable items chilled until serving, then set the board out and eat promptly. I shade the board with a hat or cloth while guests settle in.
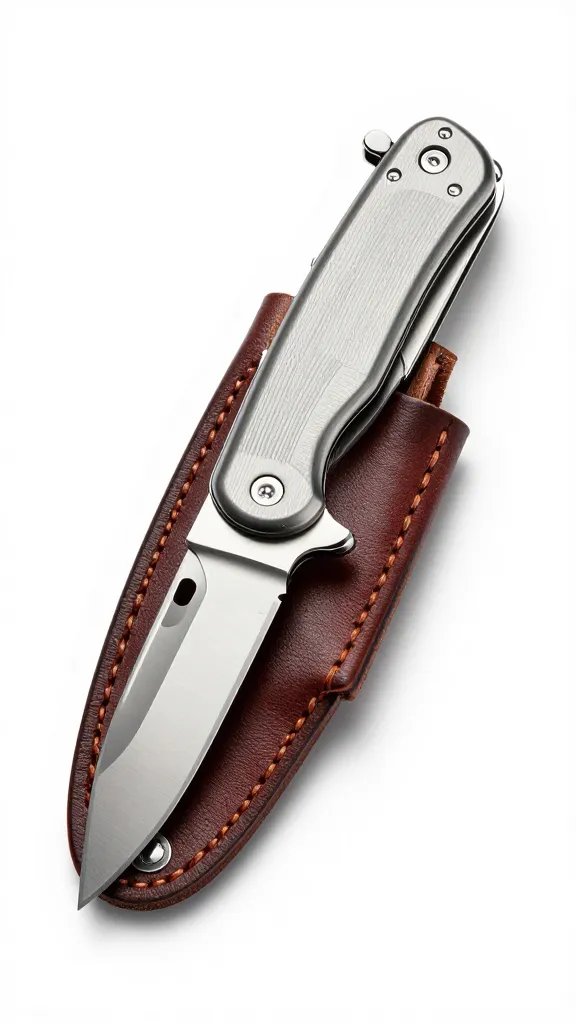
I carry a small trash bag, a pack of napkins, and a spare tea towel for quick wipe-downs. I bring a dedicated knife for soft cheese and a small spoon for sticky condiments to avoid cross-contamination.
Warning Signs and Quick Fixes
- Cheese sweating: Move the board back onto an ice pack for 5 minutes.
- Soggy crackers: Replace from a sealed stash; keep extras bagged with a silica packet.
- Runny berries: Transfer to a jar; add a dry paper towel under them.
Action today: Pack one zip-top bag of backup crackers and one extra ice pack—you’ll use them more than you expect.
Label Lightly and Streamline Serving
Picnics run smoother when people know what they’re grabbing. I use toothpick flags or painter’s tape on the rim of the sheet pan for simple labels: “Brie,” “Gluten-Free Crackers,” “Nut-Free Zone.”
I set out two small plates and a stack of napkins at the front edge so guests start there. I place a squeeze bottle of honey and a small butter knife where hands can reach without hovering over the board.
Action today: Pre-pack a tiny “service kit”: 2 small plates, napkins, 1 cheese knife, 1 spoon, 1 mini tongs.
Frequently Asked Questions
How much food do I need per person for a breakfast grazing board?
I plan 1.5–2 ounces of cheese, 1–2 ounces of protein, 1 cup total fruit, and 2–3 pieces of bread/crackers per person. If you’re serving after a run or hike, add one extra carb item per person. Always bring a sealed backup sleeve of crackers to refresh the board once.
Can I assemble the board the night before?
Pre-prep components, but assemble on site. Slice and package items separately, then keep cold overnight. In the morning, transport in a cooler and style at the picnic to avoid soggy textures and condensation on the cheeses.
What’s the best way to keep yogurt or chia pudding cold?
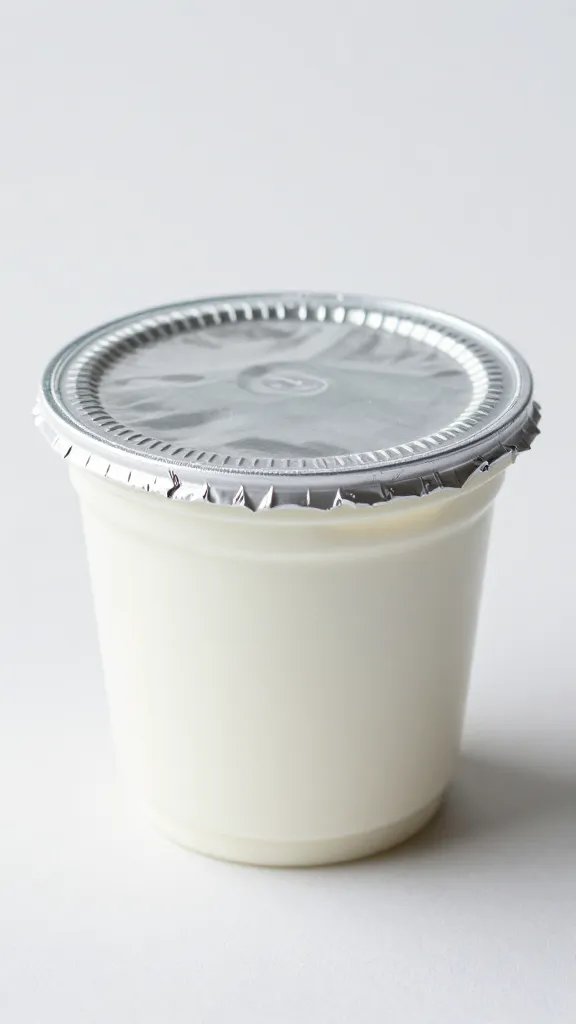
Portion into small jars with lids and pack them directly against an ice pack in your cooler. Set them out last, right before eating. Keep a spoon in each jar to prevent drips on the board and return leftovers to the cooler within 30 minutes.
How do I make it look full without overspending?
Use bowls and jars as space-fillers and build height. Fan affordable items—orange slices, cucumber ribbons, granola clusters—between pricier cheeses and salmon. Tuck in herb sprigs and citrus wheels to connect gaps so the board looks abundant.
What if someone is gluten-free or nut-free?
Segment one corner as a labeled safe zone. Use gluten-free crackers in a separate bowl and avoid nut toppings there. Bring nut butter packets instead of open jars to keep the main area nut-free and pack a second knife for that zone.
Conclusion
You now have a clear plan: choose travel-tough foods, prep smart at home, and style quickly with anchors and clusters. Set a departure time, gather your board, jars, and a small service kit, and make one practice layout tonight. Tomorrow morning, you’ll carry out a grazing board that looks generous, eats cleanly, and survives the trip without stress.
Leave a Reply