How to Use “Hot Glue” to Create Unique and Stylish Napkin Rings Fast
· Samantha Jones
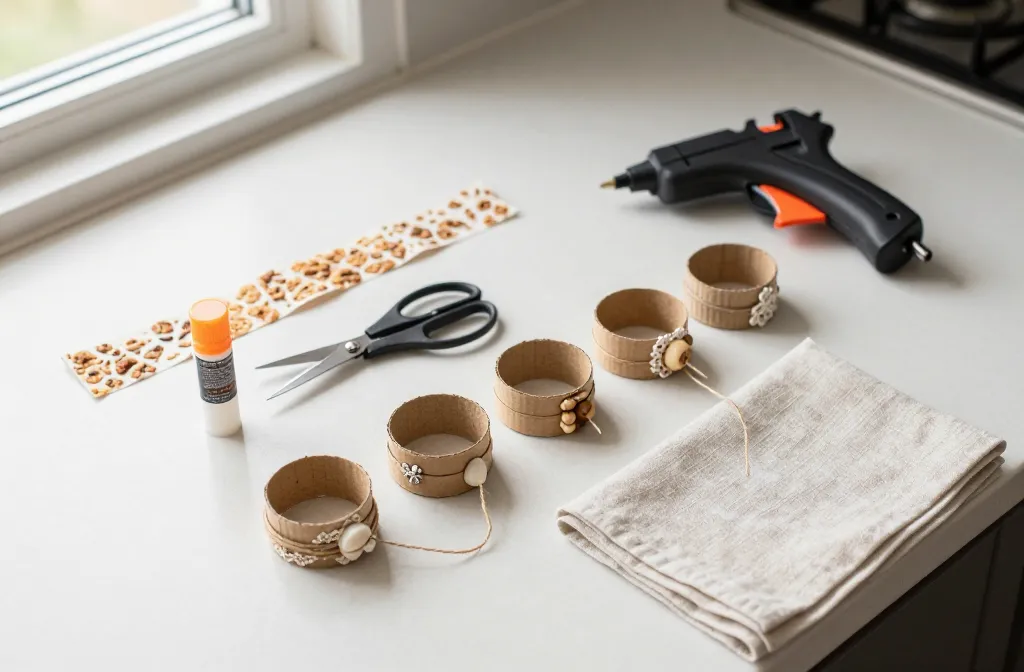
I made my first hot-glue napkin rings the night before a family dinner because the store-bought options looked bland and cost more than the meal. With a glue gun, a cereal box, and a handful of odds and ends, I ended up with six coordinated rings in under an hour. You can do the same on a kitchen counter with simple tools you already own. I’ll show you the exact materials, techniques, and finishing touches that make hot-glue napkin rings look handcrafted, not homemade.
Choose a Base That Holds Shape and Feels Comfortable
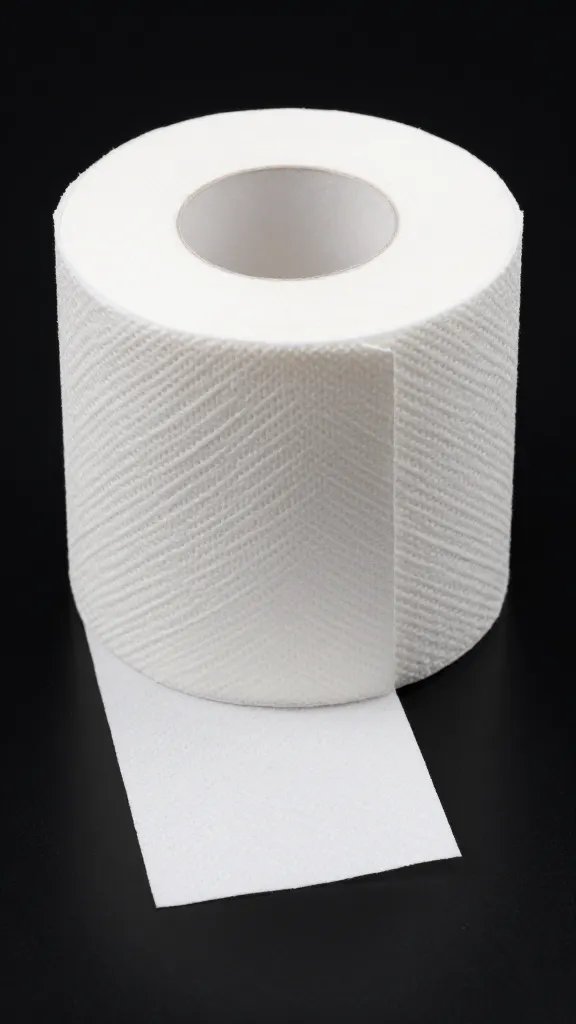
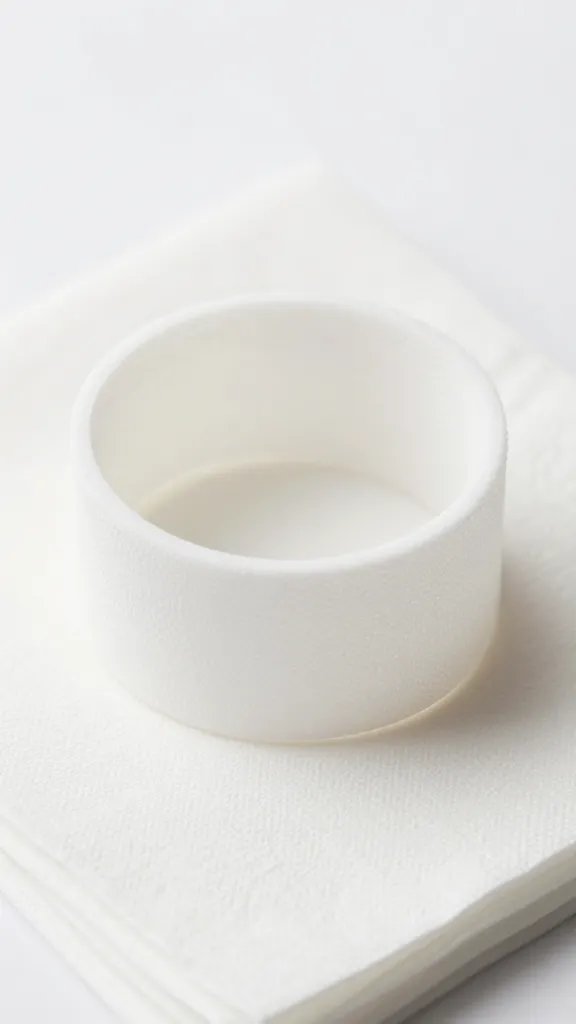
Every good napkin ring starts with a stable core. I use strips cut from a cereal box or a toilet paper tube as the inner ring because they’re smooth against fabric and easy to size. For a sturdier feel, I wrap that core with ribbon or twine before adding hot-glue details.
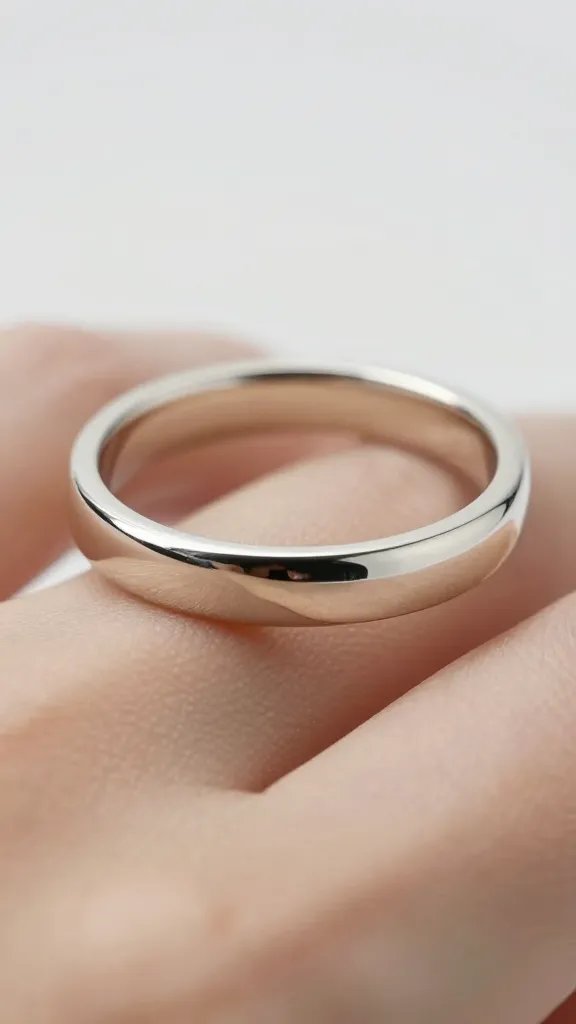
Measure a ring interior of 1.5 inches across — that fits standard cloth and paper napkins without pinching. Cut strips 1.25 inches wide and 6.5 inches long, then overlap by 0.5 inches to form a circle and glue the seam.
Action today: Cut and glue one cardboard test ring to your hand’s ring-finger knuckle width; if it slides over your index finger, it will handle a bulky napkin.
Pick the Right Glue Sticks and Temperature for Clean Results
I reach for full-size glue sticks labeled for high-temperature guns when I want strong bonds on fabric, wood, or shells. For delicate trims like lace or dried petals, I switch to a low-temperature setting or a dual-temp gun to avoid scorching and stringing.
Material recommendations
- High-temp sticks: Best for wood slices, beads, seashells, faux greenery, and heavy ribbon.
- Low-temp sticks: Best for lace, feather details, silk flowers, and thin paper.
- Specialty sticks: Clear for invisible bonds; glitter sticks when the glue line is part of the design.
Takeaway: Match glue temperature to your heaviest decoration; start high for strength and finish low for delicate overlays.
Prepare Surfaces So Decorations Don’t Pop Off Later
Hot glue grips best on slightly rough, clean surfaces. I scuff glossy ribbon and smooth shells with a nail file, wipe dust with a dry cloth, and lay parts out in the order I’ll glue them. I also “prime” porous materials like jute and burlap with a thin skim of hot glue, then press the main bead of glue while the primer is still tacky.
Warning signs of poor prep
- Decor slides before the glue cools — surface has oil or dust.
- Edges lift after a day — the contact area is too small.
- Glue beads show through lace — glue was too hot or too thick.
Action today: Lightly rough one decorative piece with a nail file and test-glue it to scrap cardboard; peel after 10 minutes to confirm bond strength before committing to your rings.
Build Three Reliable Designs Step by Step
These styles use hardware-store and craft-aisle basics and give a polished finish without specialty tools.
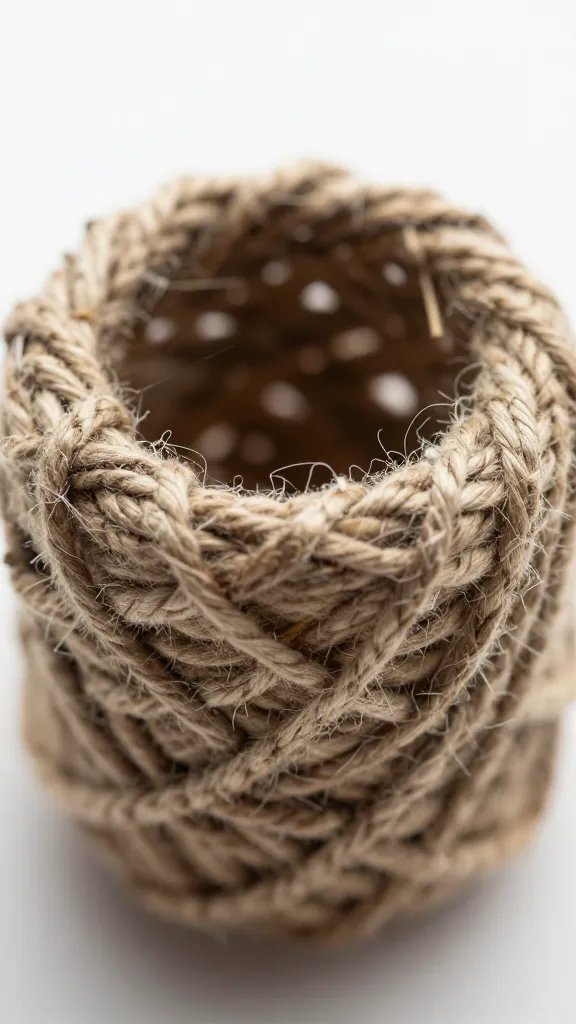
1) Twine-Wrapped Rustic Ring
- Base: Form a cardboard ring (1.25 inches wide). Run a thin glue line on the outside edge.
- Wrap: Press jute twine onto the glue and spiral around, adding pea-sized dots every 0.5 inch. Keep wraps snug.
- Finish: Tuck the twine end under the last wrap with a toothpick. Add a tiny wood slice or dried sprig at the seam.
- Seal (optional): Brush a thin layer of matte Mod Podge to tame fuzz and prevent shedding.
2) Coastal Shell Ring
- Base: Cover a cardboard ring with 1-inch cotton ribbon for a soft cushion.
- Layout: Arrange small shells and 2–3 accent pieces (tiny starfish or polished pebbles) before gluing.
- Glue: Use high-temp glue; apply a thin bead to the shell’s high points and press 8–10 seconds.
- Fill: Add micro pebbles or seed beads to gaps with low-temp glue for a clean, continuous band.
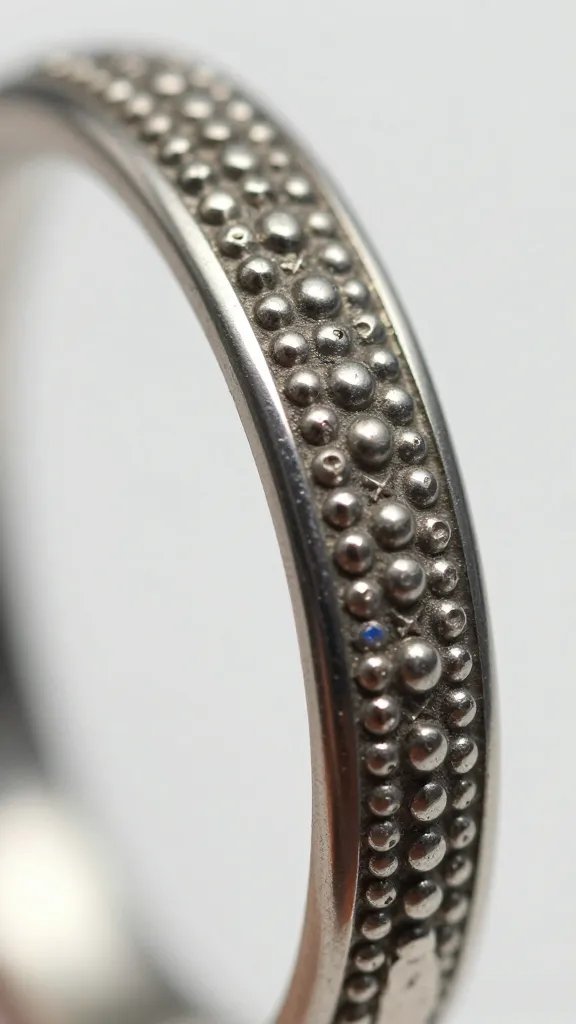
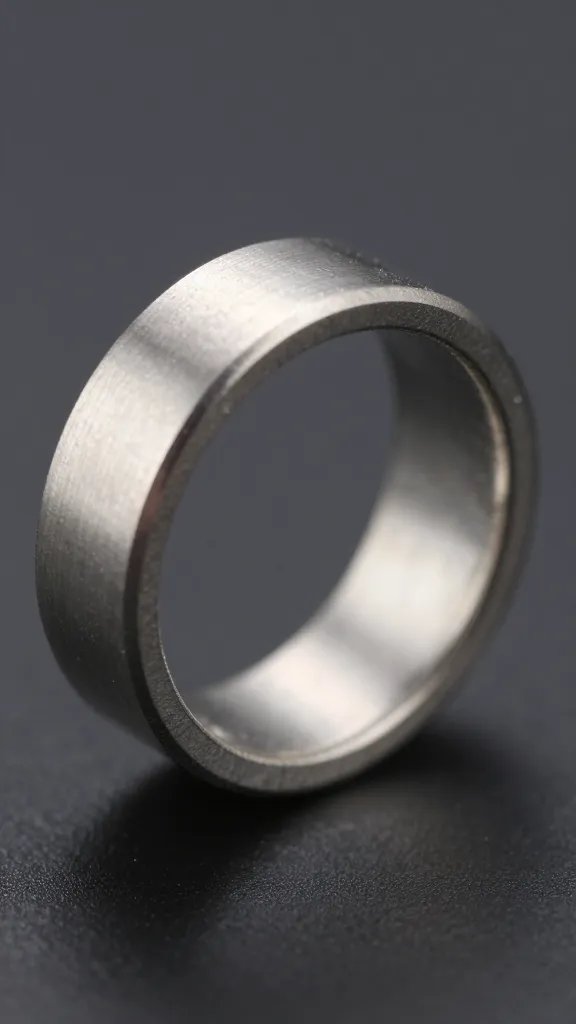
3) Modern Molded-Glue Ring (No Base)
- Form: Wrap a smooth marker with baking parchment and tape the seam.
- Bead: Run a continuous 0.25-inch bead of glue around the marker twice, overlapping slightly.
- Texture: While warm, trace patterns with the nozzle (chevrons, dots). Let cool 5 minutes and slide off.
- Finish: Spray with matte black or brushed gold paint for a metal look.
Takeaway: Choose one design and make a single prototype first; adjust width and embellishment density before batch-making the rest.
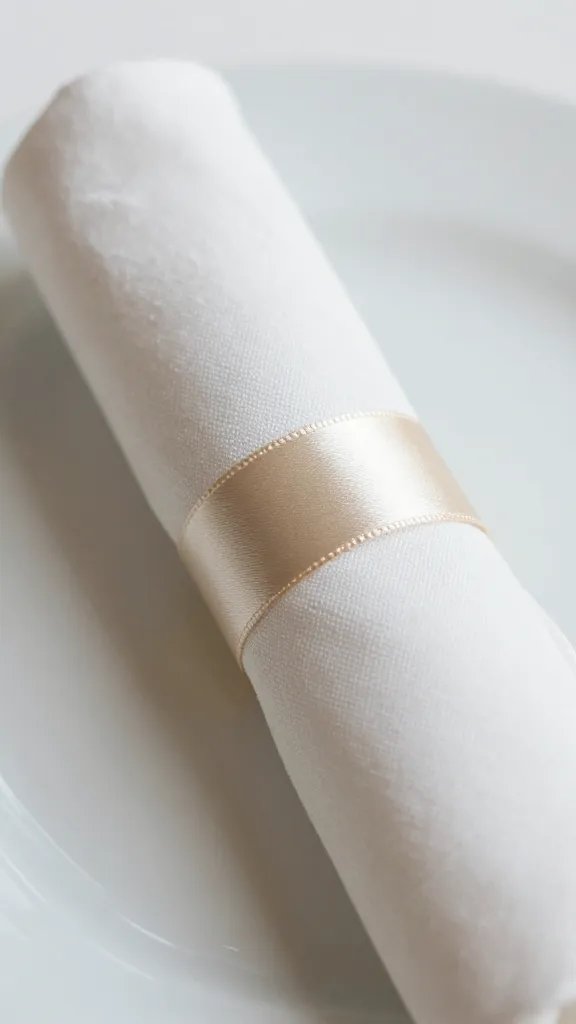
Make Them Look “Store-Bought” With Clean Lines and Good Proportions
Symmetry and scale sell the look. I keep decorations within the ring’s width so napkins don’t snag, and I repeat one element exactly three or five times per ring for rhythm. I also place seams at the back and give each ring a small “front” feature so the set looks intentional on the table.
Step-by-step polish
- Trim glue strings with a hair dryer set to warm for 3–5 seconds from 8 inches away.
- Touch paint only where cardboard or glue shows — thin coats prevent drips.
- Topcoat with clear matte sealer for a unified finish across different materials.
Action today: After your first ring, set it beside a plate and folded napkin; if the feature piece touches the plate rim, scale it down by 25%.
Work Safely and Avoid Common Hot-Glue Headaches
I keep a bowl of cool water nearby to dip fingers instantly — it ends minor burns before they blister. I also use a silicone baking mat or an old magazine as my surface so cooled drips peel off. Never rest the gun on its side; park it nose-down on a silicone spatula to catch strings.
Fixes for common issues
- Burns: Dip the area in cool water for 60 seconds; do not peel hot glue off skin — cool first, then roll away.
- Stringing: Lower temperature or pause 2 seconds before lifting the tip; twirl the nozzle to wrap the string back.
- Weak bond: Increase contact area by flattening decorative backs with a file and use fresh, high-temp glue.
Takeaway: Set a silicone mat, a water bowl, and a parked spatula before you plug in the gun — that setup prevents 90% of mishaps.
Finish and Protect So They Survive Reuse
Napkin rings touch food and fabric, so I seal porous elements. A light coat of spray matte sealer keeps twine from shedding and protects paint from fingerprints. For washable durability, I line the inside of rings with a strip of felt or ribbon to prevent glue edges from catching on napkins.
Store sets as pairs in small zip bags or wrap with tissue to block dust and pressure dents. Label by theme — Rustic, Coastal, Holiday — so you can grab a matching set in seconds.
Action today: Cut a 6.5-inch strip of felt and glue it inside your favorite ring; that single lining upgrade makes it slide smoothly for years.
Frequently Asked Questions

Can I make napkin rings without any cardboard base?
Yes — mold the ring entirely from hot glue on a parchment-wrapped marker. Build two to three layers for strength and let it cool fully before removing. Sand edges lightly with a nail file and finish with spray paint for a metal look. Add small glued studs or embossed lines while the last layer is warm.
What decorations stick best with hot glue?
Porous items like wood slices, jute, burlap, and faux greenery bond very well. Smooth items such as shells, glass pebbles, and plastic beads need surface prep — scuff with a nail file and clean dust before gluing. Press and hold for at least 8–10 seconds. If a piece still lifts, increase the glue contact area instead of adding more layers on top.
How do I keep glue strings from covering everything?
Use a lower temperature for final detail work and pause before lifting the nozzle. Twirl the gun slightly as you pull away so the filament winds back to the tip. At the end, wave a warm hair dryer over the rings for 3–5 seconds to melt stray strings without dulling finishes. Keep a silicone-tipped tool handy to tap down tiny whiskers while warm.
Will hot-glue napkin rings melt or deform in storage?
Only if stored in direct heat. Keep them in a cool, dry cabinet away from sunny windows and radiators. A small box with tissue dividers prevents pressure dents and protects embellishments. For molded-glue rings, avoid leaving them in a hot car or attic.
Can I clean hot-glue napkin rings after a messy dinner?
Wipe with a slightly damp cloth with a drop of mild dish soap, then dry immediately. Do not soak or scrub with abrasives — that loosens embellishments and clouds finishes. If grease contacts twine or burlap, blot with cornstarch for 15 minutes, tap off, and reseal with a light coat of matte sealer. Replace felt liners if they stain.
Conclusion

You now have everything you need to design, build, and finish hot-glue napkin rings that hold up to real dinners and look coordinated on the table. Make one prototype tonight, photograph it on a plate setting, and adjust size or embellishments before batching the rest. When you’re ready to stretch further, try a molded-glue ring with a metallic finish — it pairs with any linen you already own.
Leave a Reply