Viral Diy “Wooden Bead Tassel” Napkin Rings for Every Season
· Samantha Jones
I made my first set of wooden bead tassel napkin rings in a tiny apartment with nothing more than kitchen scissors and painter’s tape. They dressed up a plain weeknight table and later shifted effortlessly into holiday decor with a quick ribbon swap. In this guide, I’ll show you the exact materials, steps, and seasonal tweaks that work with standard craft-store supplies. You’ll finish with sturdy napkin rings you can restyle for spring brunches, summer BBQs, autumn dinners, and winter holidays without buying new ones every season.
Materials That Look Good Year-Round (And Don’t Fall Apart)
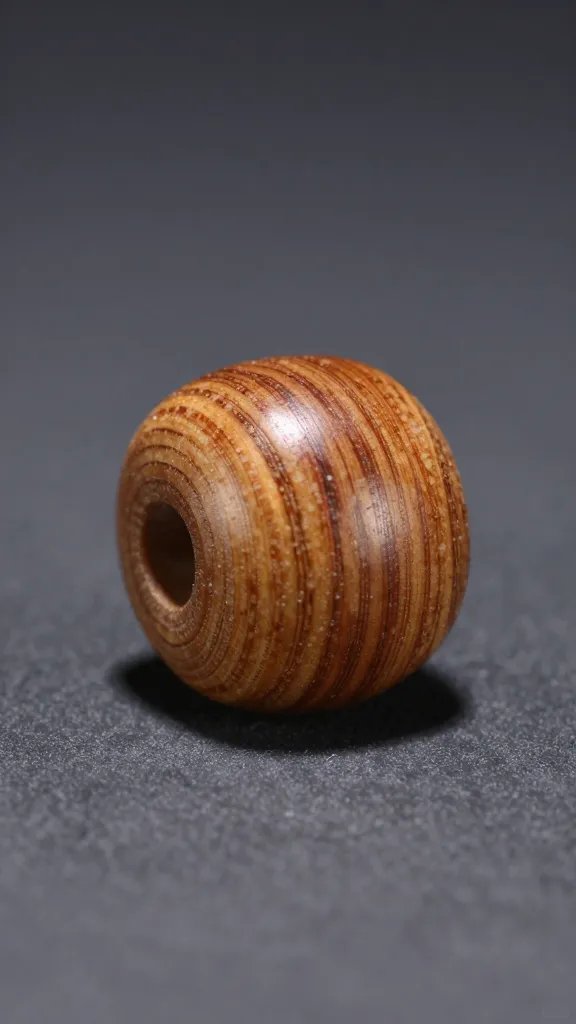
I stick to unfinished wooden beads because they take stain, paint, or oil evenly and feel solid in the hand. For the ring core, I use 2 mm cotton macramé cord or waxed cotton, which knots cleanly and resists fraying. A tassel needs structure, so I rely on 100% cotton yarn or kitchen twine; both hold a neat fringe after trimming.
Material Recommendations
- Wooden beads: 16 mm round with 4 mm center holes; buy a value bag from a craft or hardware store.
- Cord for ring: 2 mm cotton macramé cord; cut to 14 inches per ring.
- Tassel fibers: Cotton yarn or kitchen twine; about 2 yards per tassel.
- Finishing: Clear water-based polyurethane wipe-on or mineral oil; a small foam brush or old T-shirt scrap.
- Optional accents: Seasonal ribbon (3/8 inch), tiny charms, or fresh herb sprigs.
- Tools: Scissors, painter’s tape, a dinner fork (for tassel sizing), ruler, and a dab of white glue.
Action today: Pick up a 200-count bag of 16 mm beads and a spool of 2 mm cotton cord; that single purchase covers 8–10 napkin rings with extras for seasonal swaps.
Measure Once, Knot Once: The Ring That Actually Fits a Napkin
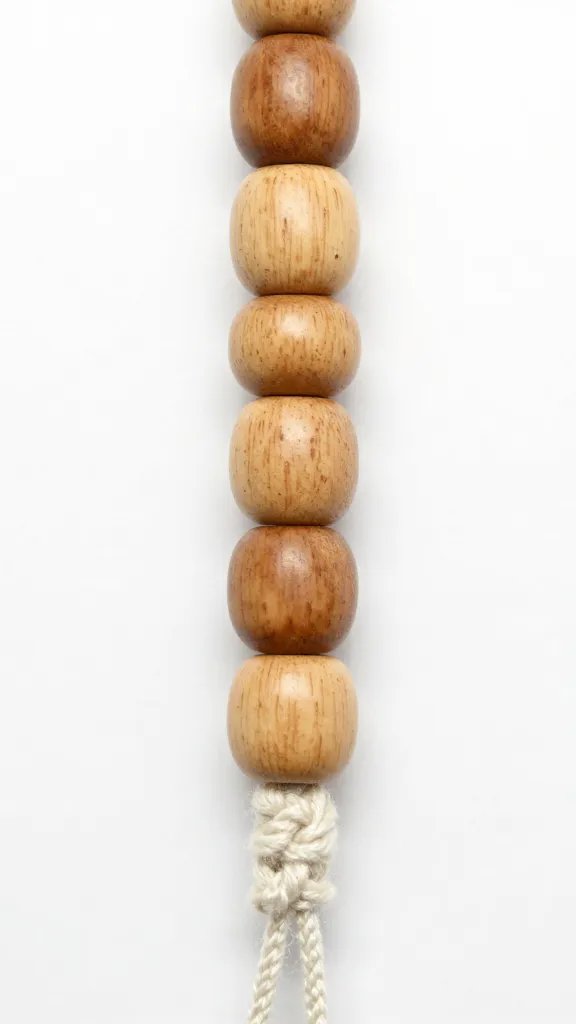
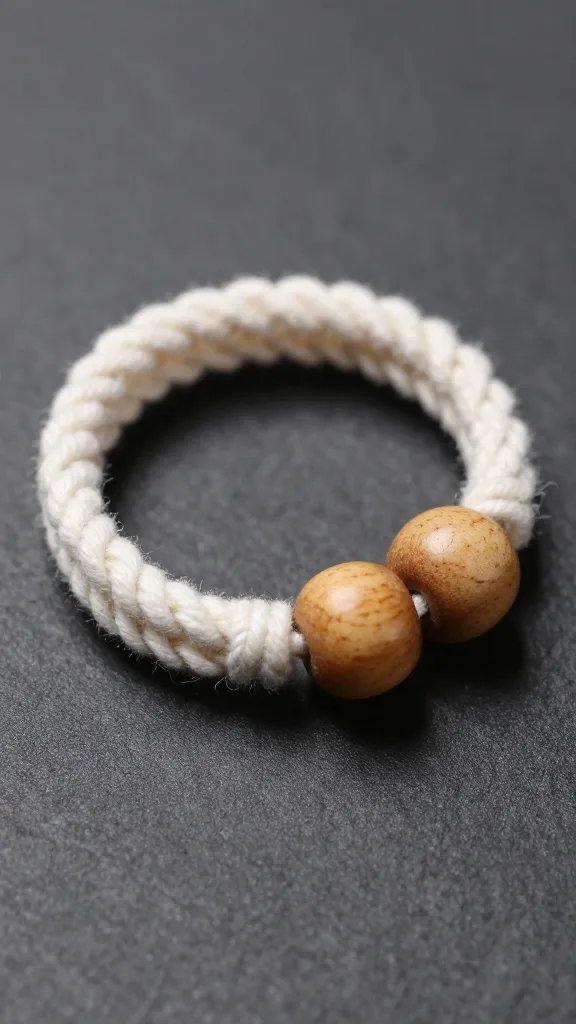
A standard cloth napkin rolled or folded into a loose cylinder needs a ring with a 1.5–1.75 inch inside diameter. With 16 mm beads, 12 beads per ring usually nails that fit without looking chunky. I thread directly onto the cord and finish with a tight square knot that hides cleanly between beads.
Step-by-Step: Beaded Ring
- Cut a 14-inch length of 2 mm cotton cord. Wrap a small strip of painter’s tape around each end to create a “needle.”
- Thread 12 beads onto the cord. Push them together snugly.
- Tie a firm square knot (right over left, left over right) pulling evenly so the beads form a tight circle.
- Slide the knot between two beads. Add a tiny dab of white glue to the knot; hold for 20 seconds.
- Trim tails to 1/4 inch and tuck into bead holes with the taped tip.
Action today: Test the fit on a rolled napkin; add or remove two beads to fine-tune before you make the rest.
The No-Fuss Tassel That Hangs Straight Every Time
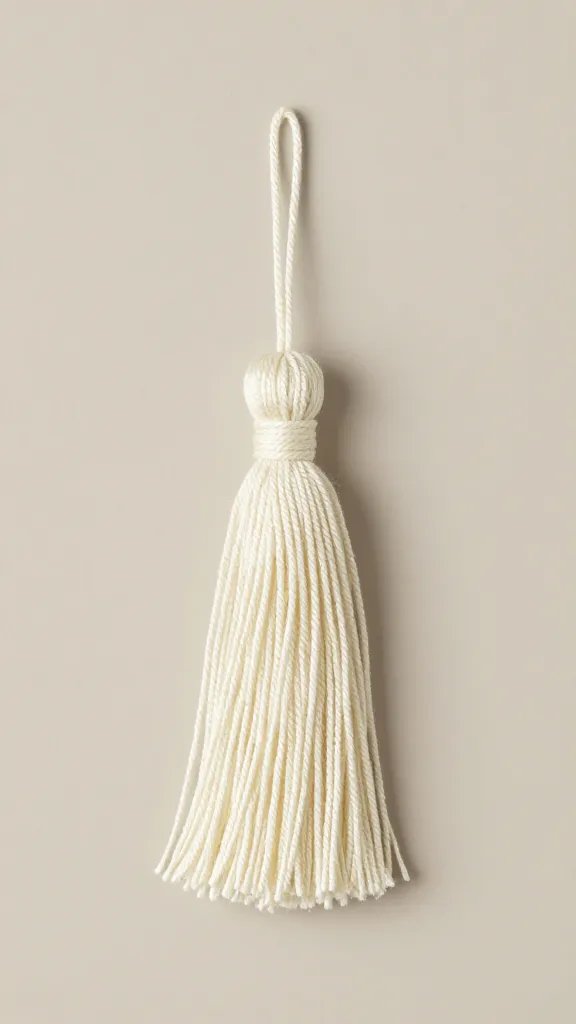
Floppy or uneven tassels make DIY rings look amateur. I use a dinner fork as a sizing jig for consistent length and a tight gathering wrap so the tassel sits upright, not splayed. Cotton yarn gives a soft drape; kitchen twine reads rustic and holds a crisp cut.
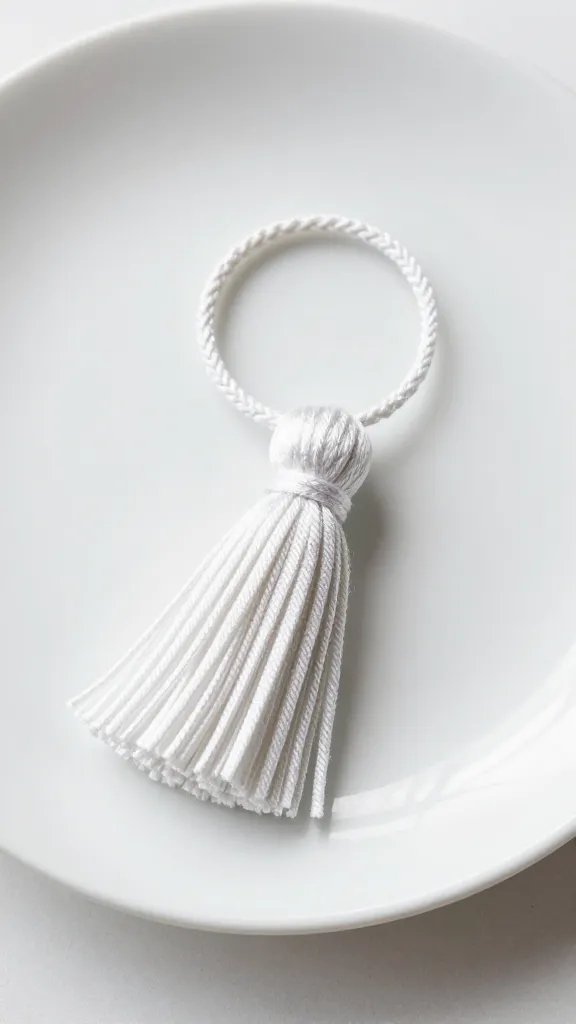
Step-by-Step: Fork Tassel (2.5–3 inches)
- Wrap yarn around the width of a dinner fork 25–30 times. Keep tension even.
- Cut a 10-inch tie piece. Slide it between the fork tines and under the wraps; tie a double knot at the top to create the tassel “head.”
- Slide the bundle off the fork. Cut through the bottom loops to form the fringe.
- Cut a 12-inch piece of yarn. Wrap it 8–10 times around the top, 1/2 inch below the head, pulling snug. Tie a square knot and thread tails into the tassel with a needle or by poking them through the center.
- Comb the strands with your fingers and trim the ends straight with sharp scissors.
Action today: Make one tassel in under five minutes using your fork as a jig; repeat for a matched set.
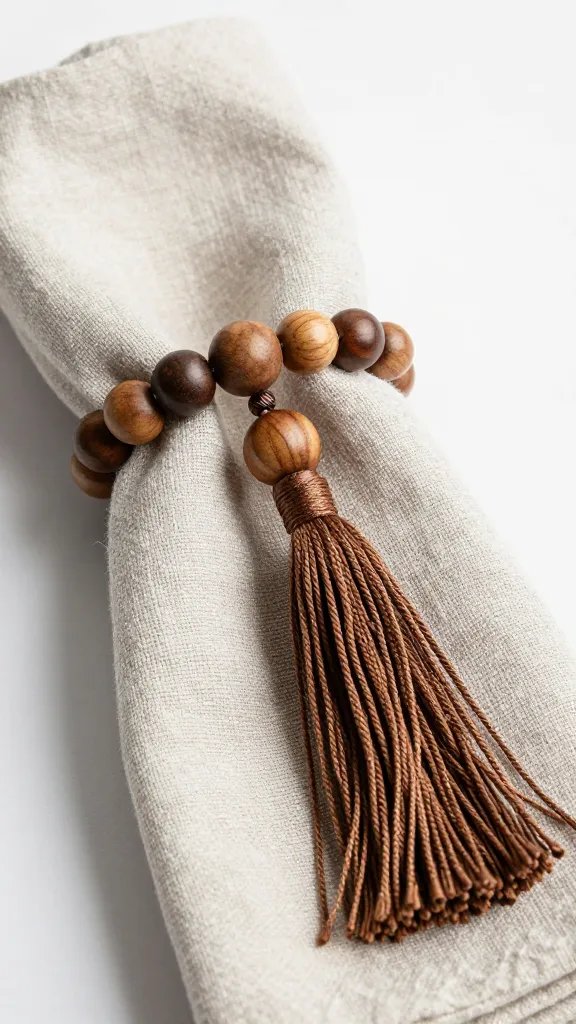
Clean Attachment: Secure the Tassel Without Bulky Knots
I attach tassels with the long tie strings created at the tassel head. This keeps bulk off the ring and allows easy seasonal swaps. A lark’s head hitch cinches tight without glue and centers the tassel between two beads.
Step-by-Step: Lark’s Head Hitch on the Ring
- Thread both tassel tie strings together between two beads.
- Pass the tassel through the loop formed by the ties around the ring.
- Pull down to snug the knot against the cord, centered between beads.
- Double-knot the ties on the back if needed and trim tails; hide them in the nearest bead hole with the taped tip.
Action today: Attach a single tassel to one ring and give it a few firm shakes; if it shifts, retie with a tighter lark’s head.
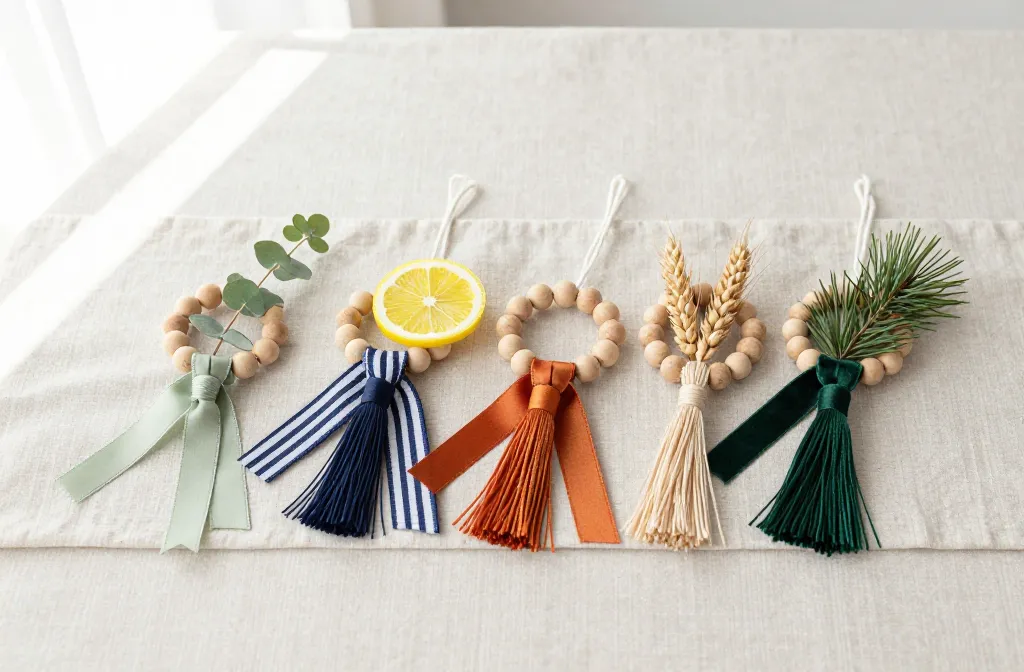
Seasonal Styling: One Base, Four Looks
Instead of rebuilding, I change color, finish, and small accents to move through the year. Unfinished beads act like a blank canvas that you can stain, paint, or oil in 10 minutes per set.
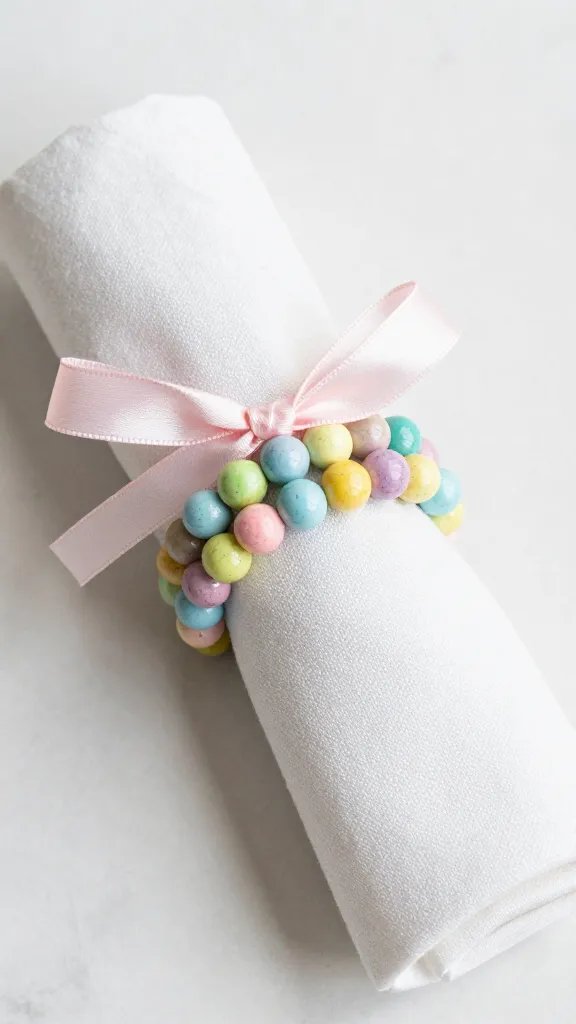
Spring Refresh
- Finish: Light coat of mineral oil for a natural sheen.
- Tassel: Soft pastels (sage, blush, butter yellow).
- Accent: Tie a 3-inch length of 3/8-inch gingham ribbon above the tassel wrap.
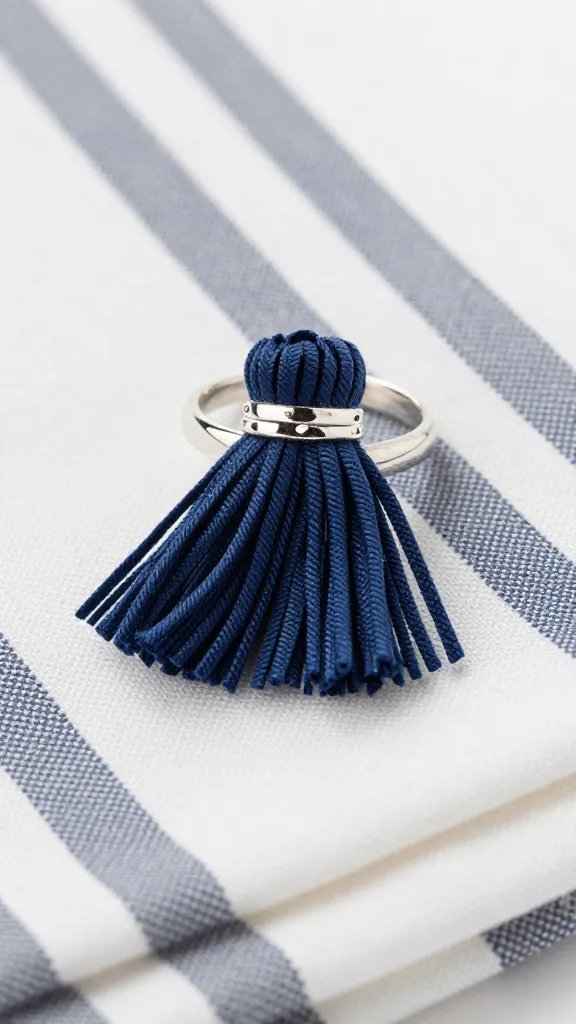
Summer Table
- Finish: Wipe-on water-based poly; one coat for light protection from outdoor dinners.
- Tassel: Nautical navy or natural twine.
- Accent: Slip a tiny brass charm or a clipped sprig of rosemary through the ring before the tassel.
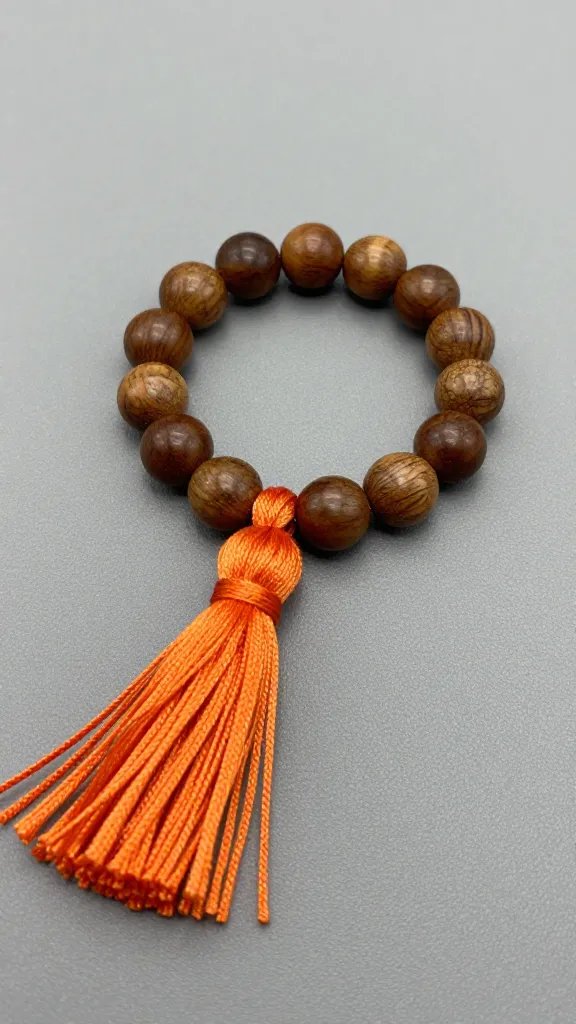
Autumn Gatherings
- Finish: Light walnut stain; wipe off after 1 minute for warmth without darkness.
- Tassel: Rust, mustard, or forest green yarn.
- Accent: 2–3 wooden beads in alternating tones or a short length of jute wrapped at the ring’s knot.
Winter Holidays
- Finish: Clear poly, second coat for a subtle gloss.
- Tassel: Deep red, evergreen, or cream with a metallic thread added.
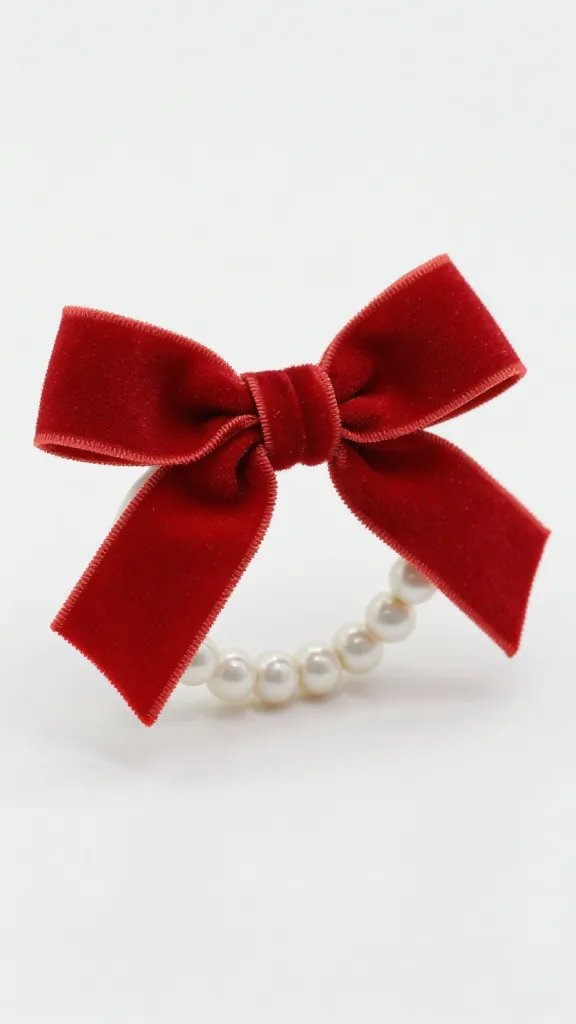
- Accent: Narrow velvet ribbon tied in a small bow; add a tiny bell for sound and sparkle.
Action today: Choose one neutral base finish and prep all rings at once; then swap tassels and accents per season in minutes.
Durability: Finishes, Cleaning, and Storage That Keep Them Fresh
Wood absorbs oil and food stains if left raw. I seal mine with a thin coat of water-based polyurethane, wiped on with a soft cloth and dried for 2 hours. Tassels stay crisp when I steam them lightly over a kettle and trim as needed.
Warning Signs and Fixes
- Fuzzy cord ends: Dab with white glue and twist; let dry 10 minutes.
- Dull, dry wood: Wipe with mineral oil, wait 15 minutes, buff dry.
- Squashed tassels: Hang them and mist with water; smooth with fingers; air-dry flat.
- Food splashes: Spot clean with a damp cloth and a drop of dish soap; avoid soaking.
Action today: Seal one finished ring and time the dry-to-touch window; use that exact interval for the rest to keep results consistent.
Scaling Up: Matching Sets Without Running Out of Beads
Sets look best when you keep the bead count and tassel length identical. For a table of six, plan 72 beads for rings plus 12–18 extra for testing and color accents. I prep all cords and tassels assembly-line style so the final knotting goes fast and looks uniform.
Batch Plan (For 6 Rings)
- Cut six 14-inch cords; tape ends.
- Pre-count 12 beads into six piles.
- Make six tassels using the same fork and wrap count.
- Assemble and finish all rings; attach tassels last.
Action today: Create bead piles by ring before you start threading; this prevents uneven counts and mismatched sizes.
Frequently Asked Questions
How many beads do I need per napkin ring?
With 16 mm beads, 12 beads per ring fits most rolled cloth napkins. If your napkins are extra thick, test 14 beads for a looser slide. Always string a test ring first and try it on the napkin you use most.
What if I don’t have macramé cord?
Use waxed cotton cord from the jewelry aisle or even strong kitchen twine. Avoid stretchy elastic or thin sewing thread, which loosen and break. If the cord frays, twist the end and harden it with a tiny dab of white glue before threading beads.
How do I keep tassels from tangling after washing napkins?
Remove tassels before laundering linens. To refresh, hang tassels, mist lightly with water, and smooth with your fingers. For stubborn kinks, pass them briefly through steam from a kettle and trim the ends straight.
Can I paint the beads instead of staining?
Yes—use craft acrylics in thin coats so the holes don’t clog. Let the first coat dry 30 minutes, then apply a second if needed. Seal with a clear water-based topcoat to prevent scuffs.
How do I make the rings child-safe?
Use a strong square knot with a tiny dab of non-toxic white glue, and seal the knot between beads. Skip small charms and bells for homes with toddlers. Check rings monthly and retighten or re-glue if you see any movement.
What’s the fastest way to swap looks for a holiday dinner?
Leave the beaded rings neutral and keep a small box of pre-made tassels by color. Detach the old tassel with a quick lark’s head release and tie on the new one in under 30 seconds. Add a short ribbon bow for instant theme matching.
Conclusion
You now have a reliable method for building napkin rings that fit, last, and adapt to every season with simple swaps. Make one set this afternoon, then batch a few extra tassels in seasonal colors so you can restyle your table on the fly. When you’re ready for the next step, try a two-tone bead pattern or add a subtle stain to deepen the wood and elevate the finish.
Leave a Reply