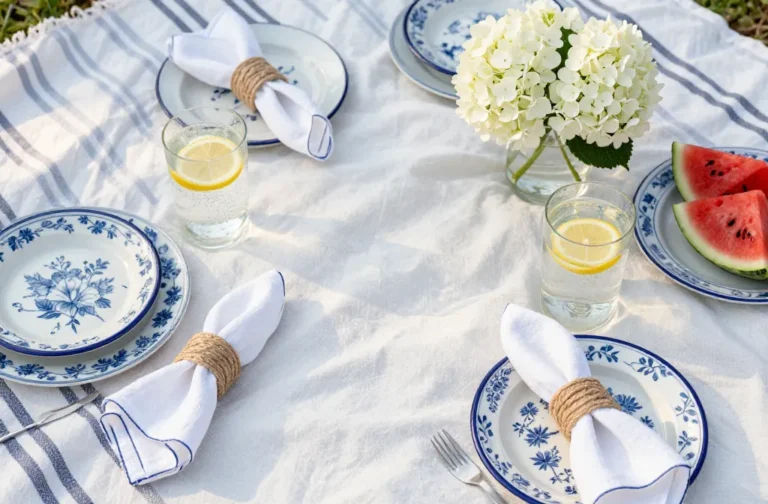
Viral Low Picnic Table Setups That Don’T Wobble on Uneven Ground (Setup in 3 Minutes)
Your picnic shouldn’t feel like dining on a ship in a storm. If you’ve ever chased a sliding charcuterie board, you know the pain. These low picnic table setups lock in stability on lumpy grass, sand, and forest floors—fast. We’re talking easy, clever hacks and compact gear that set up in under three minutes, so your snacks stay put and your vibe stays chill.
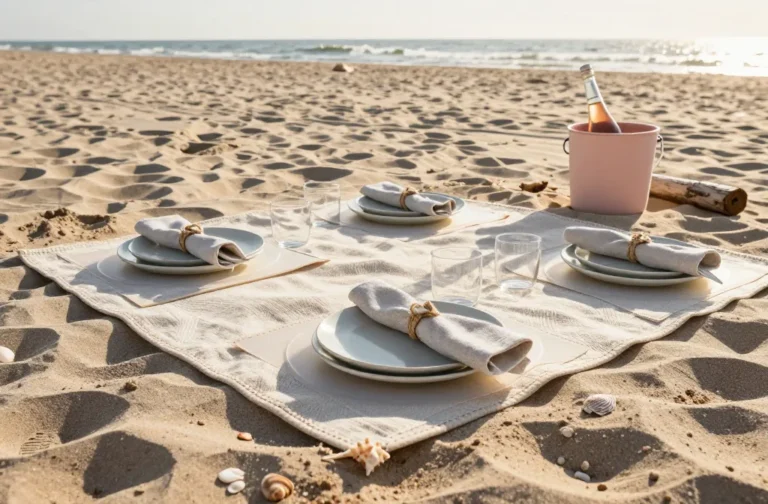
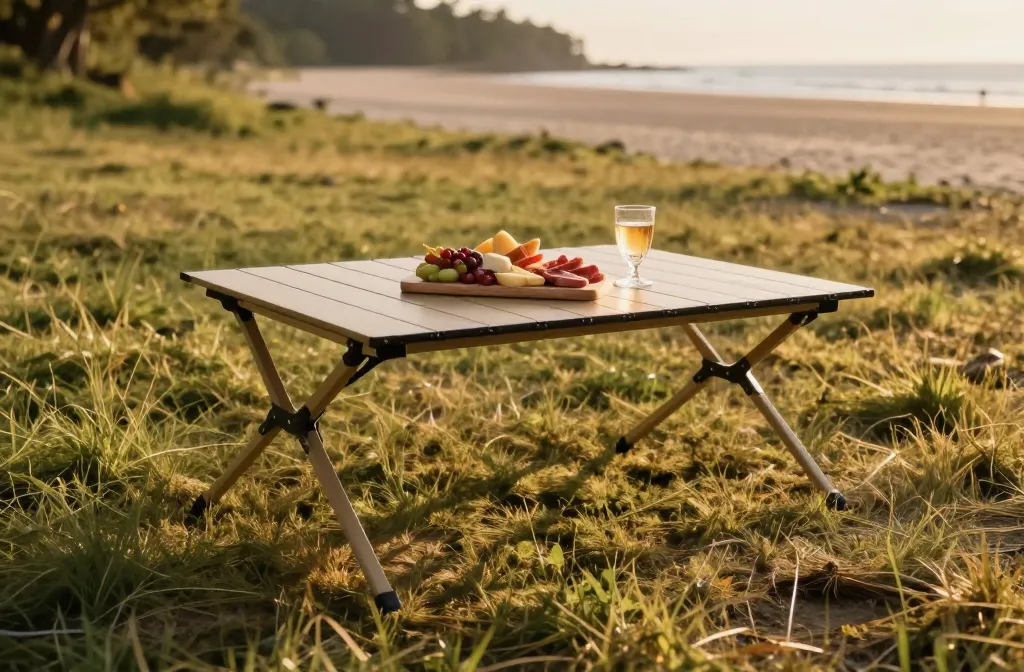
1. The Fold-Flat Sling Table With Tri-Anchor Corners
Think of a fabric tabletop stretched onto a low folding frame—simple, lightweight, and shockingly stable when you anchor the corners. The magic? You use three ground points instead of four to avoid the classic wobble. It’s basically a tripod logic applied to a table.
Why It Works
- Tripod geometry eliminates rocking, even on bumpy ground.
- Fabric top self-levels a bit and absorbs small bumps.
- Corner anchors pin the table in place so it doesn’t skate.
Set it on the flattest patch you can find, then anchor three corners with short stakes at 45 degrees away from the table. Keep the fourth corner lightly tensioned so it won’t buzz or flap. You’ll get a firm platform that feels way more secure than a typical camp table.
Fast Setup Steps
- Unfold frame and snap the hubs (10–15 seconds).
- Slip on the fabric top and pull it taut (20 seconds).
- Stake three corners; tug to tension (40–60 seconds).
Pro tip: If the ground is too hard for stakes, tie corners to rocks or filled dry bags. You’ll nail stability without punching holes in the dirt.
Best for beach sunsets, quick day hikes, and tiny car trunks where space matters.
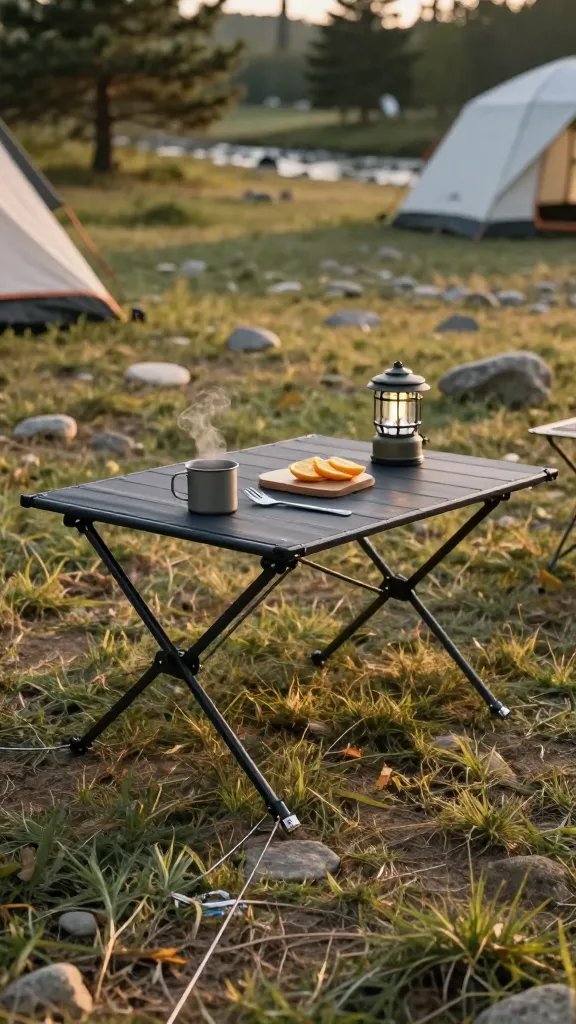
2. The Low-Leg Plank On Adjustable Feet (AKA The Wobble Assassin)
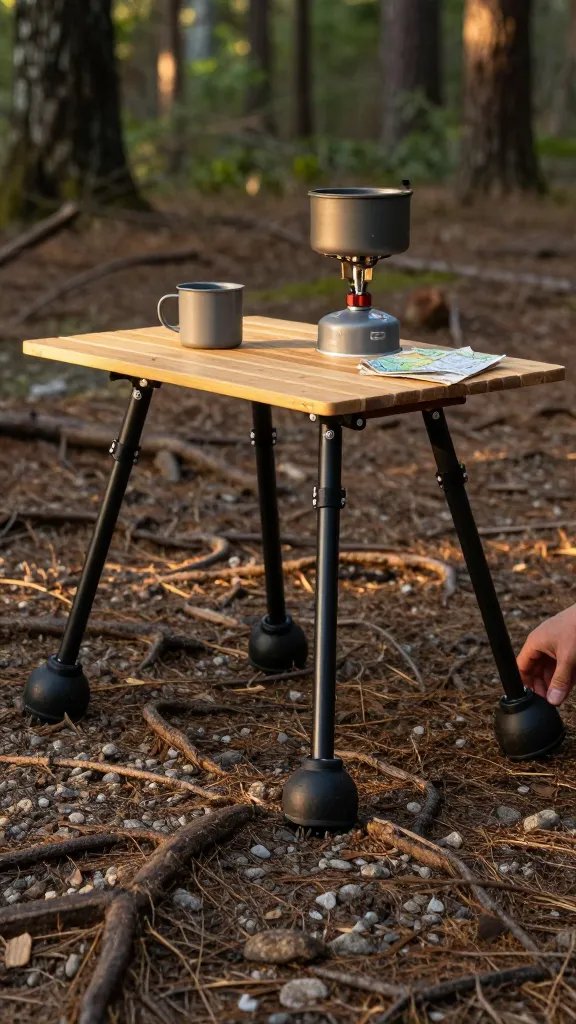
This one’s a short, sturdy plank that rides on four telescoping feet with micro-adjusters. No fabric, no fluff—just a stable mini table you can fine-tune like a camera tripod. It looks minimal and handles weight like a champ.
Materials That Matter
- Plank top: Bamboo or composite (24–32 inches long).
- Legs: Aluminum or carbon tubes with twist-locks.
- Feet: Wide rubber “paws” or ball-and-socket feet for grip.
Drop the table on the ground and spin the feet to level. If one corner still chatters, back off the opposite corner a hair—seriously, a single quarter-turn can fix a stubborn wobble. Rubber feet spread the pressure so you don’t sink into soft soil.
Quick-Level Trick
- Press on each corner in turn.
- Find the “high” leg and lower it by 2–3 mm.
- Re-check by tapping the plank center—no rattle means you’re golden.
FYI: This style supports heavier loads—ideal for portable stoves, loaded snack boards, or a tiny birthday cake you don’t want face-planting into the moss.
Use it for cooking setups, card games, and anywhere you need an actually flat surface on wonky ground.
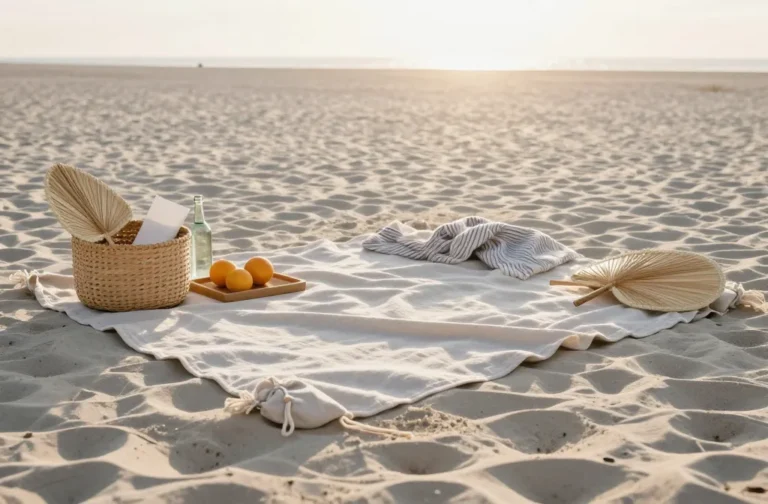
3. The Sand Sled With Stake Pockets (Beach-Proof And Breeze-Resistant)
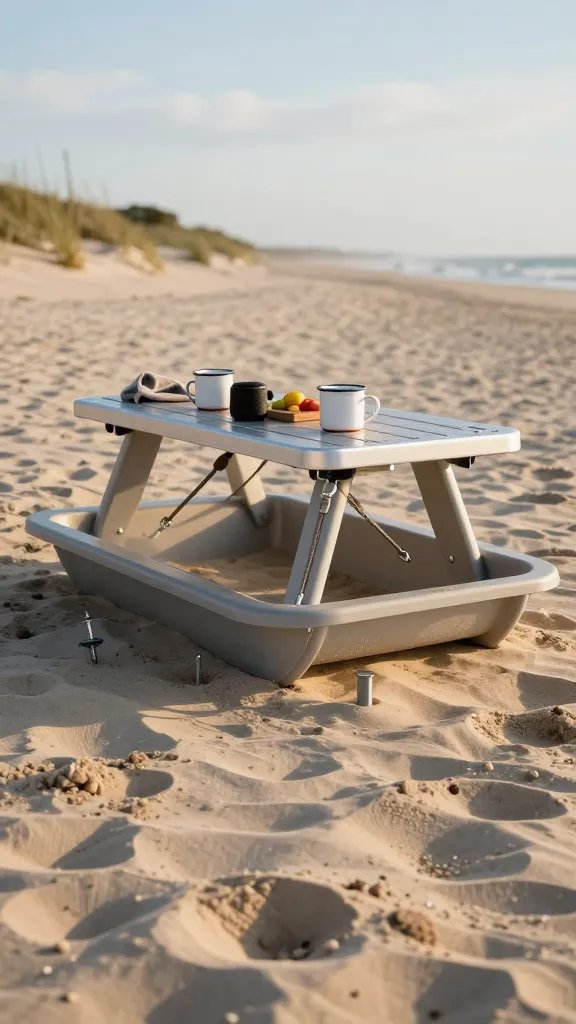
Sand eats normal tables. This one embraces it. Picture a shallow, curved “sled” base that sits low and wide, with stake pockets or sand anchors to lock it in place. You get zero leg sink and zero rocking—just a smooth, surfer-style platform.
How To Lock It Down
- Sled base: High-density plastic or aluminum tray distributes weight.
- Anchors: Screw-in sand stakes or buried deadman anchors with webbing.
- Top: Short risers lift a rigid top 6–10 inches above the sand.
Twist in two sand stakes upwind and one downwind, then cinch webbing straps to the sled. The wide base glides over little ridges instead of tipping on them. Bonus: no more “one leg sinks, everyone screams” moments.
Setup In Under 3 Minutes
- Plop the sled on the flattest spot you see (15 seconds).
- Screw in two stakes windward, one leeward (60–90 seconds).
- Clip straps, pull snug, and drop on the tabletop (45 seconds).
Strong wind? Add a small sandbag under the sled or run a guyline to your beach umbrella pole. Stable like a champ, still cute for pics.
Perfect for beaches, dunes, riverbanks, and any crumbly surface where normal legs just… vanish.
4. The Grounded Crate Hack With Shock Cord Levelers
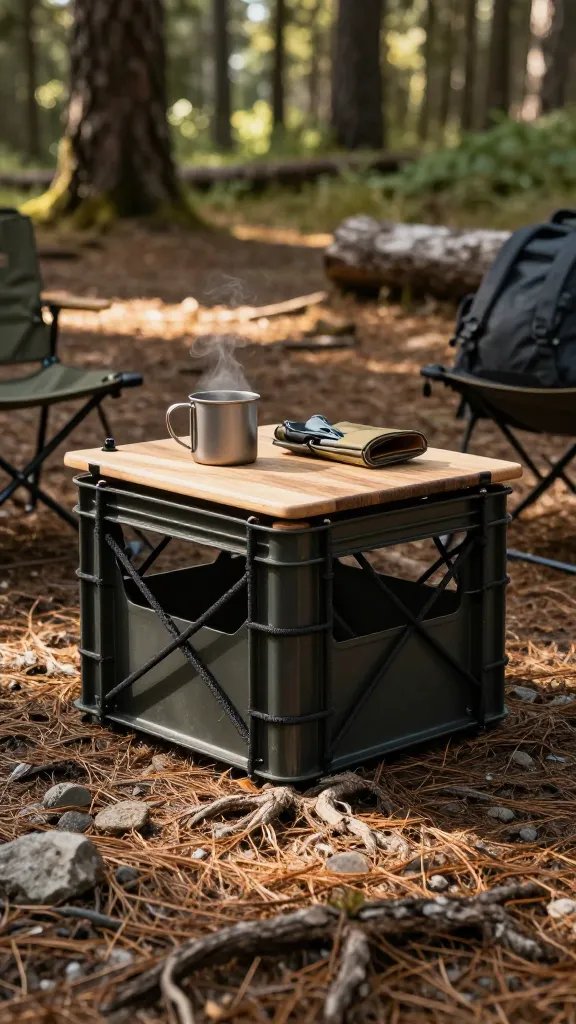
This is the budget genius: a low milk-crate or gear crate turned into a rock-solid table using soft leveling feet. It’s sturdy, cheap, and doubles as storage. The trick is threading shock cord through corner loops to create squishy, self-leveling “legs.”
Build It In Minutes
- Base: Standard crate (12–14 inches tall) turned upside down.
- Levelers: Short loops of thick shock cord at each corner.
- Top: Cutting board, wood plank, or folding camp top clipped on.
Those cord loops compress on high spots and stretch on low ones, soaking up the terrain weirdness. Set the crate down, step on it once to seat the cords, then drop your top on with two mini clamps. The result feels planted without fiddly screws.
Why You’ll Love It
- Dual-purpose: Haul your food in, flip it, instant table.
- Low profile: Great for floor-style picnics and beach blankets.
- Seriously quick: Under 90 seconds, even if you’re hangry.
Tip: Add adhesive rubber pads to the top edges of the crate for extra grip. No sliding brie, no chaos.
Use when you want cheap, tough, and fast—park picnics, rooftop hangs, and music festivals where you carry everything in.
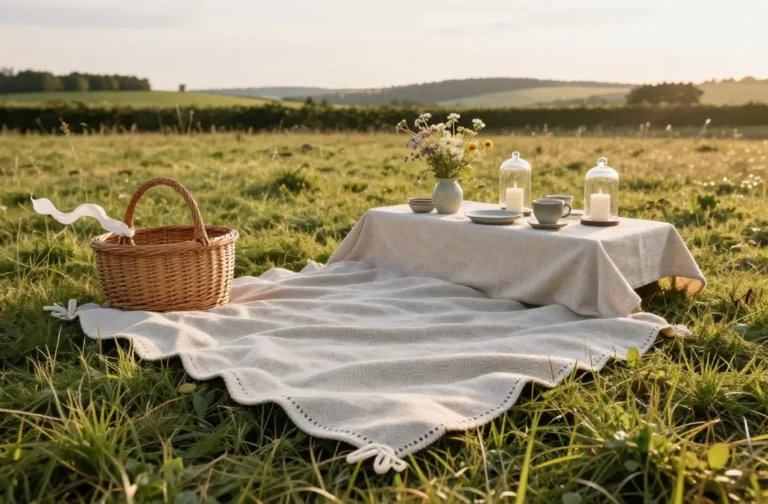
5. The Tri-Stool Fusion: Three Mini Stools + One Locking Top
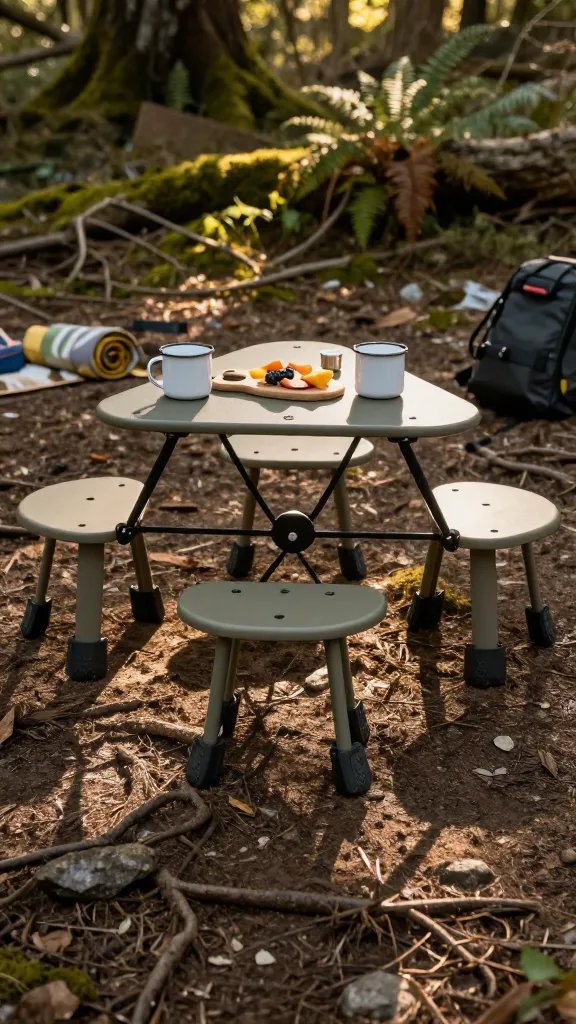
You probably already own two camp stools. Add a third plus a smart topper, and boom: a stable, low triangle table that laughs at uneven ground. Three contact points beat four every time, and the wide triangle footprint shrugs off bumps.
What You Need
- Three low stools: 10–16 inches high, preferably with grippy feet.
- Top panel: Hex or triangle ply/composite with three notches or cam locks.
- Strap ring: A central strap or bungee triangle to hold the stools inward.
Place the stools to form an equilateral-ish triangle, set the panel on top, and click the notches onto the stool frames. The strap ring pulls the legs lightly toward the center so nothing splays. You get a sturdy surface that packs down into three tiny bundles.
Quick Dial-In
- Rotate the triangle until the top sits level on your terrain.
- If one stool perches on a root, that’s fine—tripods don’t care.
- Lock cams or tighten the strap until the top stops creaking.
IMO: This is the most flexible option if your group size changes. One stool missing? Use the top as a lap desk or lean it on a cooler. Adaptable and very picnic-core.
Great for rocky riverbanks, forest floors, or anywhere you want a bigger surface without the bulk of a full table.
Quick-Grab Toolkit For Zero Wobble (Optional But Clutch)
- Mini stakes or screw-in sand anchors for fast tie-downs.
- Two micro clamps to secure tops to frames or crates.
- Shock cord loops for DIY levelers and bundle straps.
- Rubber furniture pads to add grip under any tabletop.
- Pocket bubble level or just your phone’s level app, trust me.
3-Minute Setup Flow That Works For Any Option
- Drop your base where it feels flattest.
- Pick stability first: three-point contact or broad base.
- Micro-adjust one point at a time until tapping the center makes zero rattle.
- Anchor corners if wind or kids are involved—because chaos.
Ready to picnic without the wobble drama? Pick one setup and try it this weekend—sand, grass, rocks, whatever. Your snacks will stay put, your drinks won’t flee, and you’ll look like the friend who actually has it together. Seriously, no more charcuterie yard sales.