11 Picnic Balloon Garland Setups That Don’t Fall Over—Windproof
· Yasmine Taljaard
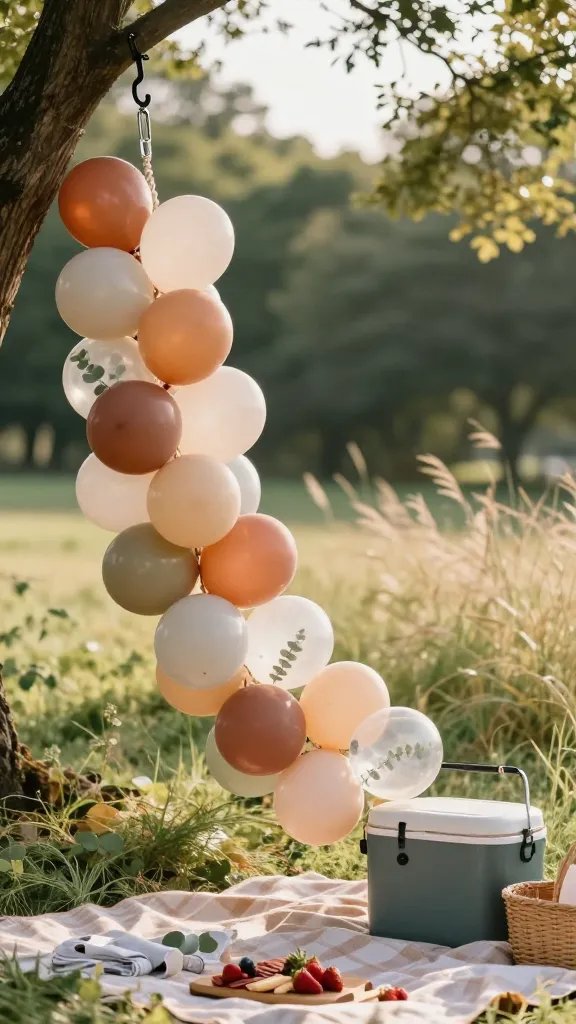
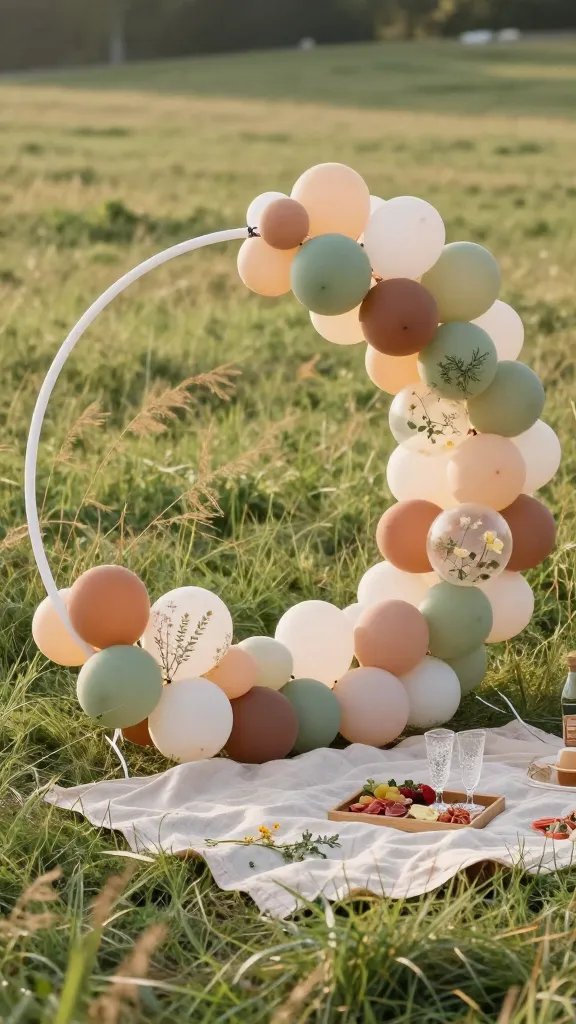
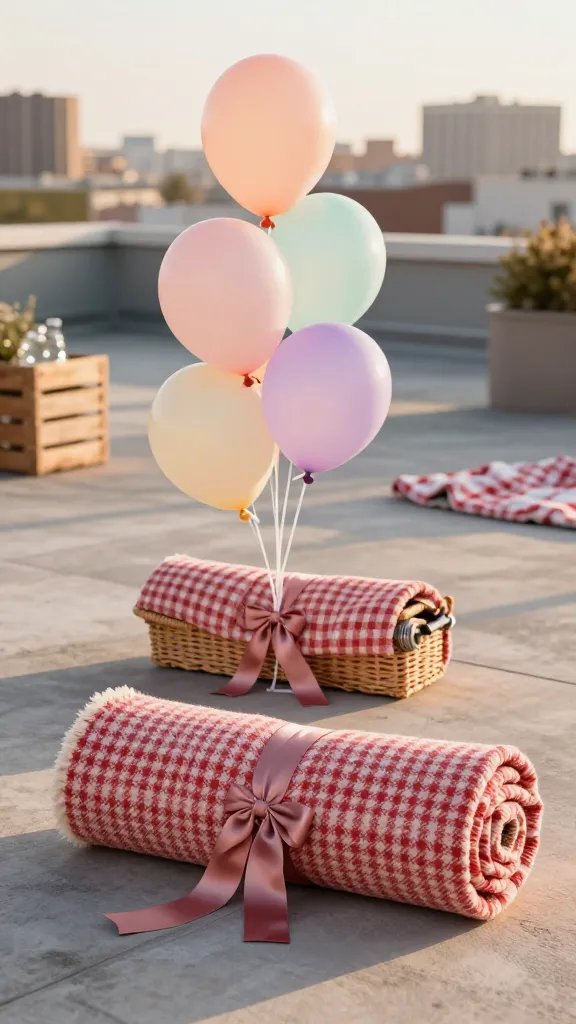
Picnic balloon garlands look adorable—until a rogue breeze body-slams them into your charcuterie. Let’s fix that. These 11 setups lock your balloons in place, handle grass and gravel like champs, and still look like a Pinterest fever dream. Grab your pump and some fishing line; we’re leveling up your next picnic spread, seriously.
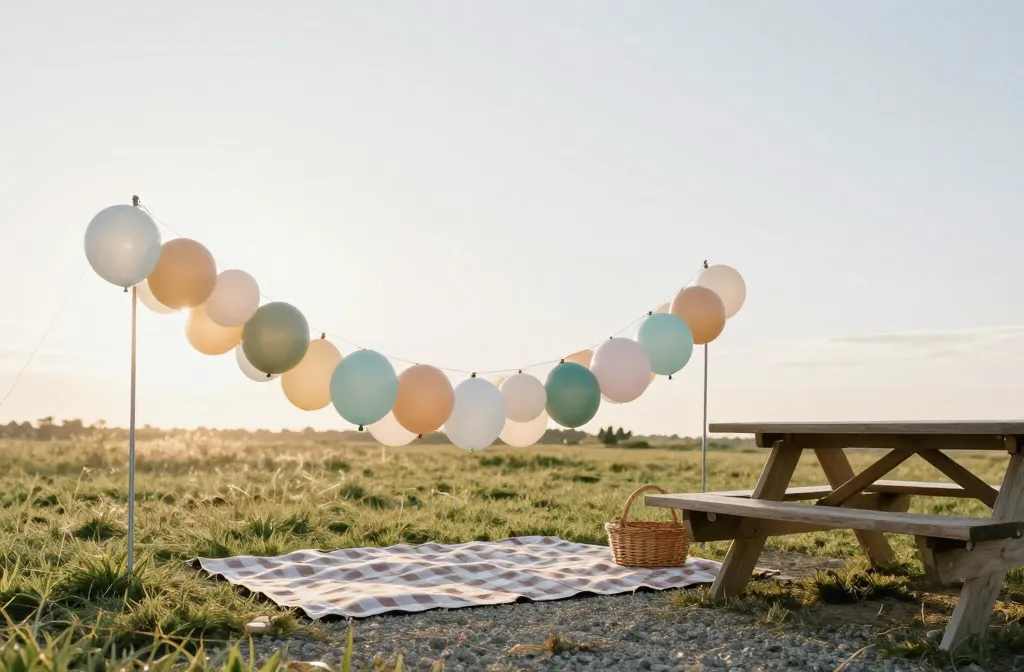
1. The Low-Profile Ground Runner
Keep it close to the ground and the wind won’t have much to bully. A low-profile garland runner anchors to the picnic blanket’s perimeter and sneaks under boards and baskets so it looks full without tipping.
Materials
- Balloon decorating strip (8–10 ft)
- Balloon sizes: 18″, 12″, and 5″
- Fishing line or paracord
- Tent stakes or landscape staples
- Command hooks (outdoor) if using a picnic table
Build your garland at home, then run fishing line through both ends like a shoelace. Stake the line on either side of the blanket so the garland hugs the ground. Add mini 5″ balloons last to fill gaps. Best for windy parks or uneven grass where height = hazard.
2. The Picnic-Bench Backbone
Use what you’ve got: picnic tables are basically pre-installed anchors. Wrap a garland along the bench edge and up the table leg to create a curved, grounded silhouette that won’t wander.
Tips
- Attach with removable zip ties or pipe cleaners—faster than tape, sturdier than string.
- Weave the garland under the bench rail for extra grip.
- Counterweight the “up” side with a sandbag hidden in a tote.
This setup works for family parks with standard tables and keeps balloons out of foot traffic while framing food pics beautifully.
3. The Hidden-Sandbag Archlette
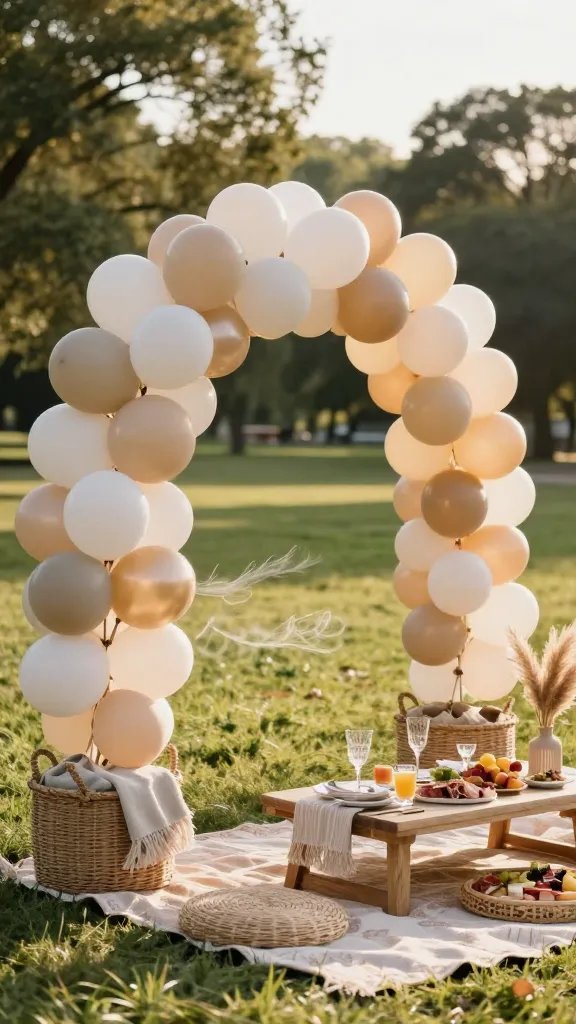
Want height minus drama? Build a mini arch (“archlette”) with two short bases weighted by sandbags inside cute baskets. The baskets look intentional and disguise the ballast like a pro.
Key Points
- Use 1/4″ PVC or bendable aluminum rod for the arch spine.
- Fill two 10–15 lb sandbags and drop into woven baskets.
- Zip-tie the rod to basket handles; cover with a throw blanket.
Attach your garland to the spine and let it swoop low-ish over the food area. You get a glam moment that laughs at gusts. Perfect for anniversary picnics or proposals, FYI.
4. The Crisscross Guyline Garland
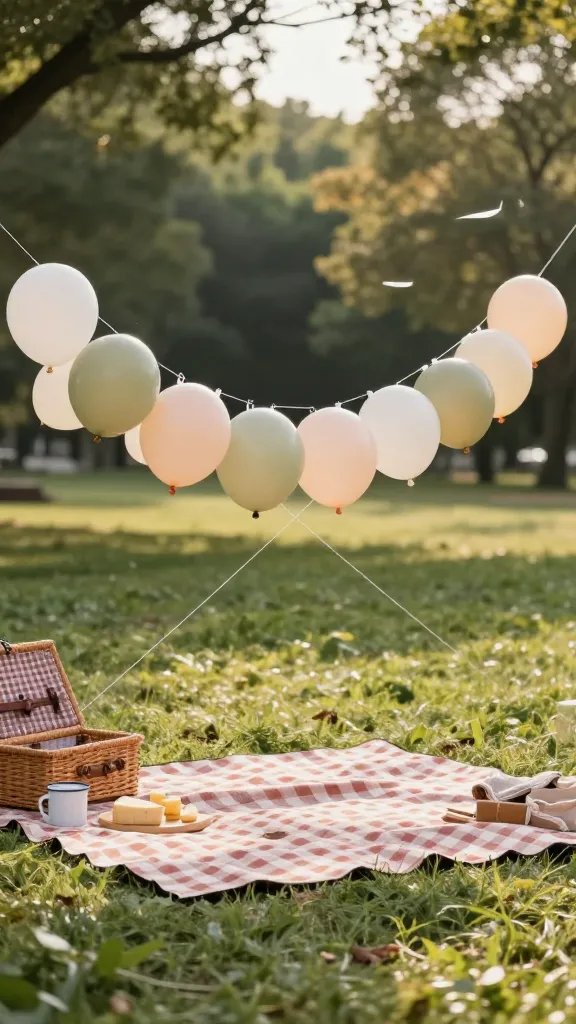
You know how tents use guy lines? Same energy. Thread two pieces of fishing line from opposite corners of your blanket area and clip your garland where the lines intersect for an X-shaped anchor.
How-To
- Stake four corners with lightweight tent stakes.
- Run fishing line diagonally to form an X, just 6–8 inches off the ground.
- Use mini carabiners or balloon clips to hang the garland at cross points.
The crisscross tension locks the garland without bulky bases. Great for tight-packed picnics where you want stability without visible hardware.
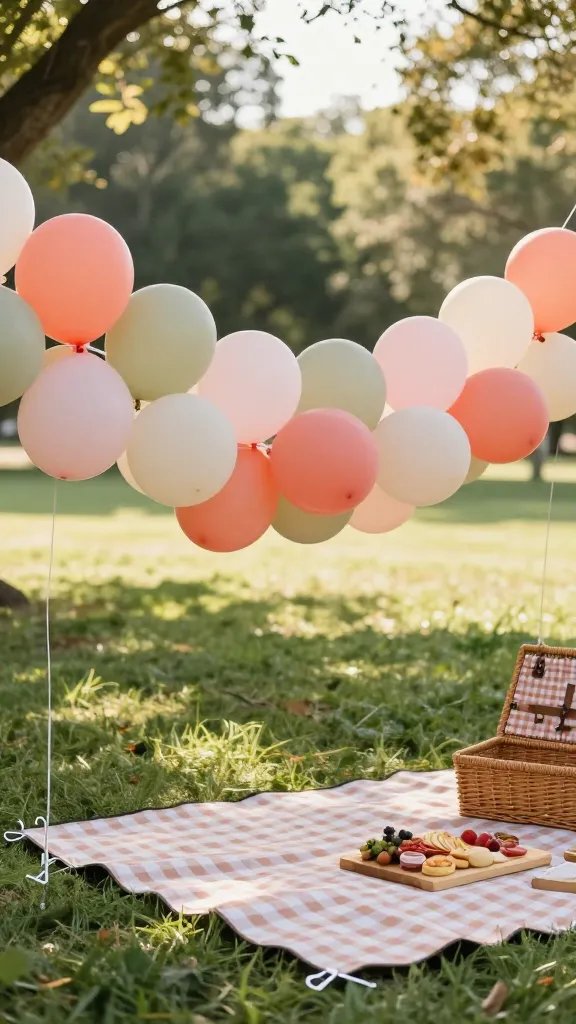
5. The Flat-Lay Photo Border
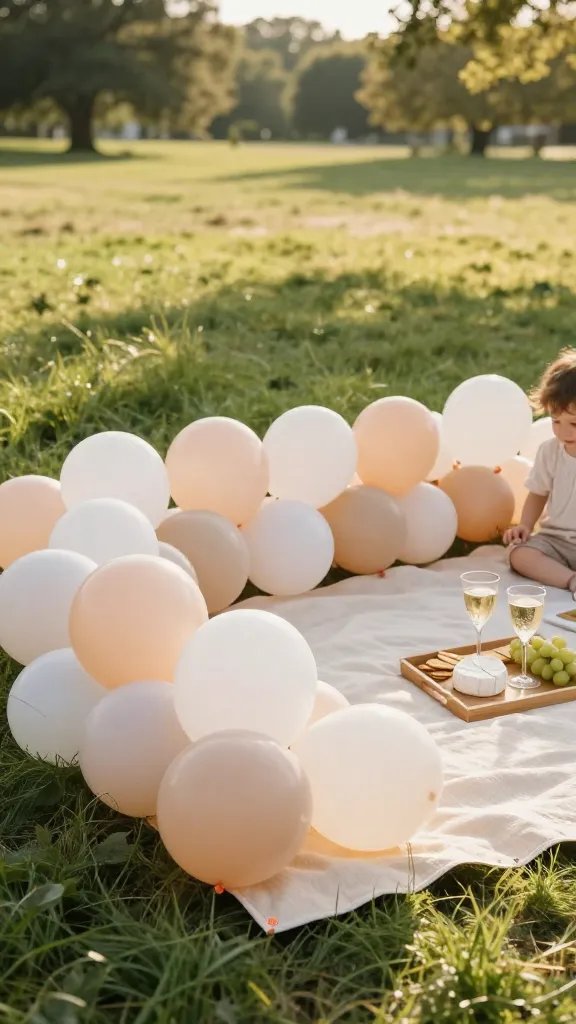
Think of this as a balloon frame for your picnic blanket. You build a chunky garland and lay it flat around the blanket’s edge like a puffy border—no height, zero fall risk, all drama.
Materials
- 4–6 ft garland, heavy on 12″ balloons with pops of 18″
- Heavy-duty double-sided tape or Velcro dots
- Blanket with stitched edge (for better hold)
Use Velcro dots to secure the garland to the blanket corners and midpoints. It photographs like a dream and keeps curious toddlers from bolting into the cheese. Ideal for low-wind beach or lawn picnics.
6. The Tripod-Stand Trio
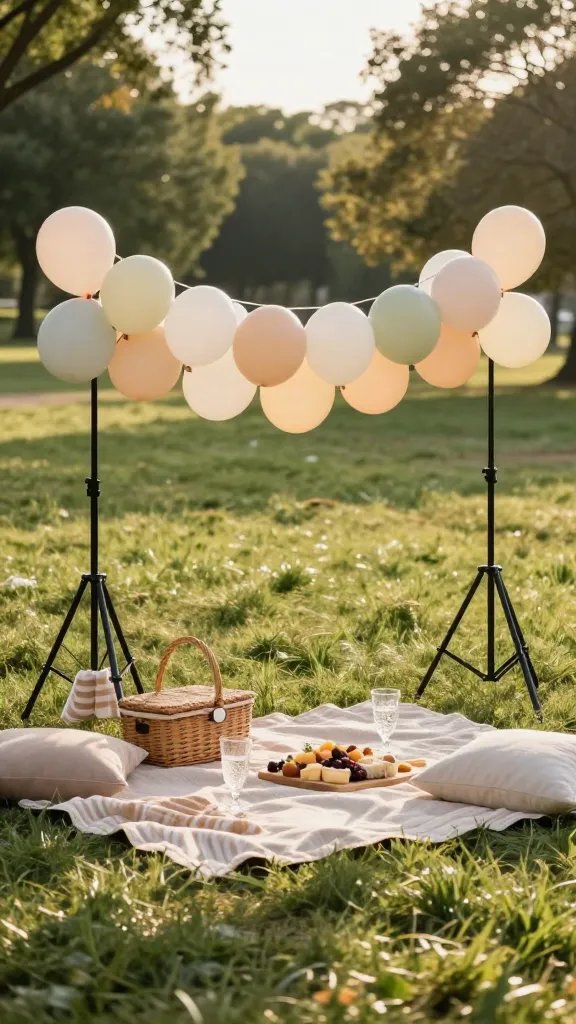
Skip the wobbly single stand. Use three lightweight photography tripods in a triangle around your spread and string the garland between them like bunting.
Tips
- Keep tripods low—chest height max.
- Clip the garland to a thin dowel first; then rest the dowel across tripod heads.
- Hang a blanket or sign from one leg as a sneaky ballast.
This setup spreads the weight and wind load. Perfect when you want airy height but you’re on hard ground where staking isn’t possible.
7. The Picnic-Box Anchor System
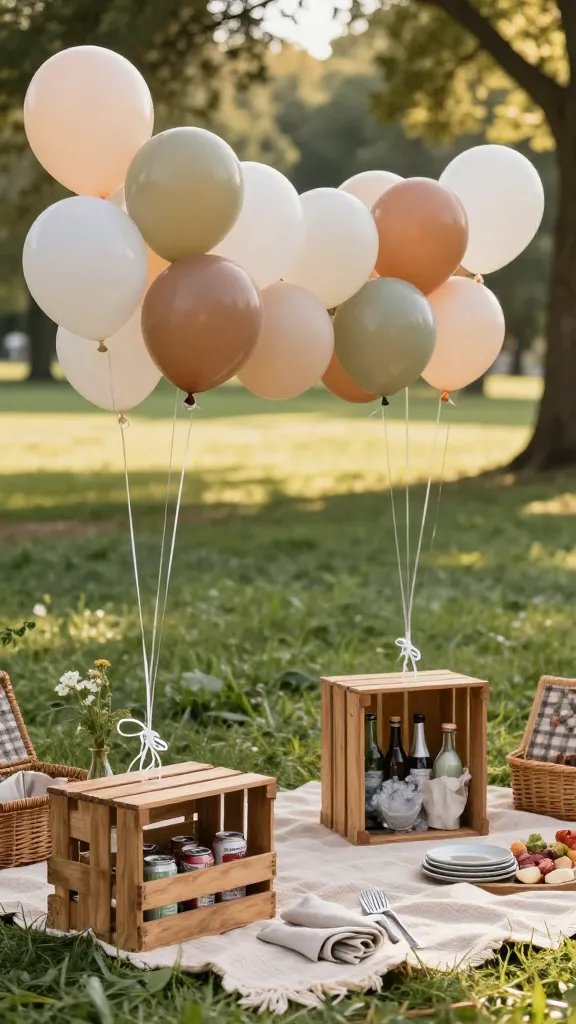
Turn your decor boxes into anchors. Fill two lidded crates with beverages or plates, then run your garland’s fishing line under each box like a seatbelt. Zero tools, maximum stability.
Key Points
- Use two medium wooden crates with handles.
- Thread fishing line under and around both crates before tying to the garland ends.
- Hide knots inside the crates for a clean look.
It’s fast, sturdy, and stylish. Works great for surprise picnics when you need portable, discreet anchors you already planned to bring anyway.
8. The Two-Point Swoop With Counterweights
Level up the classic swoop by adding real counterweights. Anchor one end to a staked pole and the other to a weighted cooler or basket so the curve stays crisp instead of saggy-sad.
Materials
- One garden stake or shepherd’s hook
- One 15–20 lb cooler or weighted picnic basket
- Paracord and carabiners
Attach the garland to a paracord “spine.” Clip one end high on the hook, then tension the other end to the cooler. Tighten until the swoop looks intentional. Great for casual park hangs where you want that effortless, editorial curve.
9. The Flower-Press Low Hoop
Create a low circular hoop that hugs the ground and frames your spread. Because it’s circular and low, it distributes wind evenly and resists tipping like a champ.
How-To
- Form a 3–4 ft hoop with 1/2″ PEX tubing; join ends with a coupling.
- Zip-tie the garland around the hoop, heavier on the bottom third.
- Stake the hoop in three spots with landscape staples.
Decorate with pressed flowers or faux greenery for cottage-core vibes. Use when you want a statement piece without towering over your guests.
10. The Blanket-Burrito Tie-Down
No stakes? No problem. Wrap the ends of your garland in a picnic blanket like a burrito and tie with ribbon to a weighted basket on each side. Cozy, cute, and sneaky-strong.
Tips
- Use a thick wool or quilted blanket for grip.
- Double-knot wide satin ribbon—pretty and practical.
- Hide a 5–10 lb dumbbell or sandbag inside each basket.
The fabric friction keeps balloons from slipping while the weights keep everything put. Perfect for patios, rooftops, or anywhere staking’s a no-go.
11. The Grounded A-Frame Mini Arch
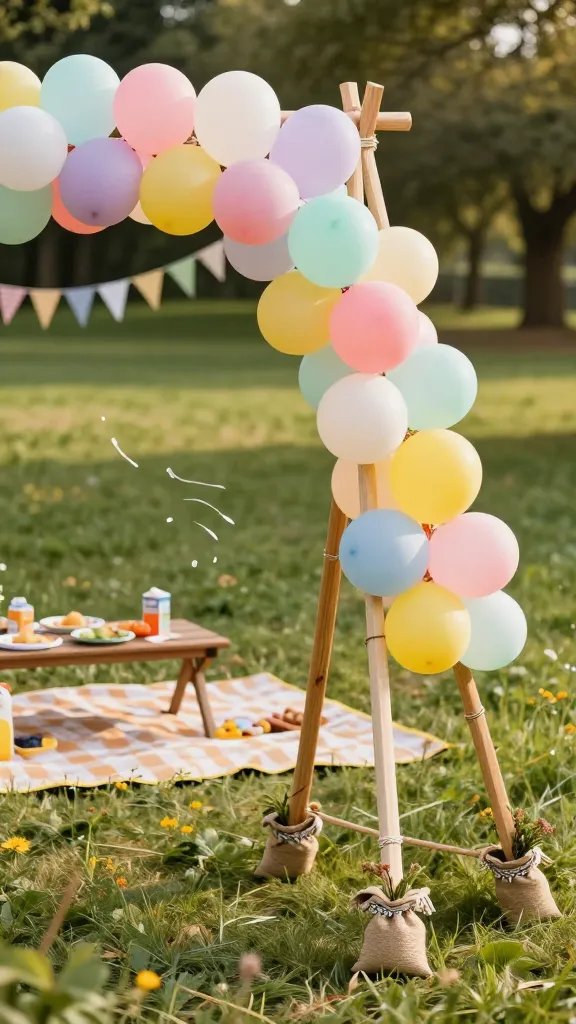
Build a short A-frame with two dowels and a crossbar, then drape your garland. Because each leg angles out, it resists toppling way better than straight stands.
Materials
- Four 1″ wooden dowels (two for legs, two for extra bracing)
- One 1″ crossbar (4–5 ft)
- Hinges or rope lashings at the top
- Sandbags at each foot
Lash the tops to form the A, add a rear brace for stability, and hang your garland with balloon clips. Tuck the sandbags into fabric covers or cute planters. Perfect for kids’ birthdays or styled shoots where you want structure with a soft vibe.
Pro-Level Stability Secrets (Because Wind Is Petty)
Before you run off to inflate everything in sight, a few must-know hacks will keep your setup rock solid and your sanity intact. These work across nearly every idea above, IMO.
Quick Wins
- Mix sizes: 5″, 12″, 18″ for balance and visual density.
- Use quality balloons: 2.8–3.2 g latex for fewer pop mishaps.
- Under-inflate slightly: rounder shapes pack tighter and trap less wind.
- Add texture: sprigs of eucalyptus or fabric ribbons hide tie points and stabilize clusters.
- Bring spares: 10% extra balloons and two rolls of glue dots—trust me.
Also, face the fullest part of the garland into the wind like a sailboat keel. Your setup will sit tight and look intentionally lush.
Color Palettes That Photograph Well Outdoors
You’ve nailed the structure—now make it pop on camera. Natural light eats neon alive, so pick tones that glow without glare.
Foolproof Combos
- Sunset Sorbet: blush, apricot, buttercream, rose gold
- Picnic Classic: cherry red, cream, navy, gingham ribbons
- Coastal Calm: sand, sage, fog blue, pearl white
- Citrus Pop: tangerine, lemon, mint, white
Matte or pastel finishes beat shiny pearls in harsh noon light. Your photos will look crisp instead of flashy.
Time-Saving Build Order
Want stress-free setup in the park? Batch your steps. You’ll inflate less, carry smarter, and finish faster than your ice melts.
Step List
- Inflate at home: pairs/duos first, then quads; keep sizes consistent.
- Assemble garland strip in sections (4–6 ft) for transport.
- Pack by section in large trash bags with labels: “Base,” “Filler,” “Mini.”
- On-site: anchor structure first, attach base, then fill gaps, then detail.
This order keeps your garland stable from the first clip to the last ribbon. Zero flopping, zero panic.
Easy Cleanup And Reuse
Eco-guilt? Let’s lower it. Detach in reverse order and save what you can.
What To Reuse
- Decor strip, fishing line, clips, and hooks
- Hoops, dowels, baskets, and sandbags
- Unpopped minis for future fillers
Pop latex over a bag to catch scraps and recycle any paper decor. Your next picnic will set up faster and cost less—win-win.
When To Choose Each Setup
Still torn? Match the method to your vibe and the forecast. You’ll get form and function dialed in perfectly.
- Windy day: Ground Runner, Crisscross Guyline, Low Hoop
- No-stake area: Tripod Trio, Blanket-Burrito, Picnic-Box Anchor
- Photo-first: Archlette Baskets, Two-Point Swoop, A-Frame Mini Arch
- Kid-packed chaos: Flat-Lay Border, Low Hoop
Pick your scenario and go. Your balloons will stay put, and your brie will finally be safe.
Ready to picnic like a stylist who moonlights as an engineer? These 11 garland setups bring the wow without the wobble. Grab your pump, pack your anchors, and make the park your personal studio—your camera roll will thank you later.
Leave a Reply