9 Ways to Style a Picnic Birthday Number Without Blocking the View That Wow
Big birthday numbers look amazing at picnics—until they photobomb every candid and hog the scenery. You don’t need to ditch the digits to save the view. You just need smarter styling that keeps everything low-profile, airy, and camera-friendly. Here are nine easy, creative tricks to make your number pop without turning it into a giant wall.
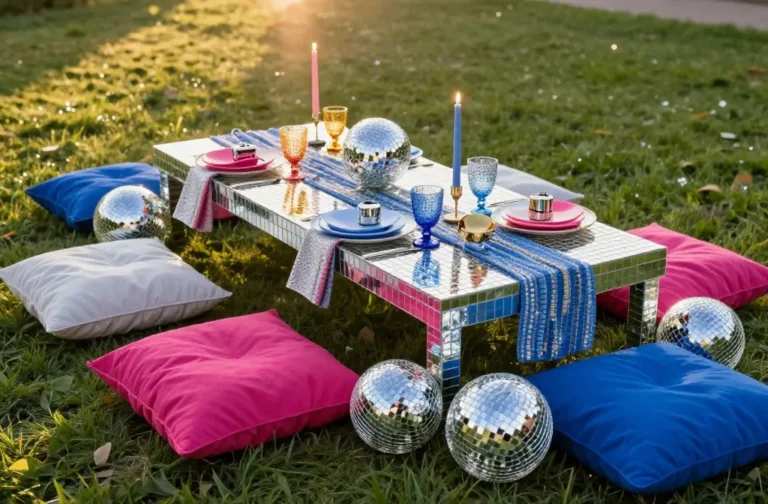
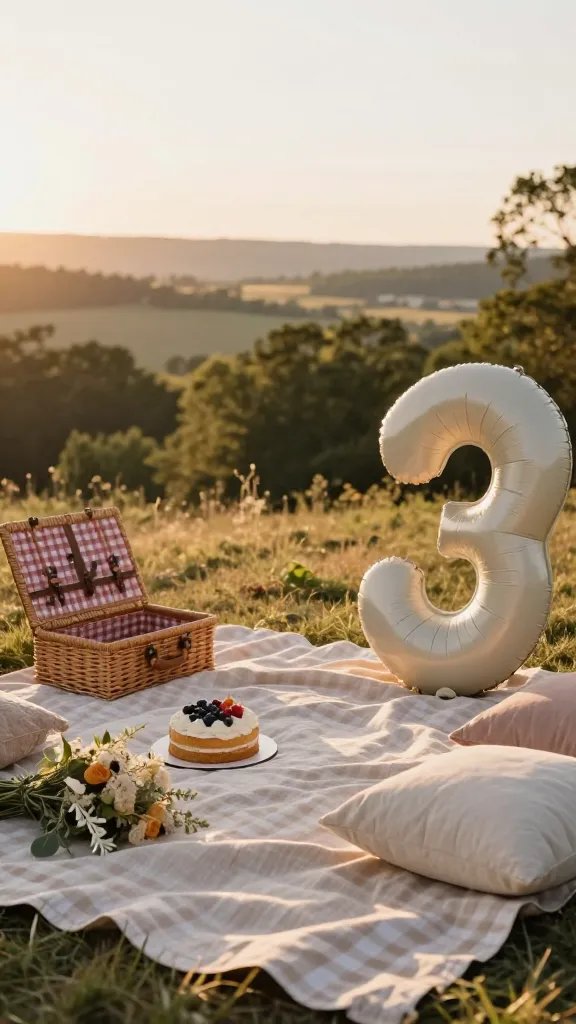
1. Go Low And Layered: Ground-Level Number Magic

Keep your number at seated eye level so it vibes with blankets and baskets instead of towering over them. Low styling keeps the horizon and background open for photos while still making the number the star.
Tips
- Use short stands, crates, or picnic baskets to raise the number just a few inches.
- Angle the number slightly backward so it reads well in photos from the blanket.
- Surround it with flat decor: rugs, platters, flower heads, and confetti.
Save the tall stuff for the edges and keep the middle low. You’ll get easy group shots and a clean skyline—perfect for parks and beaches.
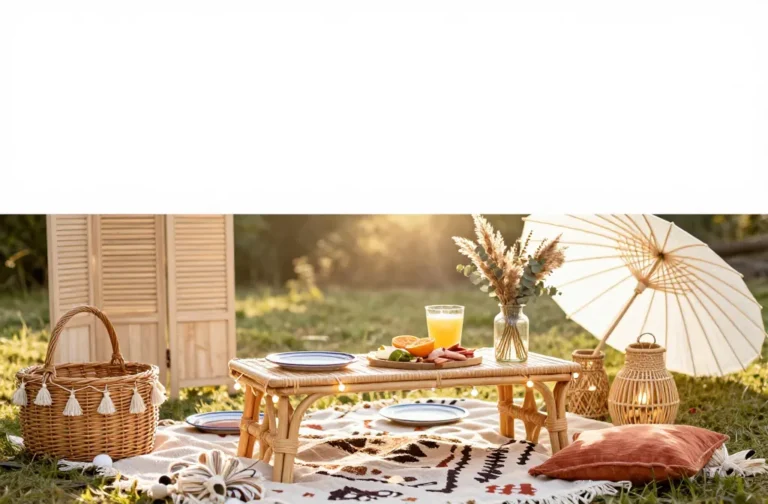
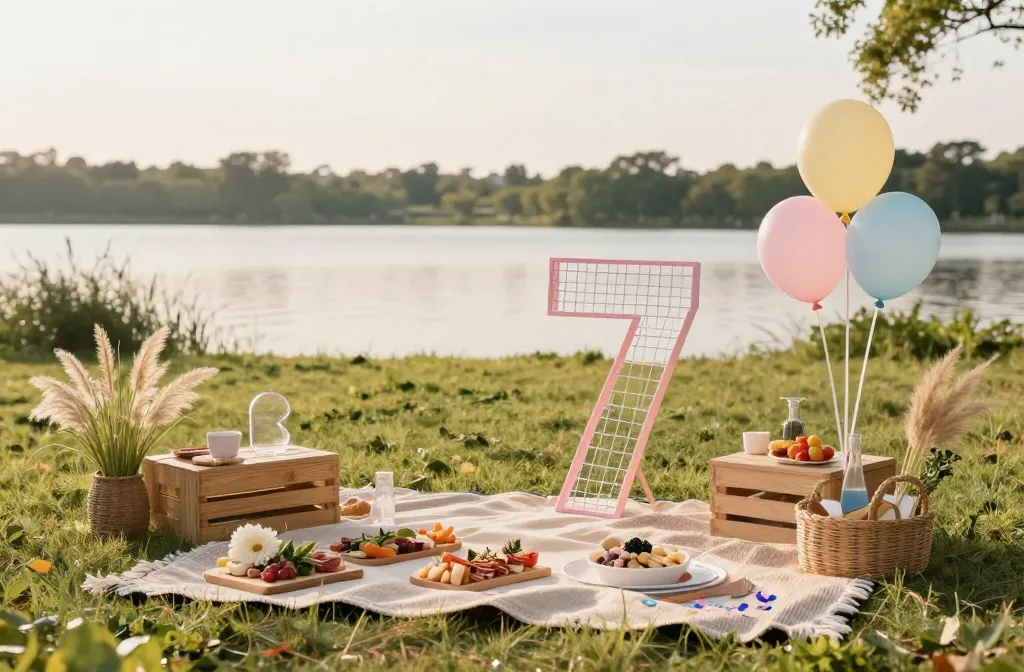
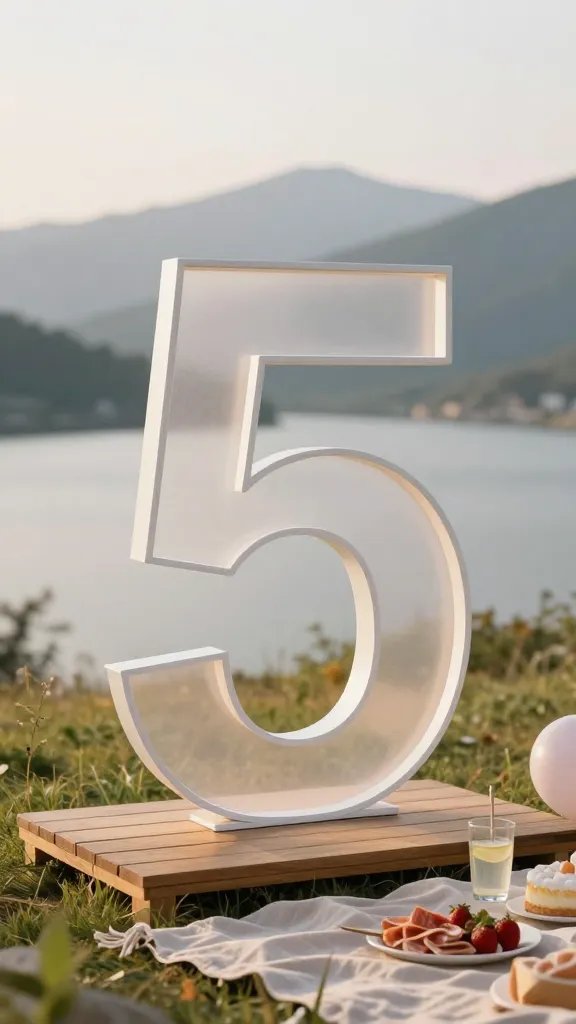
2. Choose Airy Materials: Let The Background Breathe
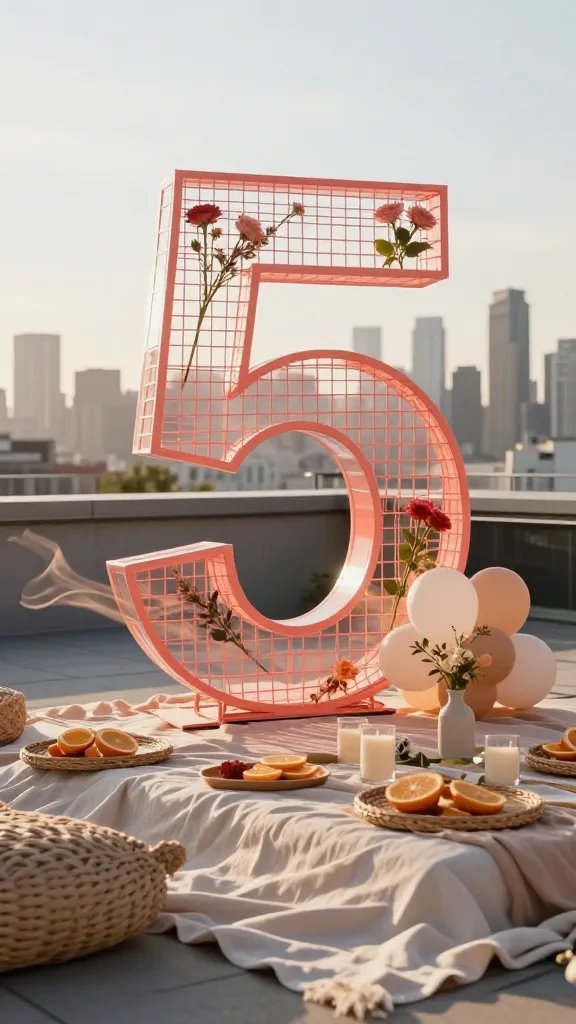
Swap bulky solids for see-through or lightweight materials that look graphic without acting like a wall. Think wire, acrylic, or mesh—anything that invites light and skyline to show through.
Material Ideas
- Wire or mesh numbers: Paint them a punchy color; add a few blooms through the grid.
- Clear acrylic outlines: Crisp, modern, and practically invisible from the side.
- Balloon mosaics with open centers: Fewer balloons, more negative space.
These keep the number readable while giving your location its moment. Great when the view matters more than maximalism, IMO.
3. Push It To The Sides: Frame, Don’t Block
Instead of centering the number like a bullseye, shift it to the left or right edge of your picnic setup. This creates a natural frame and leaves a clear middle for people and scenery.
Key Moves
- Set the number at the edge of your blanket, angled inward 10–20 degrees.
- Balance with a low basket, cake board, or bouquet on the opposite side.
- Keep the center open for hero shots and group pics.
Use this when you’ve got a killer view or a nice tree line that deserves the spotlight. Your photos will feel intentional and editorial, not cluttered.
4. Use Scale Smarts: Go Slim, Not Small
You don’t need a tiny number—you need a slimmer profile. Tall and thin reads big in photos but blocks less space than a chunky foam block.
How To Nail It
- Opt for outline numbers: Thin borders around the shape keep it legible.
- Pick height over depth: 24–36 inches tall but only a few inches deep.
- Use light colors: They visually recede and steal fewer pixels from the view.
Perfect when you want impact without a barricade. Trust me, slim silhouettes photograph like a dream.
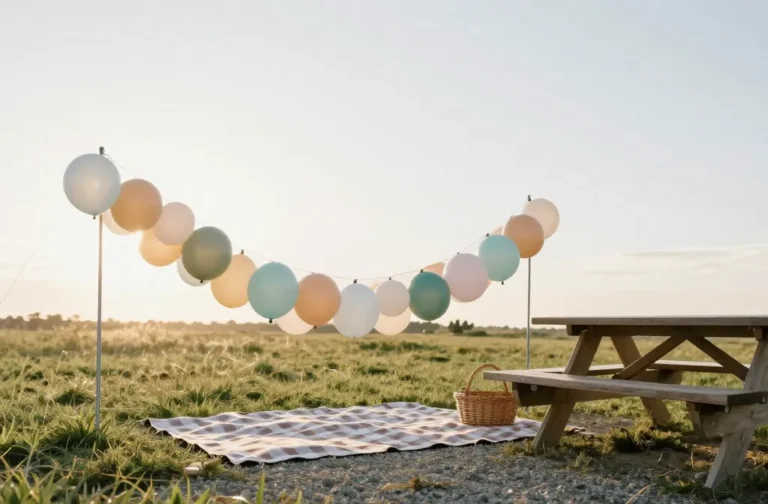
5. Float It, Don’t Park It: Helium And Micro-Rigs
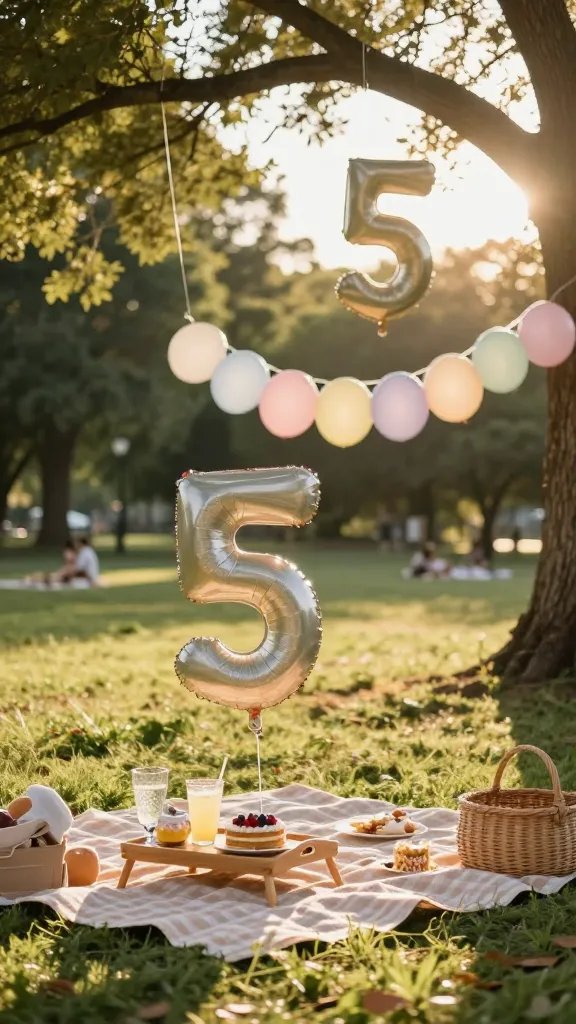
Make the number “float” above the picnic at a strategic height. A clear monofilament line or low helium tether keeps it visible while the background stays intact.
Setup Options
- Micro helium cluster: One or two helium digits tethered to a rear stake at shoulder height.
- Invisible line: Hang a lightweight number from a tree branch using clear fishing line.
- Low arch hybrid: Curve a mini garland just above head level behind the blanket.
Great for uneven terrain or crowded parks. It keeps the number in shots while letting light and breeze do their thing.
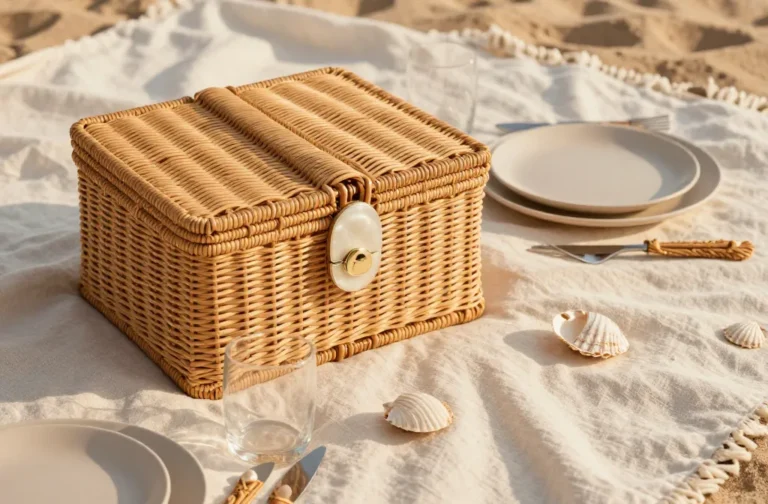
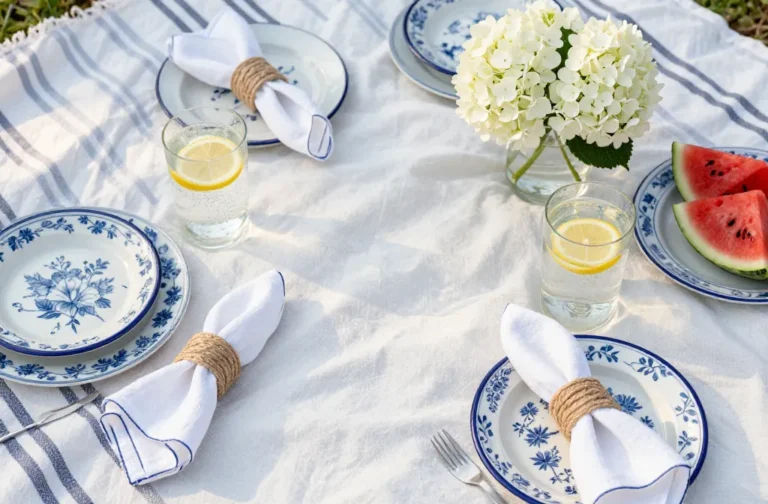
6. Make It A Table Runner: Horizontal Number Design
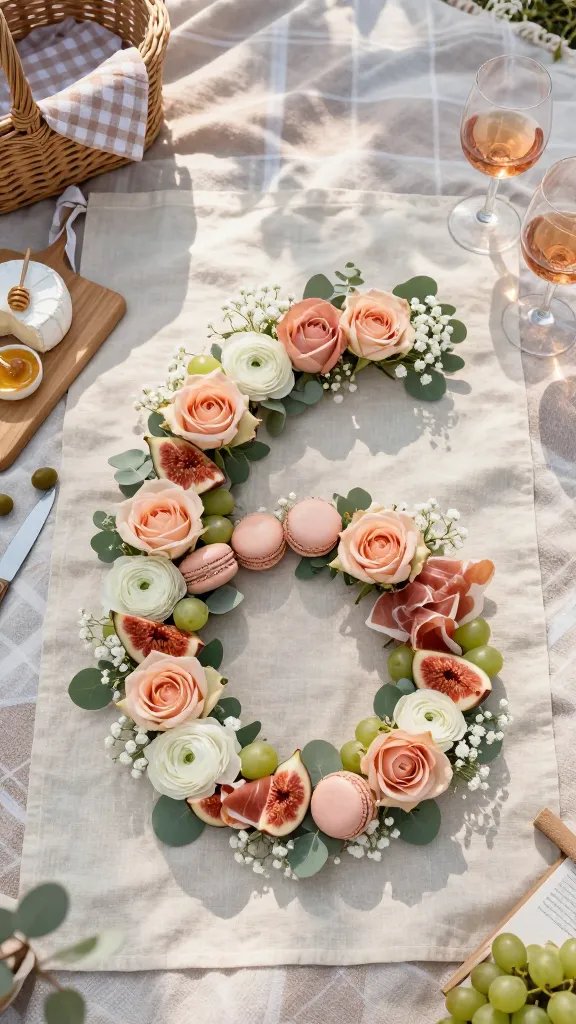
Lay your number across the picnic like a decorative runner so it reads from above and at an angle without blocking faces. This trick turns your number into functional decor.
Execution Ideas
- Floral number flat-lay: Arrange stems, petals, and greenery in the number’s shape on a neutral cloth.
- Snackable number: Use fruit, macarons, or charcuterie to form the digit. Cute and edible.
- Fabric applique: Sew or iron-on a number onto the blanket or a table runner.
Use this when you plan lots of overhead shots or drone snaps. Zero view-blocking, maximum “wow.”
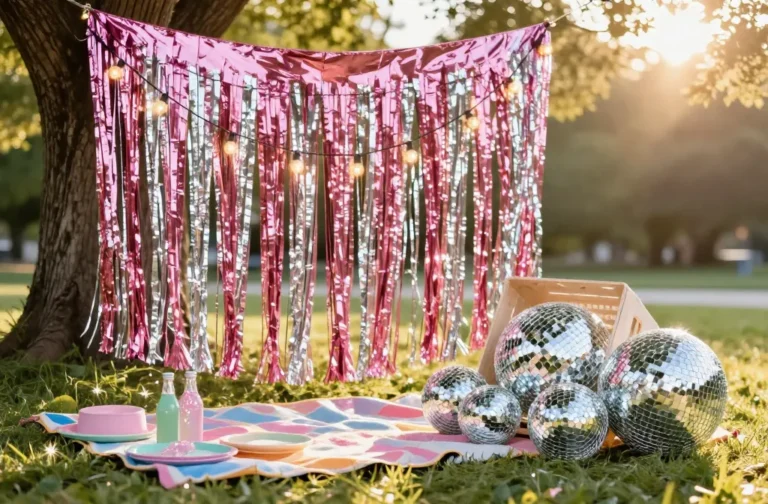
7. Build A Backdrop Window: Frame With Negative Space
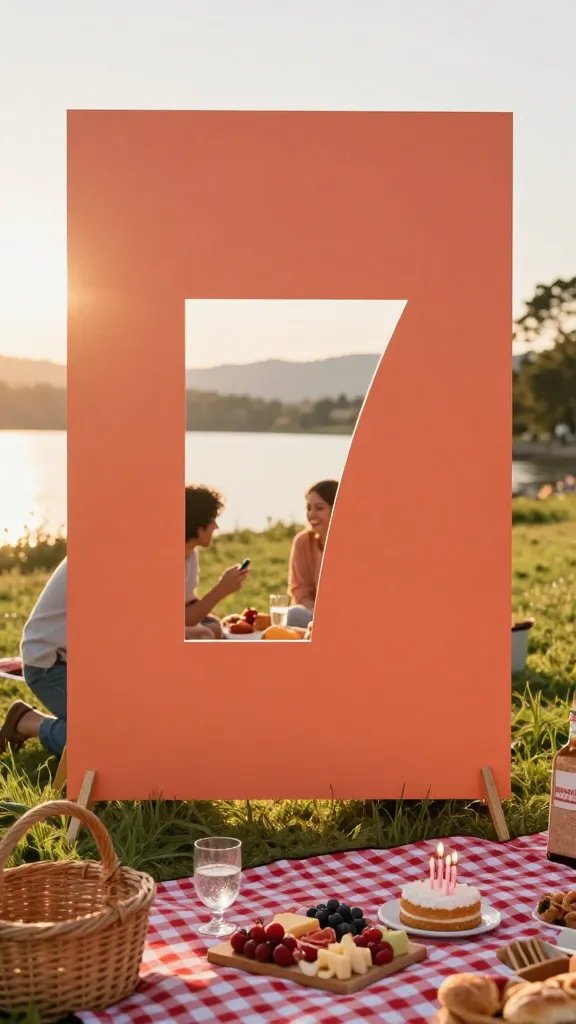
Create a mini backdrop with a big cutout shaped like your birthday number. It frames the scene through the number instead of covering it.
How-To
- Cut foam board or plywood into a large rectangle with the number cut out in the middle.
- Paint the surface a fun color; keep the inner edge crisp for a sharp outline.
- Prop on low stakes or short easels behind the blanket, angled slightly away from the horizon.
Guests peek through the number for photos, and the scenery fills the shape. It’s graphic, playful, and seriously photogenic.
8. Style The Shadow: Light-First Number Tricks
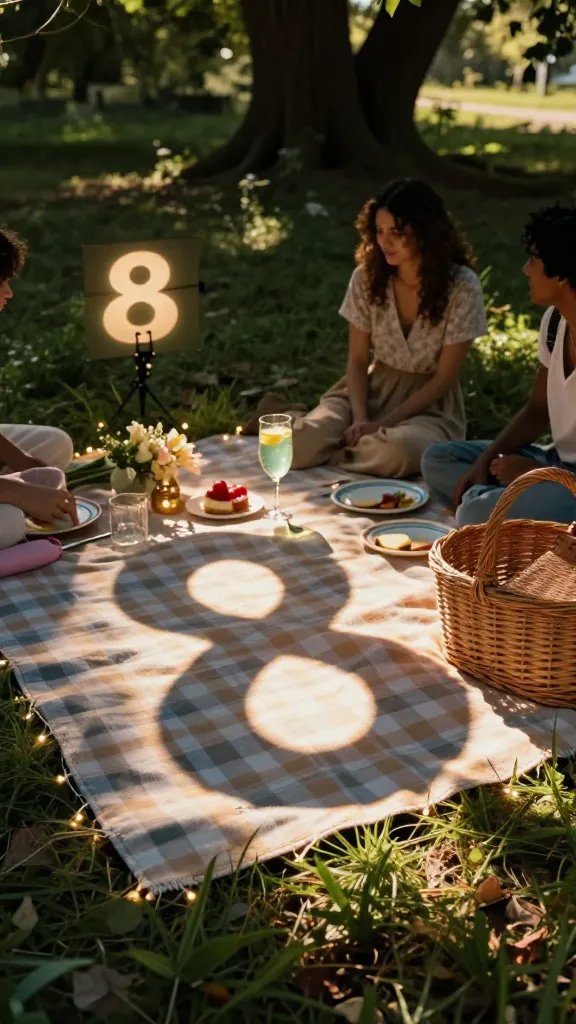
Use light and shadow to “draw” the number on the ground or blanket so you get presence without bulk. You’ll capture striking visuals that never block anyone’s face.
Ideas To Try
- Stencil and sun: Cut a number stencil and let sunlight cast the shape across your setup.
- Gobo light: For late picnics, use a portable projector or clamp light with a number cutout.
- Fairy-light outline: String battery lights into the number on the blanket for golden hour.
Best for evening vibes, shady groves, or when your location view does the heavy lifting. Subtle, clever, and very “did you hire a stylist?”
9. Cluster Small Repeats: Mini Numbers, Major Impact
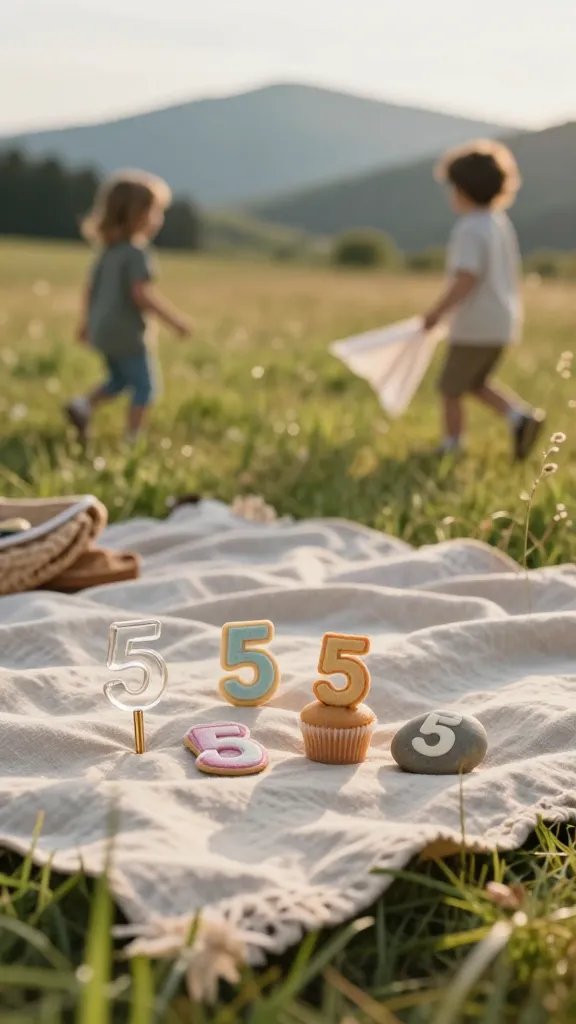
Instead of one giant piece, style a few mini numbers in a loose cluster. The repetition reads festive without creating a single massive obstacle.
Placement Tips
- Scatter 3–5 minis around the blanket edges, not the center.
- Mix materials: a tiny acrylic, a felt patch, a cookie topper, a painted pebble.
- Keep them low and angled toward the camera side for quick snaps.
This works wonders when kids roam or the wind acts up. You’ll always have a number in frame without blocking the epic backdrop.
Ready to picnic like a pro? Pick one or two of these styling moves and your birthday number will shine without photobombing the scenery. Keep it low, keep it airy, and let the view do the flexing. Your future self scrolling through photos will say, “Bless you.”