How to Do a Picnic Photoshoot That Looks Like a Professional Shot It
· Yogi
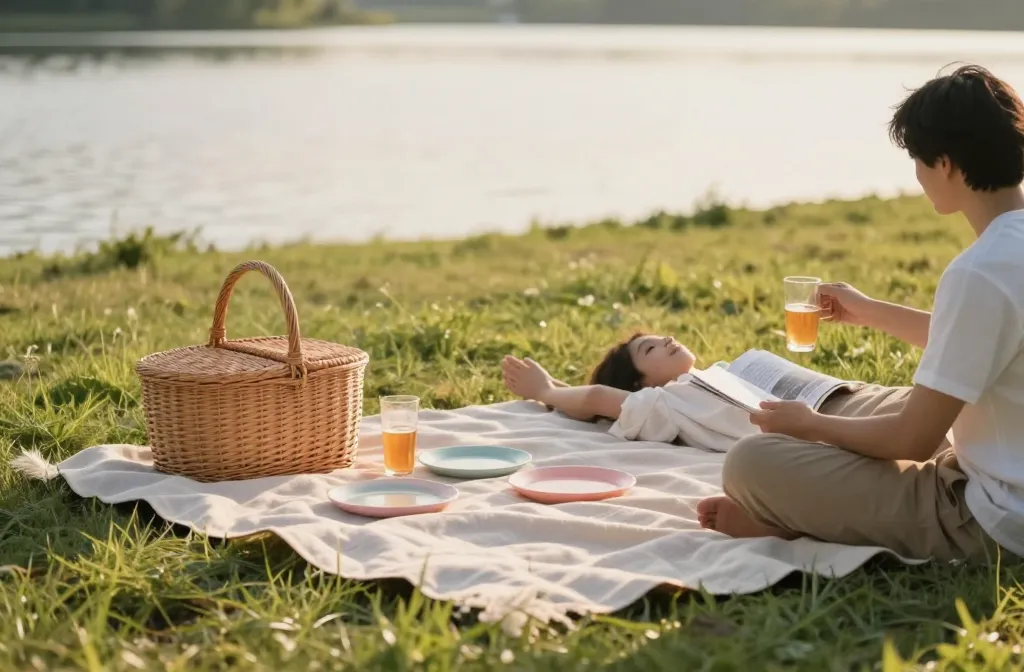
- Best for: Picnics that look polished for social media or portfolios
- Make ahead: Yes — plan location and props 1–2 days in advance
- Serves: 1–4 people per shoot (adjust props for more)
- Key tip: Light and composition matter more than expensive gear
If you want a picnic photoshoot that looks professional, you don’t need a celebrity stylist or a studio. How to Do a Picnic Photoshoot That Looks Like a Professional Shot It is a game plan you can pull off with a couple of hours, a tiny budget, and a lot of intention. Think natural light, thoughtful props, and deliberate angles. By the end, you’ll have images that feel polished without looking fussy. Here’s what you’ll get: a practical setup, shot-by-shot guidance, and real-world tweaks that elevate simple moments into magazine-worthy visuals.
1. Pick a Purposeful Location (and Time) That Feels Studio-Like
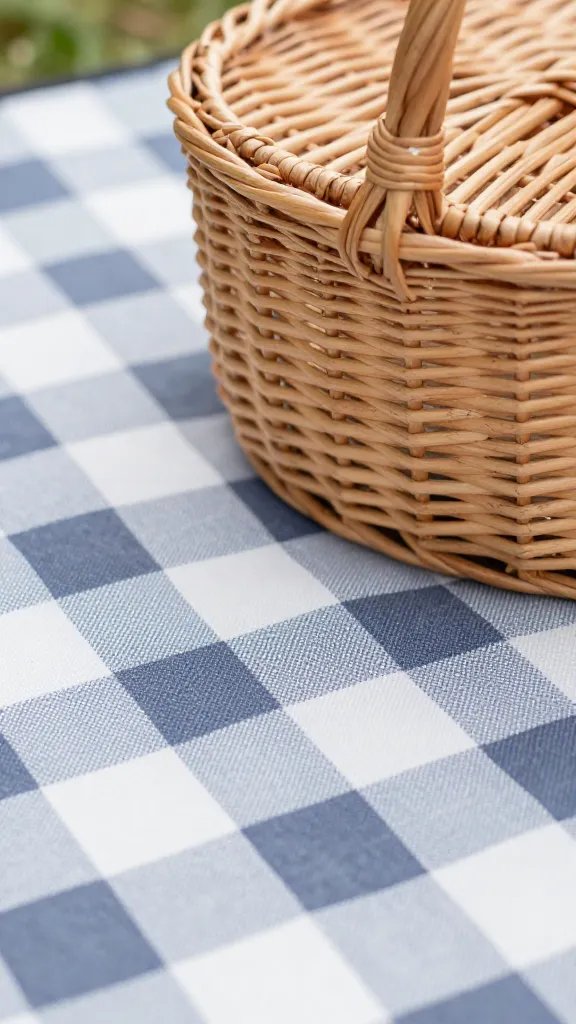
Professional-looking shots start with a location that lends itself to clean, uncluttered composition. Look for open shade, a grassy patch with soft texture, or a blanket-dotted area near water. Time your shoot for the golden hour—15 minutes before sunset—or a bright, overcast afternoon to avoid harsh shadows. If you can’t control the weather, embrace it: overcast skies diffuse light for flattering skin tones and a softer color palette.
- Choose a backdrop with depth: Distant trees or a fence line create negative space that makes subjects pop.
- Limit background chaos: Remove distracting elements with a quick sweep or choose a spot where the scene stays calm.
- Coordinate color tones: Pick a color palette that complements your wardrobe and props—think creamy whites, sage greens, and warm terracotta.
2. Build a Simple, Photo-Ready Picnic Set

A good set reads as intentional rather than staged. You don’t need a full cart of props—just a few carefully selected pieces will do. Think texture, not quantity. A checked blanket, a wooden tray, ceramic mugs, a vase of wildflowers, and a few seasonal fruits can transform a blanket into a photo studio floor.
- Patchwork blankets: Layer a second, lighter blanket for depth and a touch of color.
- Props with utility: Use items you can angle toward the camera—glasses catching light, a loaf of bread, or a pitcher with condensation for a tactile feel.
- Flora and fruit: Real elements feel more authentic than plastic decor—choose blooms or berries that complement your palette.
3. Nail the Lighting Without Fancy Gear

Natural light is your best friend here. If you’re shooting indoors or near a lake, use the light as a soft key. Position your subject at a 45-degree angle to the light source for gentle shadows that sculpt the face. If you’re in direct sun, seek shade or use a white reflector (even a sheet of white poster board works) to bounce light back into the face.
- Keep shadows soft: Avoid shooting with the sun directly behind your subject.
- Use reflectors strategically: A reflector can fill in under the eyes and soften jawlines.
- Balance color temperature: White balance matters—set it to cloudy or shade to warm up skin tones on a sunny day.
4. Compose Like a Pro: Angles, Framing, and Storytelling

Great picnic photos tell a story, not just show a scene. Vary your angles and distances to create a cohesive gallery. Start with a wide establishing shot, then move in for intimate moments. Don’t forget to shoot at knee height or a touch lower than eye level to mimic a candid, natural feel. A few quick composition tricks can elevate your set instantly.
- Establishing shot: A wide frame of blanket, setup, and people to set the scene.
- Interaction capture: Focus on hands passing food, laughter, shared looks—these readers feel connected to the moment.
- Detail shots: Close-ups of hands cradling coffee, the texture of bread, or a dew-kissed flower for variety.
5. Master Poses That Look effortless (Not Staged)
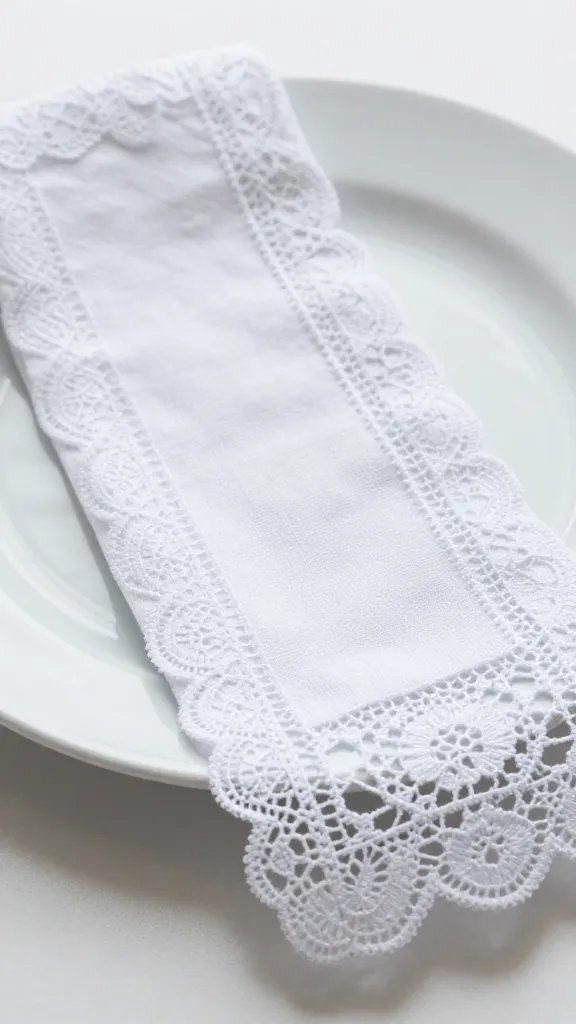
Natural poses trump stiff poses when you’re aiming for a professional vibe. Guide your subjects with gentle prompts rather than exact positions. For example: “Pause and tilt your head toward the sunlight,” or “Share a bite and look at each other.” Quick prompts keep energy high and results relaxed.
- Movement feels candid: Have someone stand and then sit, catching a moment in between actions.
- Vary expressions: A soft smile, a laugh, a thoughtful gaze—altering expressions keeps the set dynamic.
- Keep hands purposeful: Place a hand on a book, tuck a strand of hair, or hold a mug at waist height for natural lines.
6. From My Kitchen: What Actually Works

Hand on heart, the most reliable trick I’ve learned is to shoot with a minimal setup and maximize natural textures. The biggest improvement came when I swapped glossy props for matte, rustic items that photograph softly. I also learned that letting the scene breathe—space around the subjects—lets the eye rest and makes the photo feel professional rather than busy. Finally, test a couple of angles on a quick shot list, then commit to your favorites to maintain consistency across the shoot.
7. Internal Links

To deepen your picnic photography, check out this chimichurri recipe for a natural food styling texture and how to style a small outdoor table for more composition ideas. These resources complement your setup with practical, real-world details that translate into great shots.
Frequently Asked Questions

How long does a picnic photoshoot that looks professional take?
Plan about 60 to 90 minutes for a relaxed session, with time for setup, a few outfit changes, and a handful of moments to capture. If you’re pressed for time, limit the set to one color palette and 3–4 poses.
Can I make this picnic photoshoot that looks professional with beginner gear?
Absolutely. A smartphone with good lighting and a simple tripod works wonders. Use natural light, clamp a light reflector if possible, and shoot in RAW if your phone supports it for better editing latitude.
What’s the best way to serve this picnic photoshoot for a crowd?
Scale your props and seating to the group size. Use a larger blanket or multiple coordinating blankets, and keep the table arrangement simple so everyone has space. Take a few wide shots first, then move in for candid moments of conversation and shared food.
Can I freeze any of these props or setups for later shoots?
Some elements can be reused, like the blankets and wooden props, but fresh florals and seasonal fruit always photograph better. If you must stock up, choose durable, washable textiles and reusable decor that won’t show wear quickly.
The Bottom Line
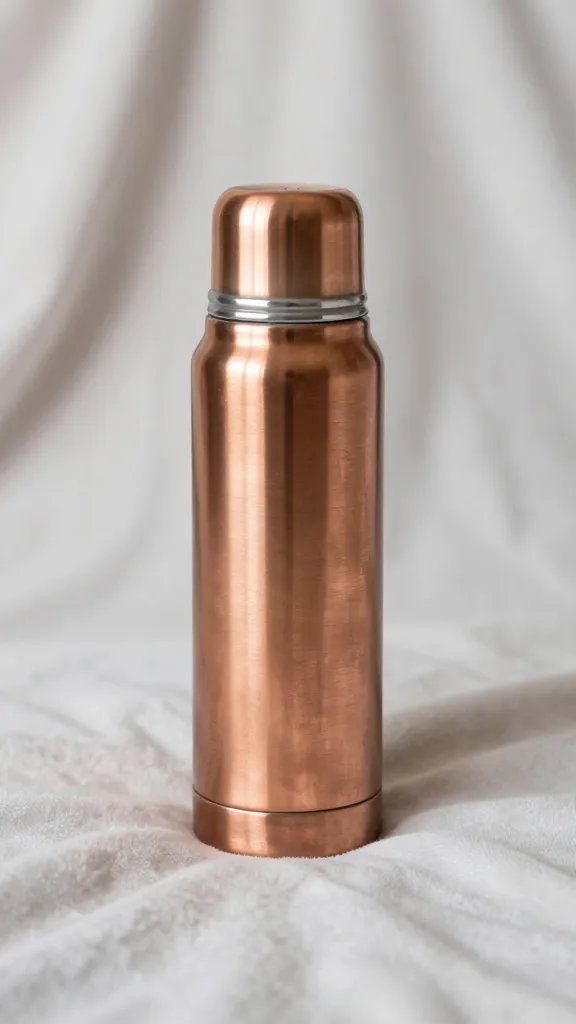

With careful location choice, a minimal, thoughtful prop kit, and a steady eye for light and composition, you can create a picnic photoshoot that looks professional without a professional budget. Start with a clear plan, capture variety, and let the moment lead the frame.
Planning to try this? Save this post so you can find it when you need it — and tag us when you make it.
Leave a Reply