The Complete Picnic Photoshoot Guide: Setup, Poses, and Golden Hour Timing
· Yogi
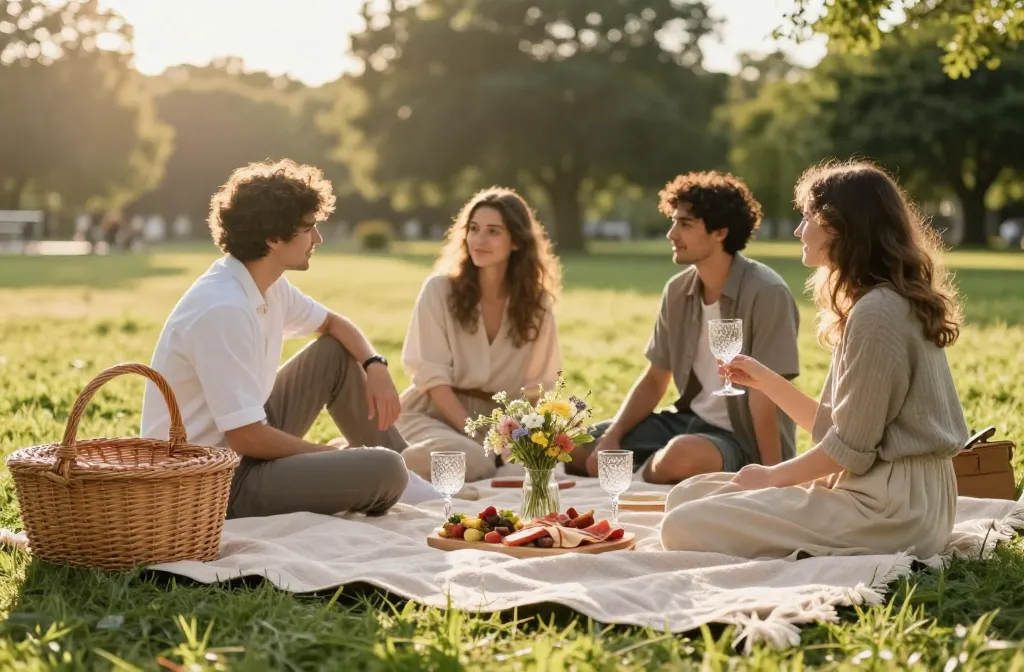
- Best for: A practical guide to planning and capturing a chic daytime picnic photoshoot
- Make ahead: Yes — plan gear and layouts 1–2 days in advance
- Serves: Small to medium groups (1–6 people) or a couple shooting solo
- Key tip: Scout a location with soft backlight and a clean background for easy editing
The Complete Picnic Photoshoot Guide: Setup, Poses, and Golden Hour Timing is your shortcut to warm, candid vibes that feel organic. You’ll learn how to stage a scene, direct people without breaking the vibe, and time the light for that buttery, glow-y look. By the end, you’ll have a repeatable playbook for photos that feel effortless.
Whether you’re shooting for a blog, a family album, or a brand collaboration, this guide keeps things simple and stylish. Expect practical gear lists, natural pose ideas, and a timeline that respects the sun. Let’s dive into a setup that makes the moment shine.
You’ll get actionable tips, ready-to-use prompts, and a clear path from planning to publication.
1) Planning the Setup: Gear, Location, and Mood

First things first: choose a location that feels intimate but has enough space for movement. A grassy park, a lakeside dock, or a shaded orchard works well. The goal is soft, flattering light and a clean backdrop.
- Gear foundation: camera body, a versatile lens (50mm or 35mm), and a reflector or small fill flash for contrast control.
- Backdrop and props: a tartan blanket, a wicker basket, a simple vase with wildflowers, and your favorite snack spread.
- Weather plan: sunny? bring shade options and a backup plan for cloud cover to keep light steady.
Pro setup tip: place the blanket at a slight diagonal to add depth. It’s a tiny detail that makes the frame feel intentional, not staged.
2) Golden Hour Timing: When to Shoot and How Long

Golden hour is your friend, but timing matters. About 45–60 minutes before sunset (or after sunrise) gives you that warm, dreamy glow. If you’re shooting indoors near a window, angle the subject toward the window for soft, directional light.
- Plan a rough shot list so you don’t waste precious sunlight.
- Move slowly between poses to let light settle and shadows shift naturally.
- Cap the session at 90 minutes to avoid fatigue and color shifts.
Key note: a quick check-in with your subject every 15 minutes keeps the mood relaxed and the crew aligned.
3) Poses That Look Natural (And Photo-Wavorite Angles)
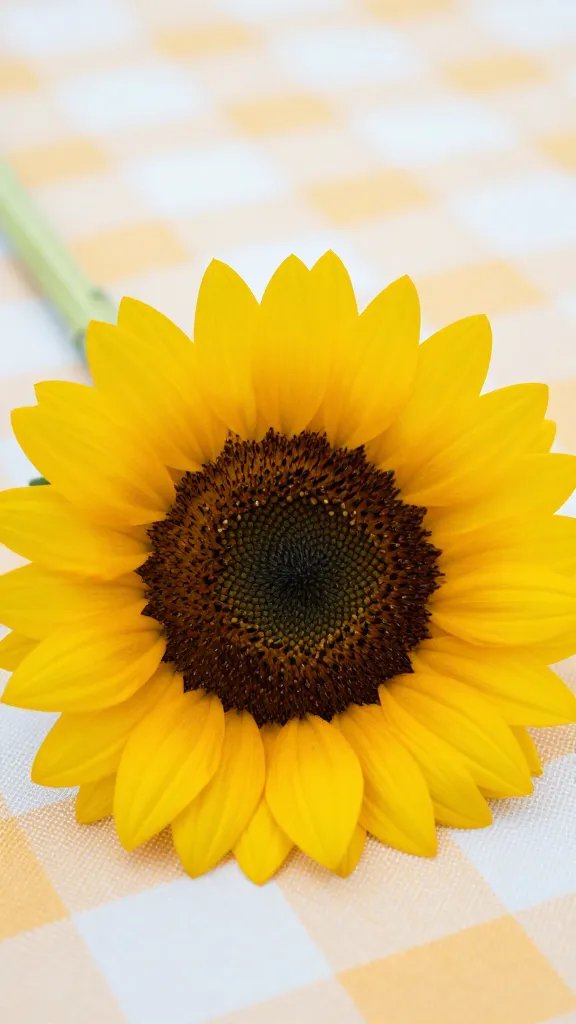
Natural poses feel effortless; the trick is giving people actions to do rather than asking for stiff “pose” looks. Use gentle movement, small touches, and eye-line variety to create storytelling frames.
Lighthearted duo and group poses
- Sharing a snack: sit close, hands reaching toward a dish, eyes toward each other or toward the lens.
- Looking away, smiling: have one person look off-camera with a soft smile; the other can glance toward them for connection.
Individual portrait ideas
- Framed by nature: sit near a flower bed or a tree with dappled light on the face.
- Over-the-shoulder glance: slight turn of the head toward the camera, soft smile.
Direction tips: give 3 micro-prompts and let the moment develop. Example: “Tilt your head, breathe, and laugh softly.”
Pro tip: vary heights with a blanket pile, a low crate, or a bench to create dynamic compositions.
4) Framing, Composition, and Color Harmony

Keep the frame clean and intentional. Color harmony helps photos feel cohesive across a set or a lookbook.
- Rule of thirds keeps faces off-center for more engaging portraits.
- Limited palette: choose 2–3 accent colors (like mustard, dusty pink, and sage) and carry them through props.
- Texture matters: knit blankets, wicker baskets, and wood tones add tactile interest without clutter.
Editing note: aim for a natural edit—slightly lifted shadows, warm highlights, and a gentle vignette to focus attention on the subjects.
5) From My Kitchen: What Actually Works
I’ve shot picnics for clients both big and small, and the biggest misstep is rigid posing. I’ve learned to give 2–3 quick prompts and then step back. It keeps energy high and the results feel lived-in, not staged. Also, I’ve found that placing food items in the foreground invites interaction and real smiles.
When the light shifts, I switch angles rather than chase perfect sun. A single lens choice with a fast 50mm is enough to create depth and intimacy without fuss.
Finally, I always bring a small reflector to bounce light back onto shaded faces. It’s a tiny tool with a big payoff in soft, even skin tones.
6) Internal Links for Deeper Knowledge
Planning a cohesive food-and-photo shoot? See how this this chimichurri recipe pairs with a snack board, then explore how to style outdoor light for portraits in these complementary guides.
Want more on posing? Check out this guide on natural posing for couples to expand your toolbox beyond picnic setups.
Frequently Asked Questions
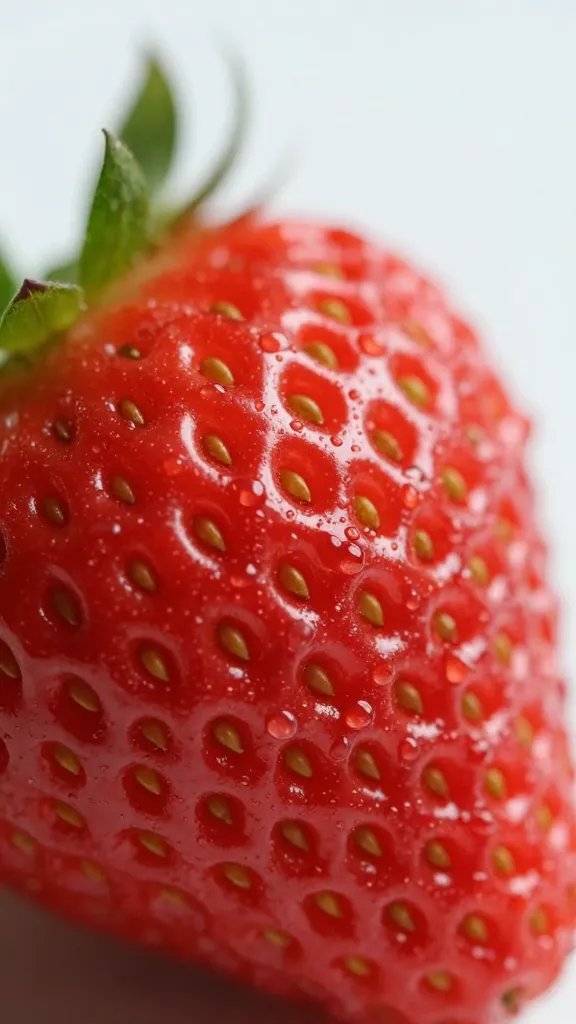
How long does The Complete Picnic Photoshoot Guide keep in the fridge?
Photos don’t spoil in the fridge, but the vibe can fade. Keep digital previews to a rolling 3–6 month window for best engagement, then refresh your gallery with new shots from fresh sessions.
Can I make this picnic photoshoot ahead of time?
Yes. Prepare a mood board, scout locations, and pre-assemble your prop kit a day in advance. On shoot day, you’ll have fewer decisions and more time for great light.
What’s the best way to serve a picnic for a crowd in photos?
Focus on a central food spread as a storytelling prop. Shoot close-ups of textures (crusty bread, jam jars) and wider frames that show people interacting with the scene.
Can I freeze any of these props or plates for a lookbook?
Props don’t freeze, but you can pre-assemble non-perishable elements and keep them chilled to maintain color and texture on camera. Avoid melted foods unless you’re intentionally going for a candid moment.
Is this {primary_keyword} technique suitable for beginners?
Absolutely. Start with a simple setup, practice quick prompts, and work within a fixed light window. Consistency beats complexity when you’re building confidence.
Will this guide work for indoor shoots too?
While crafted for outdoor golden-hour magic, many principles apply to window-light setups indoors with a reflector and a similar color palette.
The Bottom Line

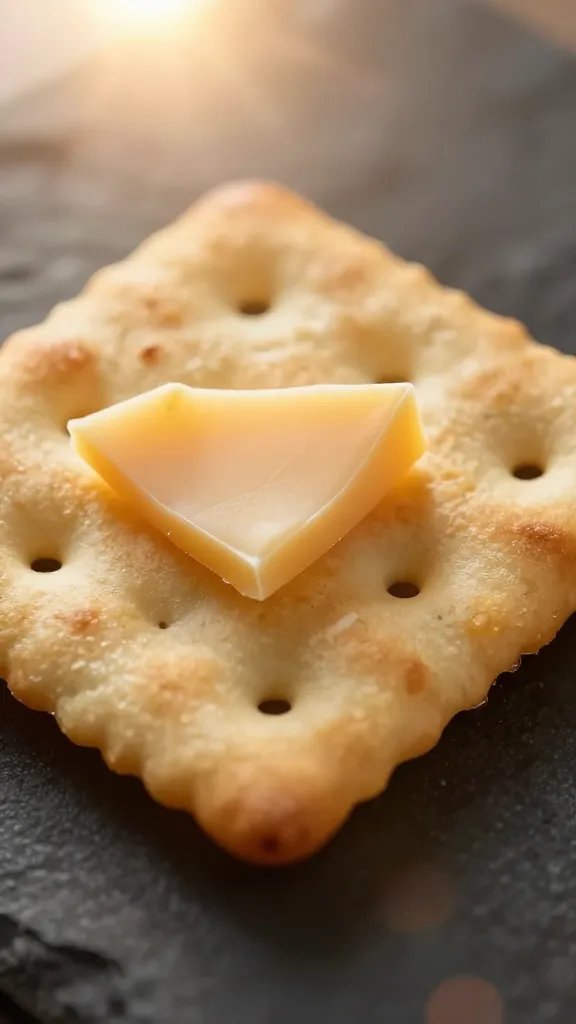

Plan thoughtfully, shoot during golden hour, and keep poses natural and collaborative. Your picnic photos will feel effortless, warm, and ready to share.
Planning to try this? Save this post so you can find it when you need it — and tag us when you make it.
Leave a Reply