How to Style a Picnic Blanket for Photos That Actually Look Good in the Shot
· Yasmine Taljaard
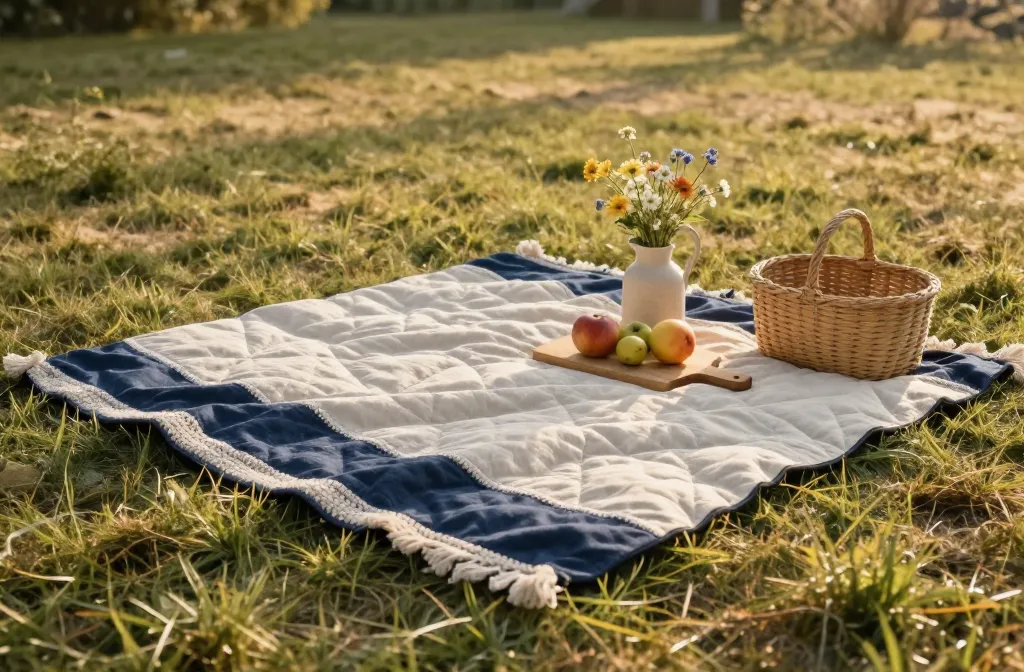
- Best for: Photo-ready picnics and social media shoots
- Make ahead: Yes — prep props a day before
- Serves: 1 blanket, multiple angles
- Key tip: Build layers with texture and color that pop on camera
Style a picnic blanket for photos that actually look good in the shot. This isn’t about random flowers and a smug grin—it’s about deliberate styling, lighting, and texture that translate on camera. You’ll learn practical setup tricks, budget-friendly props, and quick tweaks to level up every outdoor capture. By the end, you’ll know how to stage a blanket that feels candid yet polished.
1) Pick the Right Blanket and Backdrop
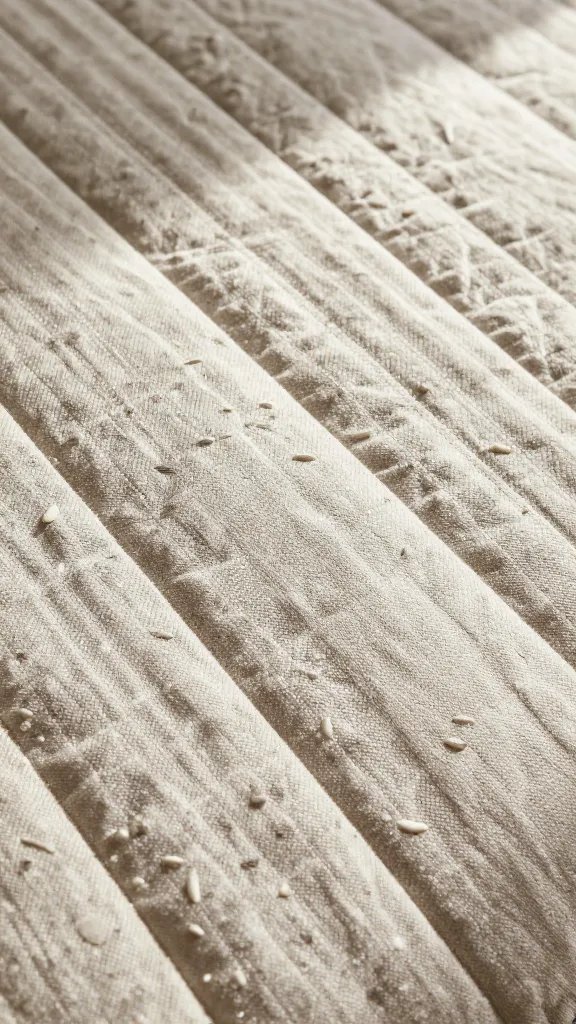
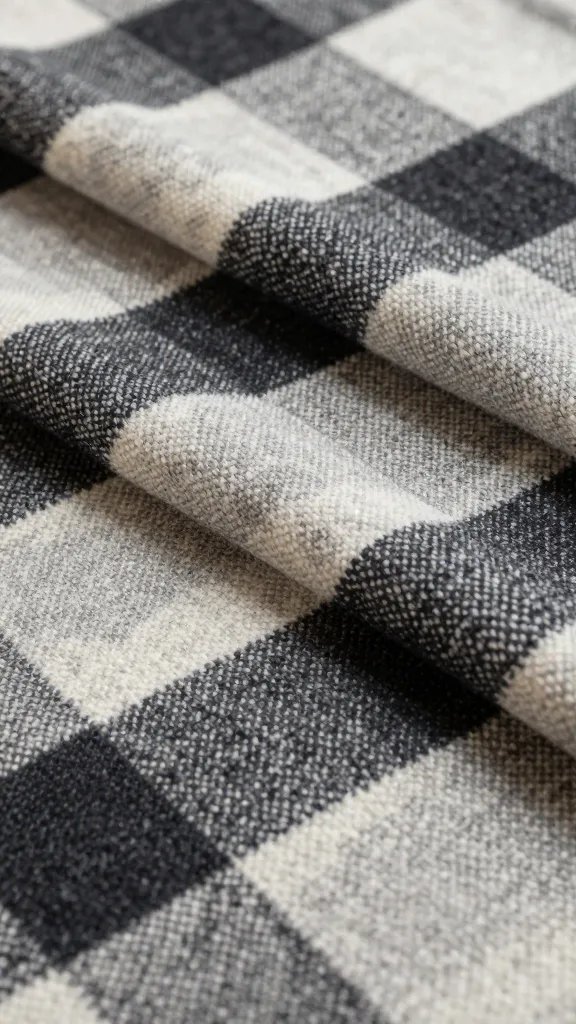
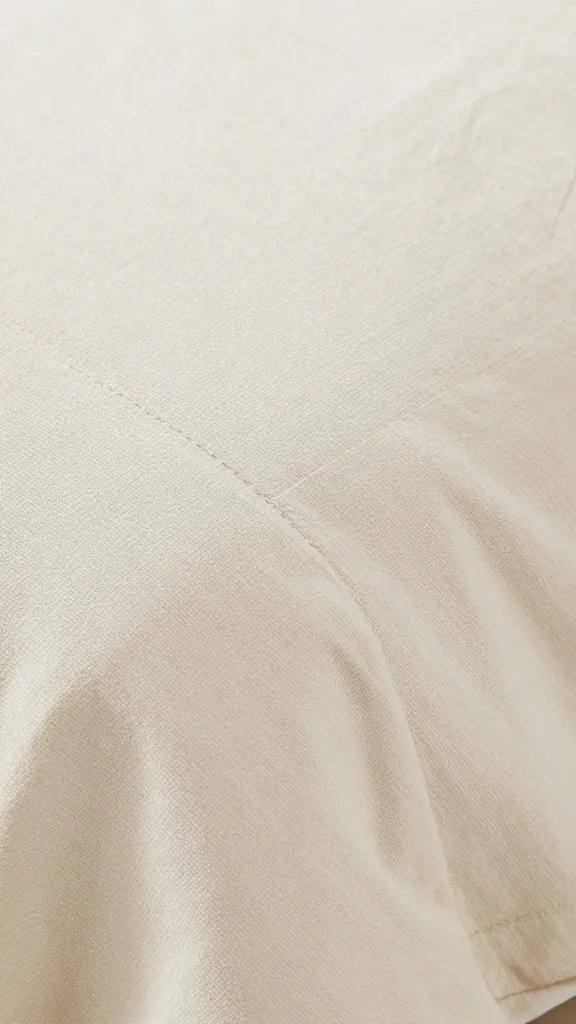
- Texture matters. A quilted or waffle-weave blanket adds depth, while solid fleece can fall flat. The goal is tactile interest that reads well in photos.
- Color strategy. Choose a base color that contrasts with your surroundings. A navy or emerald blanket pops against greens, grays, or sand tones.
- Size balance. A blanket around 5×7 feet provides enough surface for layering without overwhelming the frame.
2) Build Color With Layers (Not Chaos)
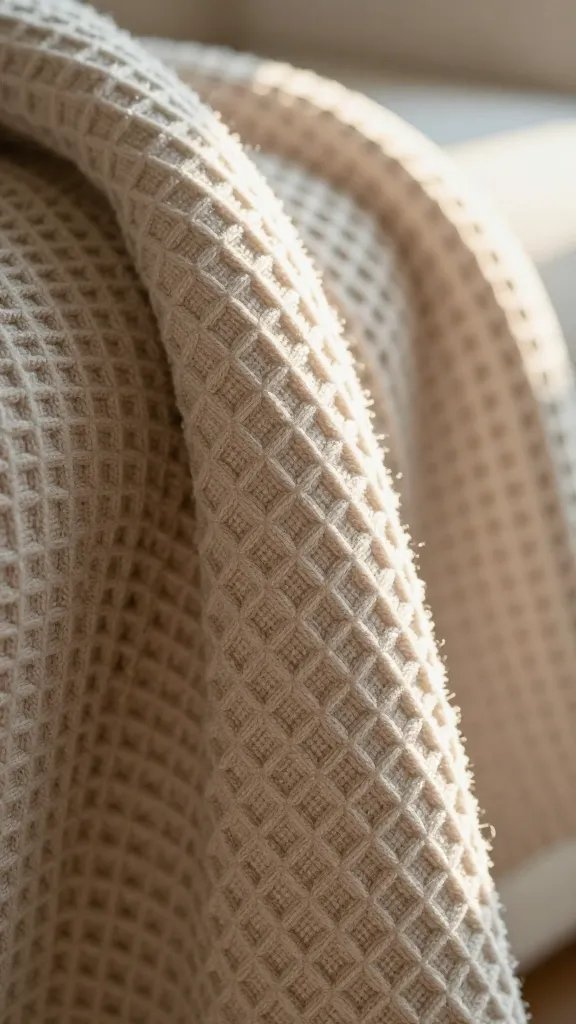
Good photo styling uses layered textures rather than a laundry list of competing colors. Think three key elements: base blanket, a few textiles, and a handful of props. The aim is harmony, not a rainbow storm on your lawn.
- Base layer: The blanket itself sets the mood. Pick a color that complements your shoot theme.
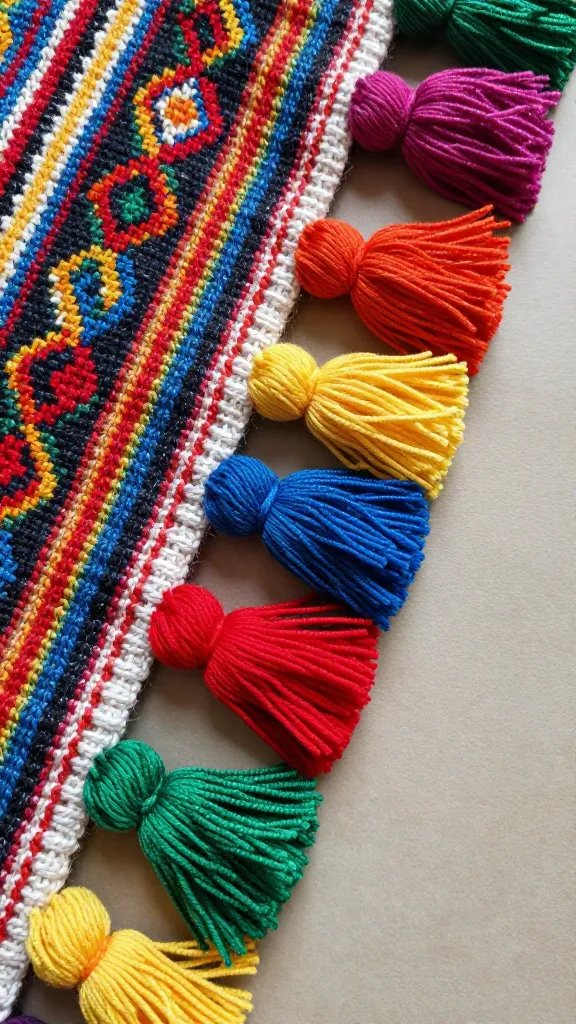
- Textural accents: Add a straw basket, woven placemats, or a chunky knit throw in a contrasting but cohesive tone.
- Pop accents: Small props like a single bouquet, vintage book, or a ceramic mug in a bright accent color.
3) Compose for Depth and Focus
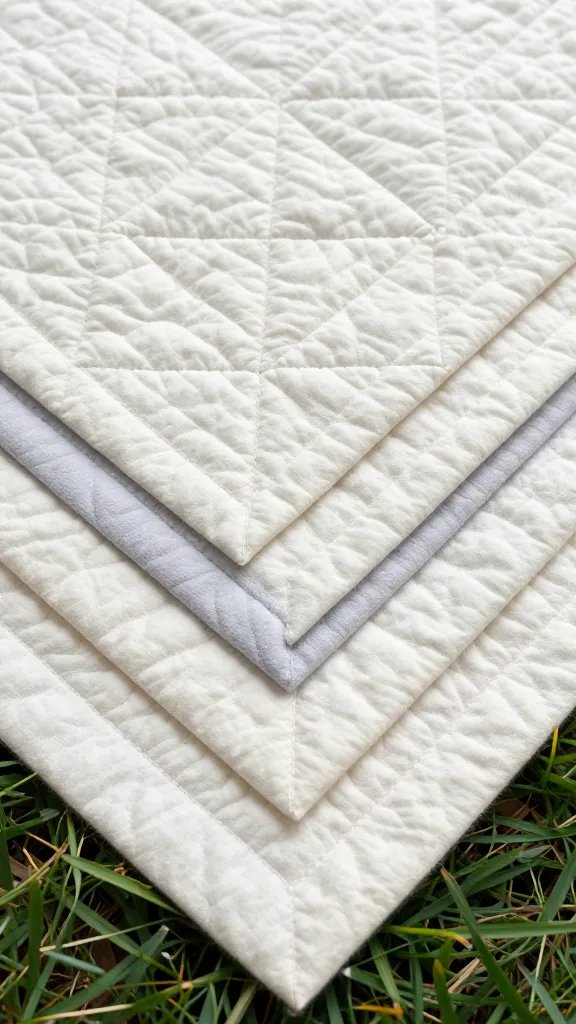
- Rule of thirds. Place the main subject or focal prop off the center to create visual interest.
- Layer from back to front. Layer the blanket, a basket in the mid-ground, and a couple of perched items toward the edge to guide the eye.
- Negative space helps. Don’t crowd the frame; give the eye a resting place to appreciate the textures.
4) Lighting That Makes the Blanket Shine

- Golden hour is king. Shoot within the first or last hour of sunlight for a warm, forgiving glow.
- Overcast works, too. Soft light reduces harsh shadows and makes colors read evenly.
- Reflectors. A white board or foam core angled toward the blanket can bounce light and soften shadows on your props.
5) Shoot Props That Photograph Well
- Natural elements: Fresh fruit, a loaf of bread, or sunflowers add color without overwhelming the scene.
- Textural props: A woven basket, linen napkins, and terracotta mugs bring tactility to the shot.
- Story pieces: A worn book, a vintage camera, or a small chalkboard with a caption hints at a moment, not a setup.
6) Practical Setup: Step-by-Step
- Lay the blanket flat on clean ground or a blanket ground cover to prevent dirt transfer.
- Choose a focal point (a prop or the person) off-center to follow the rule of thirds.
- Arrange layers from back to front: blanket base, a textile or throw, then props.
- Adjust lighting with a reflector, then shoot a few test angles.
- Fine-tune color balance in-camera or in post to keep colors true to life.
7) From My Kitchen: What Actually Works
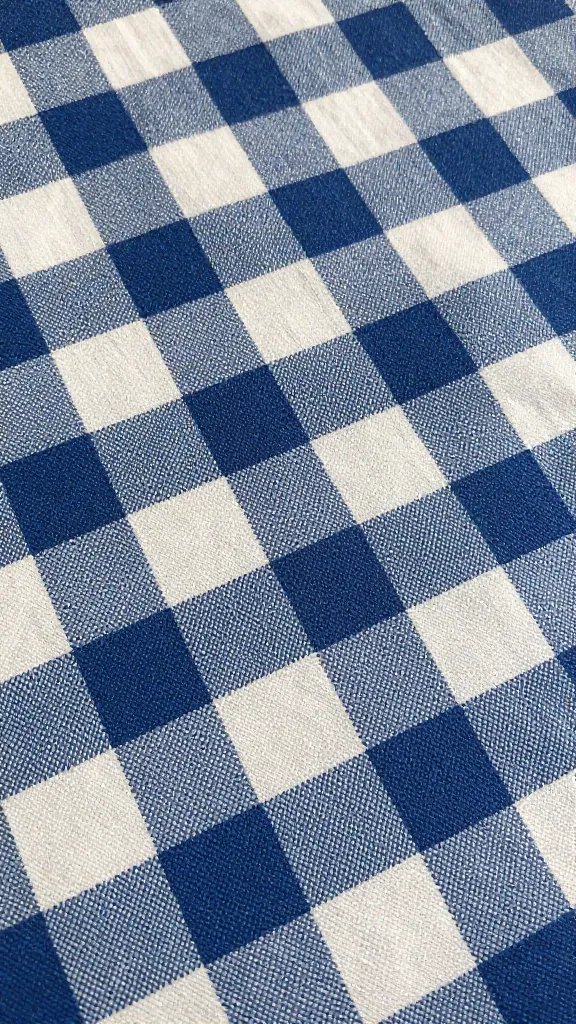
Last weekend I styled a picnic setup for a small shoot with three friends. The biggest win? I tested two blanket textures side by side and found the quilted base photographed with more depth than the plain cotton. I also swapped in a single sunlit bouquet and adjusted the distance to keep the subject crisp while letting the background blur slightly. If I had more time, I’d shoot a vertical crop for mobile pins to maximize the space on screen and maintain impact.
8) Internal Links
Want more on setting the perfect food-forward scene? This this chimichurri recipe gives you a tactile, vibrant prop idea you can pair with a blanket backdrop. For styling workflows and mood boards, check out our guide on this mood-board technique for flat lays.
Frequently Asked Questions
How long does {primary_keyword} keep in the fridge?
Not applicable here since this is a styling guide, but if you’re asking about prepping accessories, lay plans for fresh props to avoid wilted features. Props like flowers should be used within a day for peak look.
Can I make {primary_keyword} ahead of time?
Yes, assemble layers and test multiple prop placements a day before to confirm color balance and depth. Keep items in a shaded, dry spot to avoid sun-bleaching textiles.
What’s the best way to serve {primary_keyword} for a crowd?
Focus on ease and accessibility: arrange a central basket with snacks, and place a few plates and cups within reach. This makes photos feel spontaneous while still being practical for guests.
Can I freeze {primary_keyword}?
Freezing isn’t relevant to blanket styling. However, you can freeze the concept by taking a few test shots with the setup and saving color notes for future shoots.
The Bottom Line
Styling a picnic blanket for photos means thoughtful layering, color strategy, and lighting choices that translate on camera. Start with a strong base, add texture, and keep the scene uncluttered. With a few props and careful composition, your blanket can steal the spotlight in every shot.
Planning to try this? Save this post so you can find it when you need it — and tag us when you make it.
Leave a Reply